Integrating Firebase with React Native - A Quick Guide (Version 9)
Request, Deliver, Revise, Done
Get unlimited UI Design & React Development for a fixed monthly price
50% off your first month
Introduction
Firebase is awesome. It’s my go-to solution when I need server side functionality and it pairs really well with React Native. Unfortunately most of the guides online for setting up Firebase are for version 8, which works quite differently - in this article I’ll show you how to set up version 9.
What is Firebase and why should you use it with React Native?
Firebase is essentially a backend as a service - you can use it to add things like authentication, realtime database and storage to your app. There’s a generous free tier which makes it great for prototyping and for new projects - it will automatically scale with your project meaning that you don’t need to worry about provisioning or maintaining servers.
Firebase SDK limitations
In this tutorial we’ll be using the Firebase JavaScript SDK - this supports the basics such as authentication, storage and the Firestore and Realtime databases - but if you find yourself needing something that isn’t supported you can use the React Native Firebase module, which is a third party wrapper around the Firebase native SDKs and supports the majority of Firebase modules (note that if you’re using Expo you’ll need to use the bare or custom workflows for it to work).
Installing the Firebase JavaScript SDK in React Native
Please note this tutorial requires version 9 of the Firebase SDK.
Install and configure the Firebase SDK with React Native To add Firebase to your React Native project, simply run the following command in your project root if you’re using NPM:
If you’re using Yarn, run this command instead:
Seeing an IDB error?
One thing to note - if you see an error that says your project can't resolve the IDB module, please checkout my article with a simple fix.
Creating a Firebase project
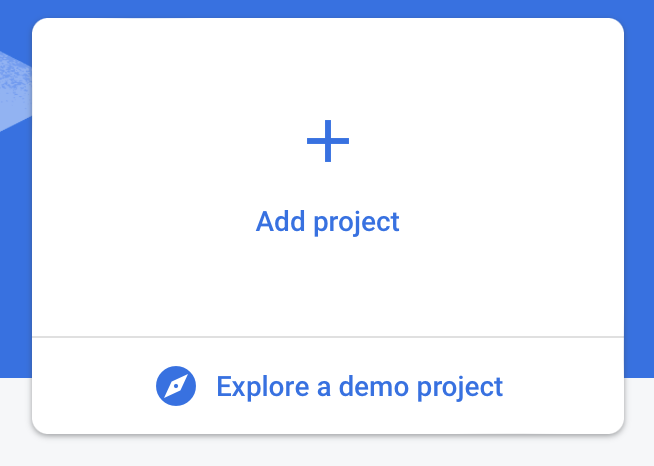
To create a Firebase project, go to the Firebase website and sign in with your Google account. Once you’re in, you should see the Firebase console - click on the Add project button.
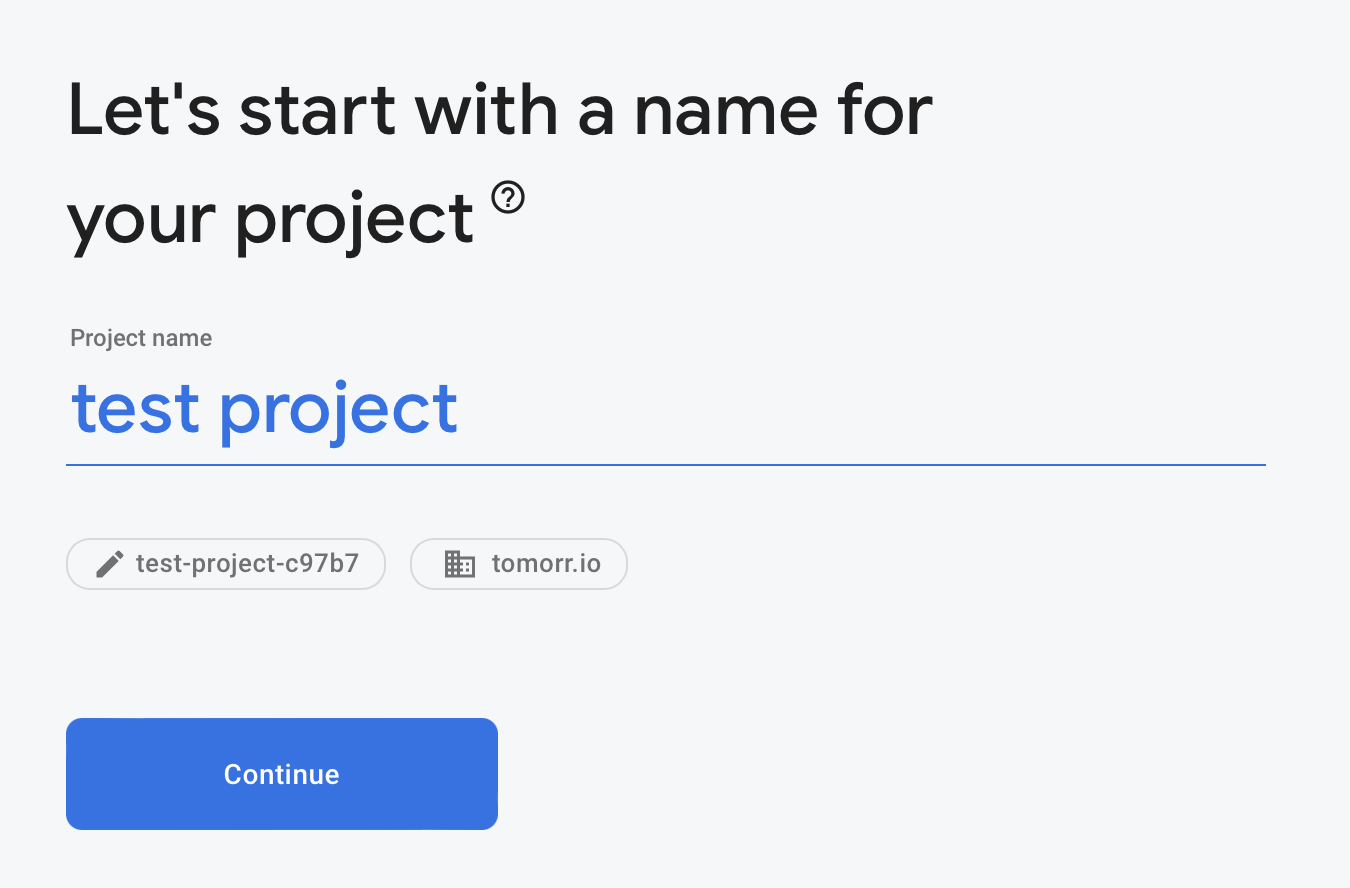
Give your project a name (whatever you’d like!):
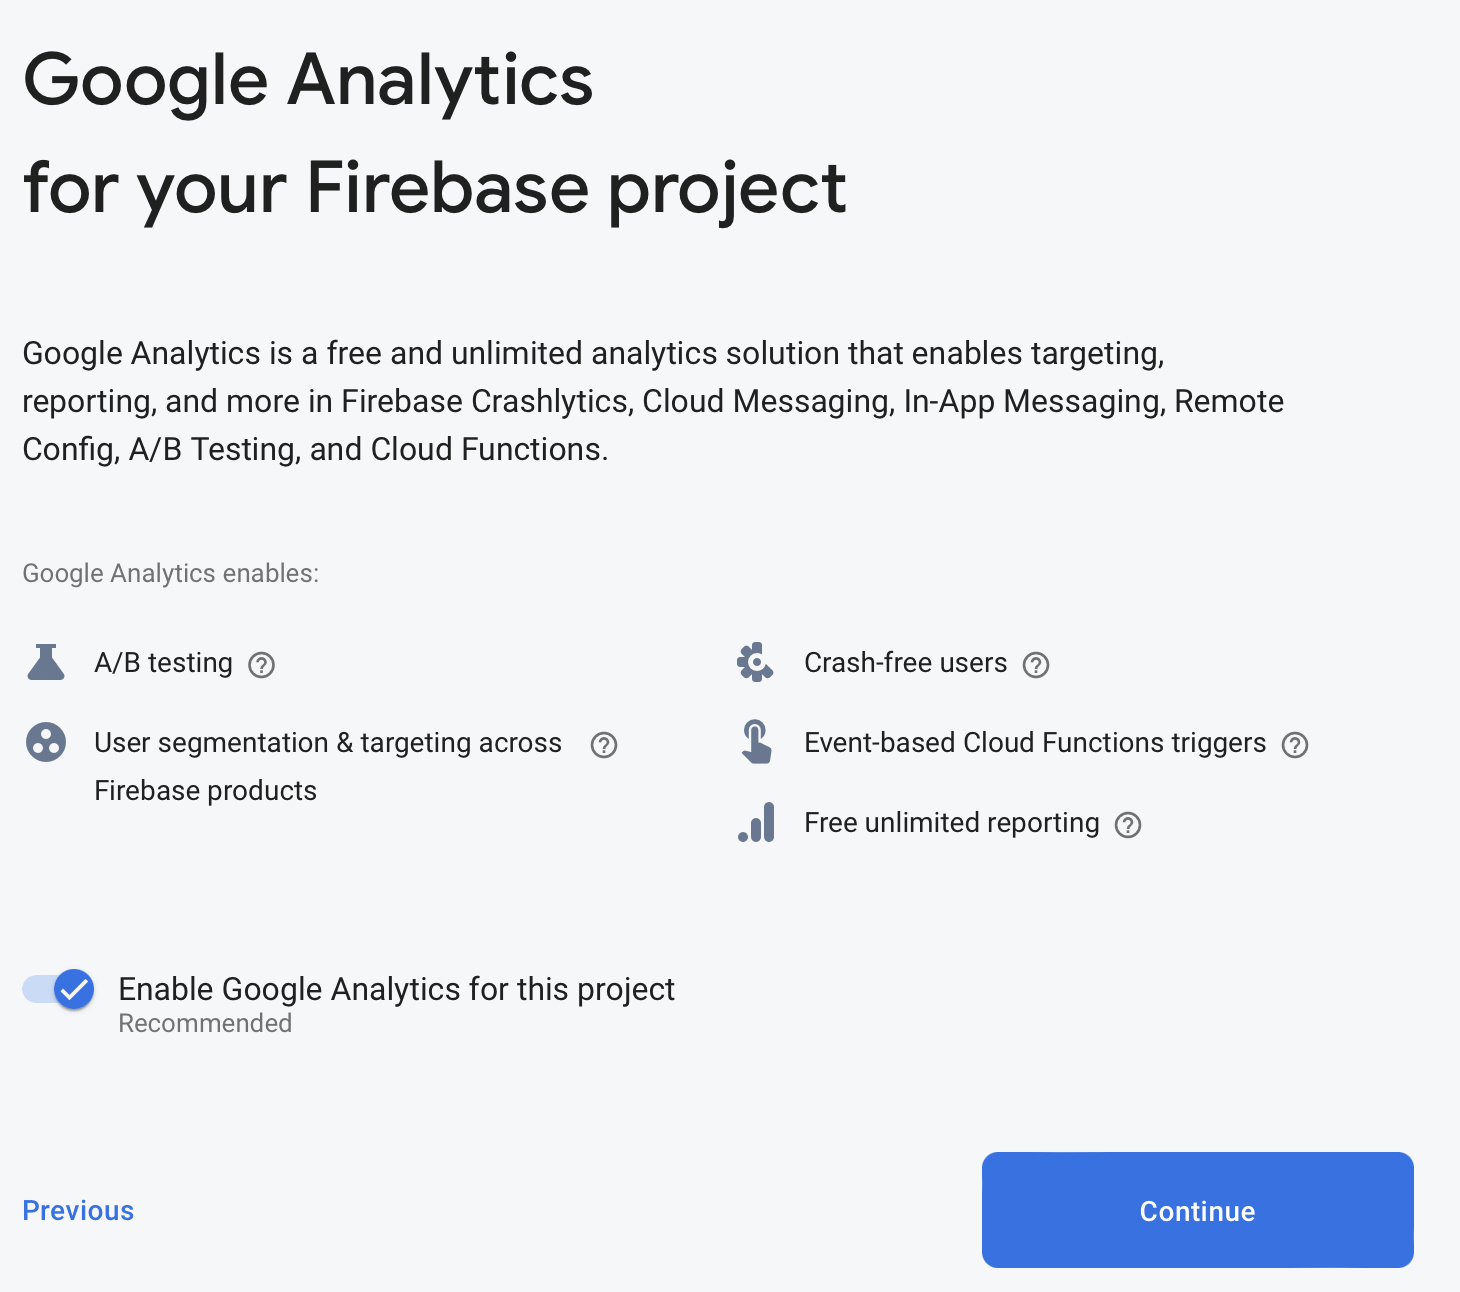
Next you’ll be asked if you want to enable analytics - at the time of writing the Firebase SDK’s implementation of analytics does not work with React Native, however you can configure this separately using Expo’s FirebaseAnalytics - Expo Documentation package.
You’ll then have to wait a few seconds for Firebase to provision your new project…
You then just need to click continue and you’ll see your project dashboard - now we just need to get our project credentials.
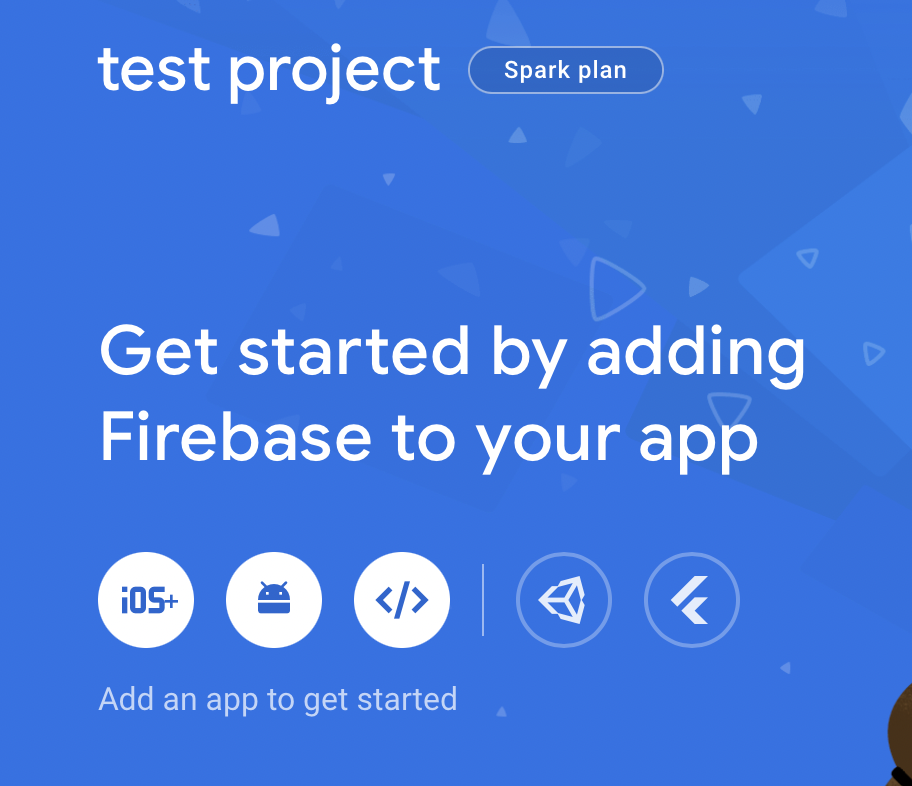
Add a Firebase web application
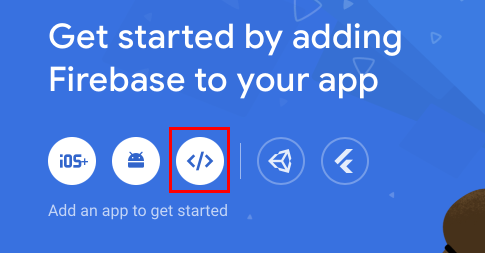
In the get started section of your project dashboard, you’ll see three different options for creating an app - iOS, Android and Web.
When using Firebase with the Javascript SDK we need to use the web option, which is the third from the right:
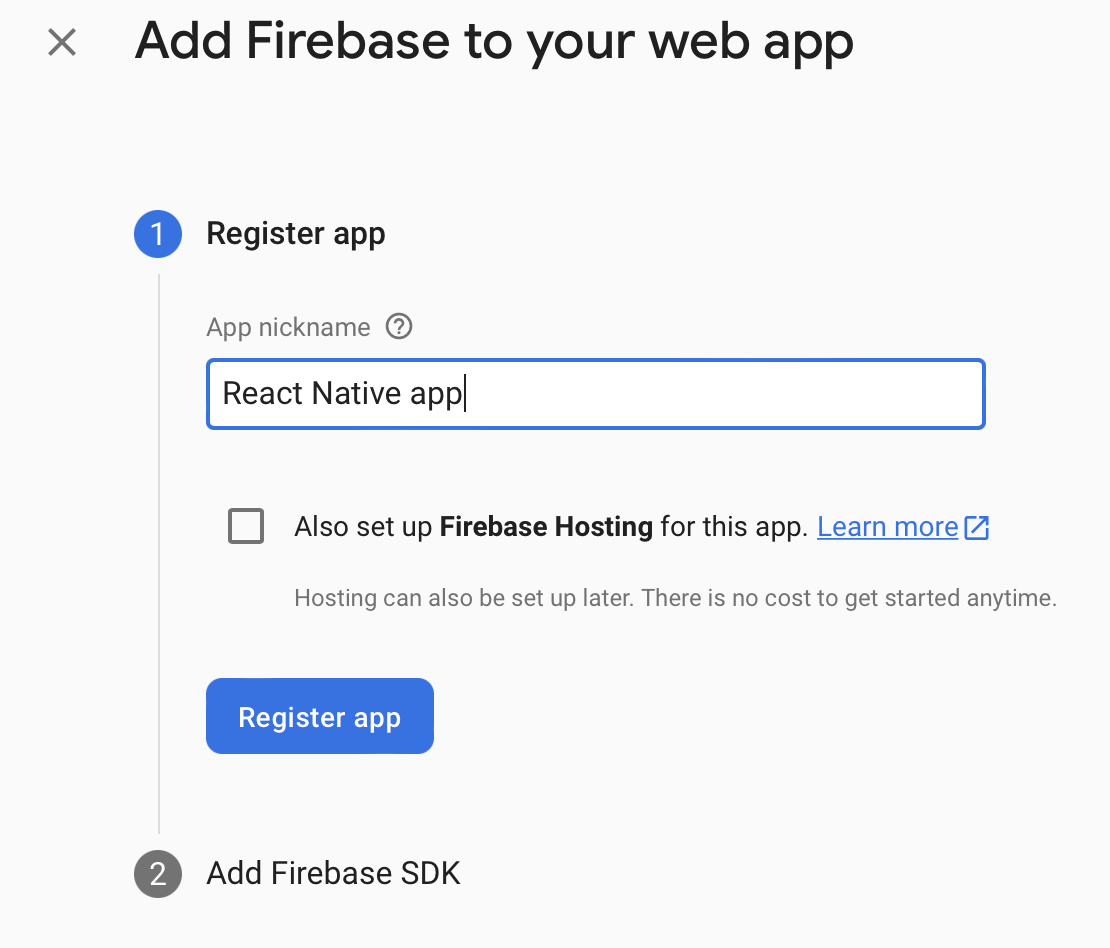
Give your app a nickname (whatever you’d like) and click Register app:
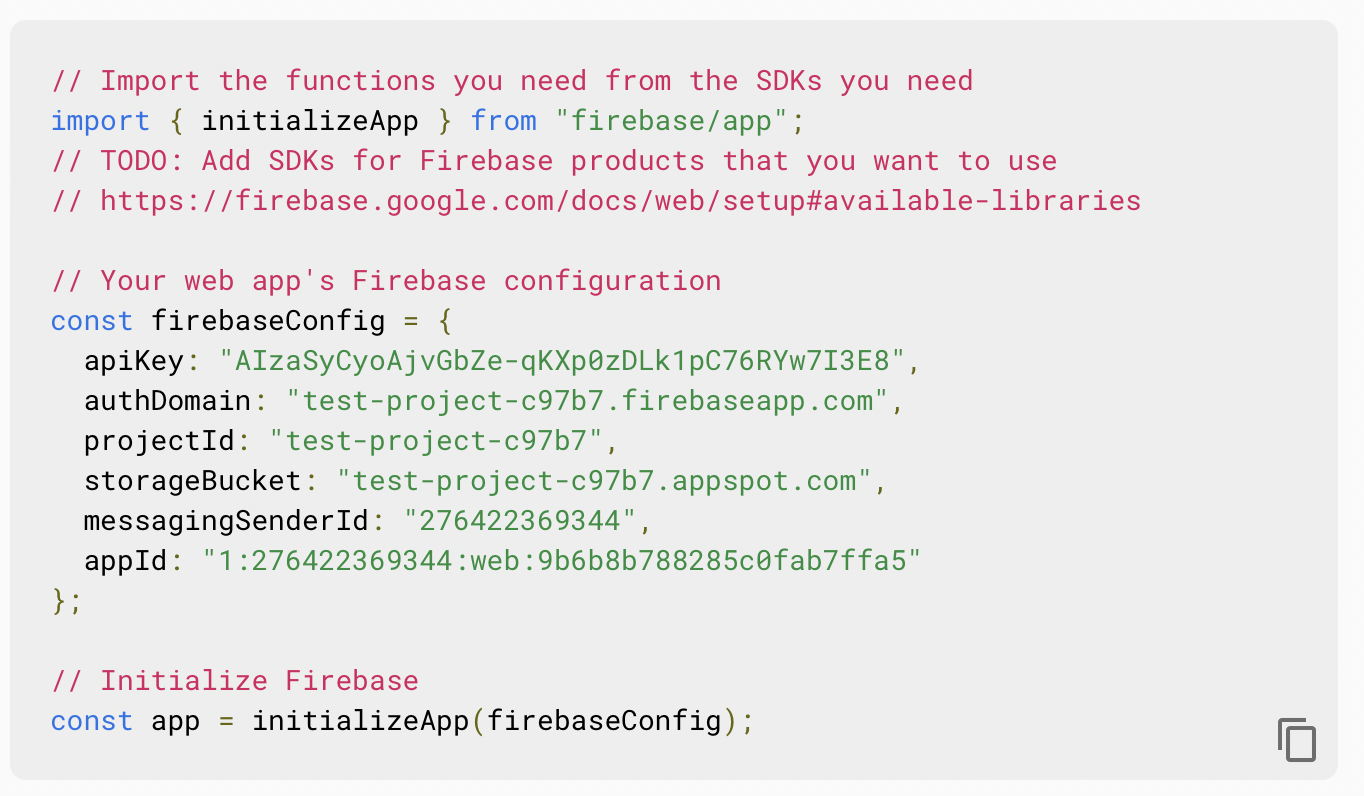
You’ll then see your Firebase credentials open up - copy this into your clipboard and we’ll use this to create your Firebase configuration file.
Create a Firebase configuration file
In your project create a file called firebase.js and copy the credentials you received above into it:
We can then initialise any Firebase modules that we want to use and export them from this file. For example, if we want to use Firebase authentication module, we can import the getAuth method at the top of our config file:
The underneath our app instance we can initialise an auth instance and export it:
We can then import our auth instance anywhere in our app that we need to use it. For example, if we want to sign in a user with their email and password, we can use the signInWithEmailAndPassword method and pass it our auth instance, like so:
Adding the database URL
One other thing to note - if you want to use either the realtime or firestore databases, you’ll need to add a line with your database URL. For some reason this doesn’t seem to be included in the default configuration Firebase gives you.
The database url is in the following format:
So for the project above, we’d need to add the following to our firebaseConfig object:
Conclusion and next steps
That should get you up and going with Firebase and React Native - I recommend checking out the Firebase documentation for instructions on how to use the different modules.
I have a tutorial on how to set up email authentication using Firebase - including how to implement signup, login and password reset flows.