How to use React Native Modal Datetime Picker
Request, Deliver, Revise, Done
Get unlimited UI Design & React Development for a fixed monthly price
50% off your first month
Introduction
Allowing users to choose a date or time (or both) is likely one of the common situations you'll encounter in React Native. As always in these situations, it's preferable to use the native implementations in iOS or Android rather than rolling our own date/time picker.
React Native has in the past provided it's own native date picker modules for iOS and Android - DatePickerAndroid and DatePickerIOS - but these have since been deprecated, so we need to reach for a third-party module.
Luckily there's React Native Modal Datetime Picker. React Native Modal Datetime Picker is a React Native module that allows you use the native date and time pickers on iOS and Android. It's easy to use and under the hood uses the React Native community DateTimePicker module.
In this tutorial I'll show you how to get started and how to setup the module for your use case.
Install with Expo
To install react-native-modal-datetime-picker, run the following terminal command in your project root:
To make sure that the picker respects your device theme, add the following to your app.json file:
Install with React Native CLI
If you're not using Expo and instead have a regular React Native project, run the following command to install the module with NPM:
Or if your project is using Yarn:
Then, you just need to run pod install:
react-native-modal-datetime-picker example
To get started, let's add a simple date picker implementation. First we need to create a state value that will eventually hold the date object for our selected date, but until the user has selected a date will just be null:
We also need to add a state value that decides whether our date time picker is currently visible or not. This will be a simple boolean value:
Now we'll create a couple of functions that will toggle the value of datePickerVisible depending on whether we want to show or hide the modal:
We'll also add a confirm function that will be run once a user saves a date or time - this will set the selectedDate value and run the hideDatePicker function:
Now we need to add our component. First lets create a basic layout for our app, including a SafeAreaView so our app doesn't collide with device notches. In that we'll nest a View which will layout or content in the centre of the screen:
First we need to add a Text component that will display the formatted version of our date object - and if there's no selected date - will display some informational text as a fallback:
Then we need to add a button that will open our picker modal by running the showDatePicker function, allowing the user to set the date:
Then we just need to add our DateTimePickerModal component. Here's how it's setup:
- The date prop is our selectedDate state value - this will initially be null, meaning no date is selected.
- The isVisible prop will be our datePickerVisible state value - this will initially be false.
- There are three 'modes' that you can use with the module - date, time and datetime. There are explanations for all three of these later in the article - but for now, we're just going to set it to date mode.
- For the onConfirm prop, which runs when the user confirms a date, we'll pass in our handleConfirm function.
- For the onCancel prop, which runs when the user cancels the date selection process, we'll pass in our hideDatePicker function.
Now we're ready to go! Here's the complete code for our example:
And this is the result. The user can now select a date and it will display in the app:


That's the basics of how you implement React Native Modal Datetime Picker - in the rest of the article I'll show you some things you might need to be aware of and other ways you can use it, including the three 'modes'.
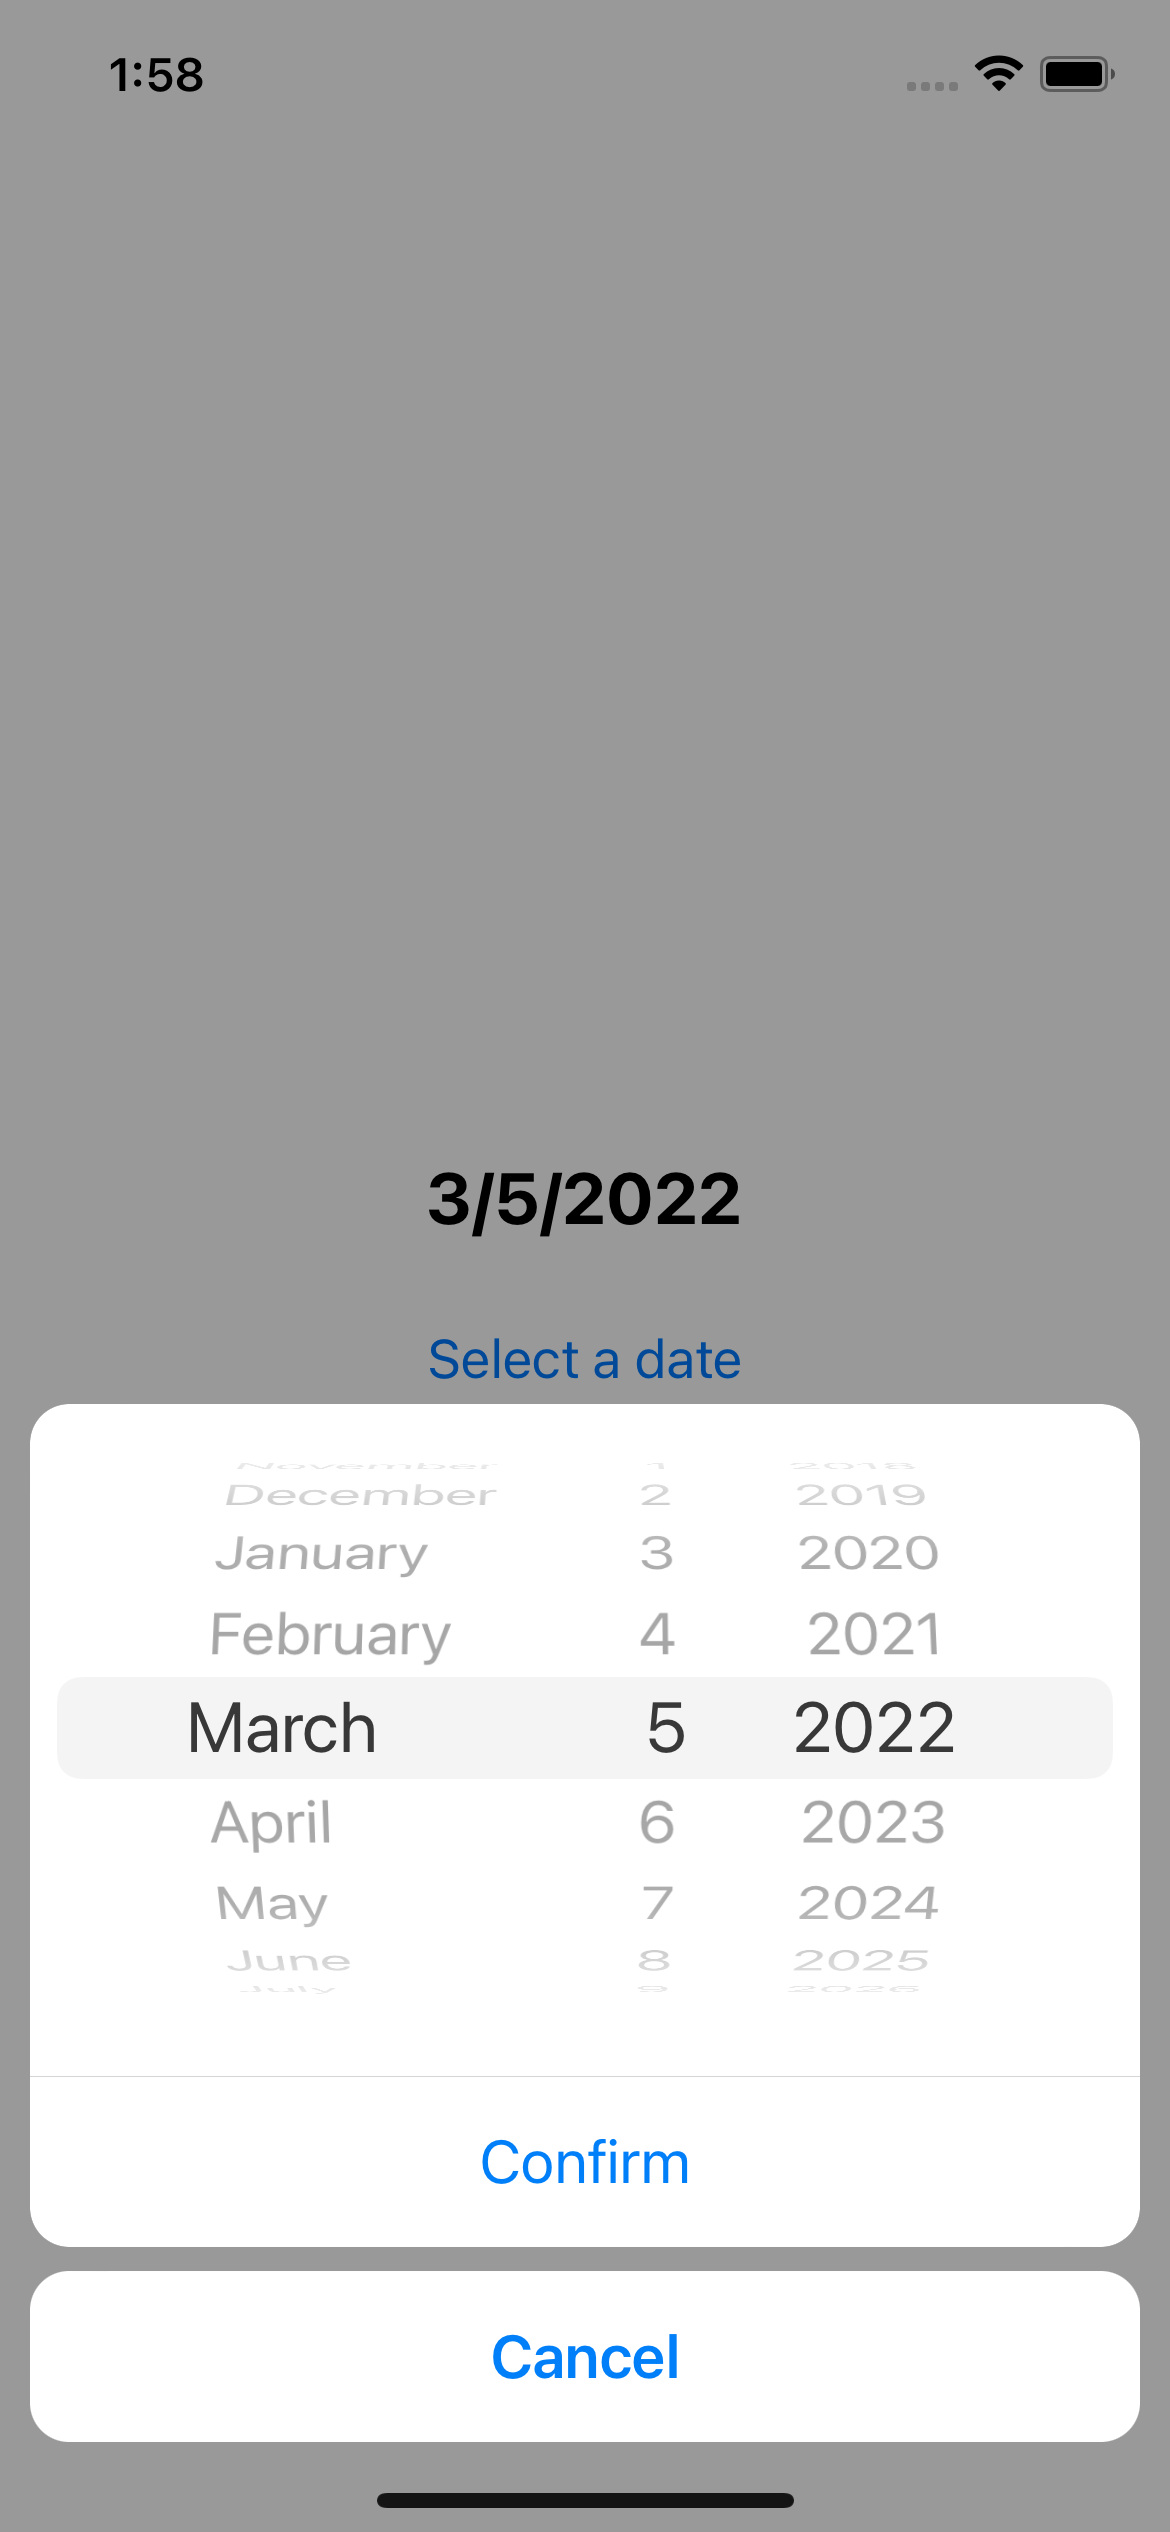
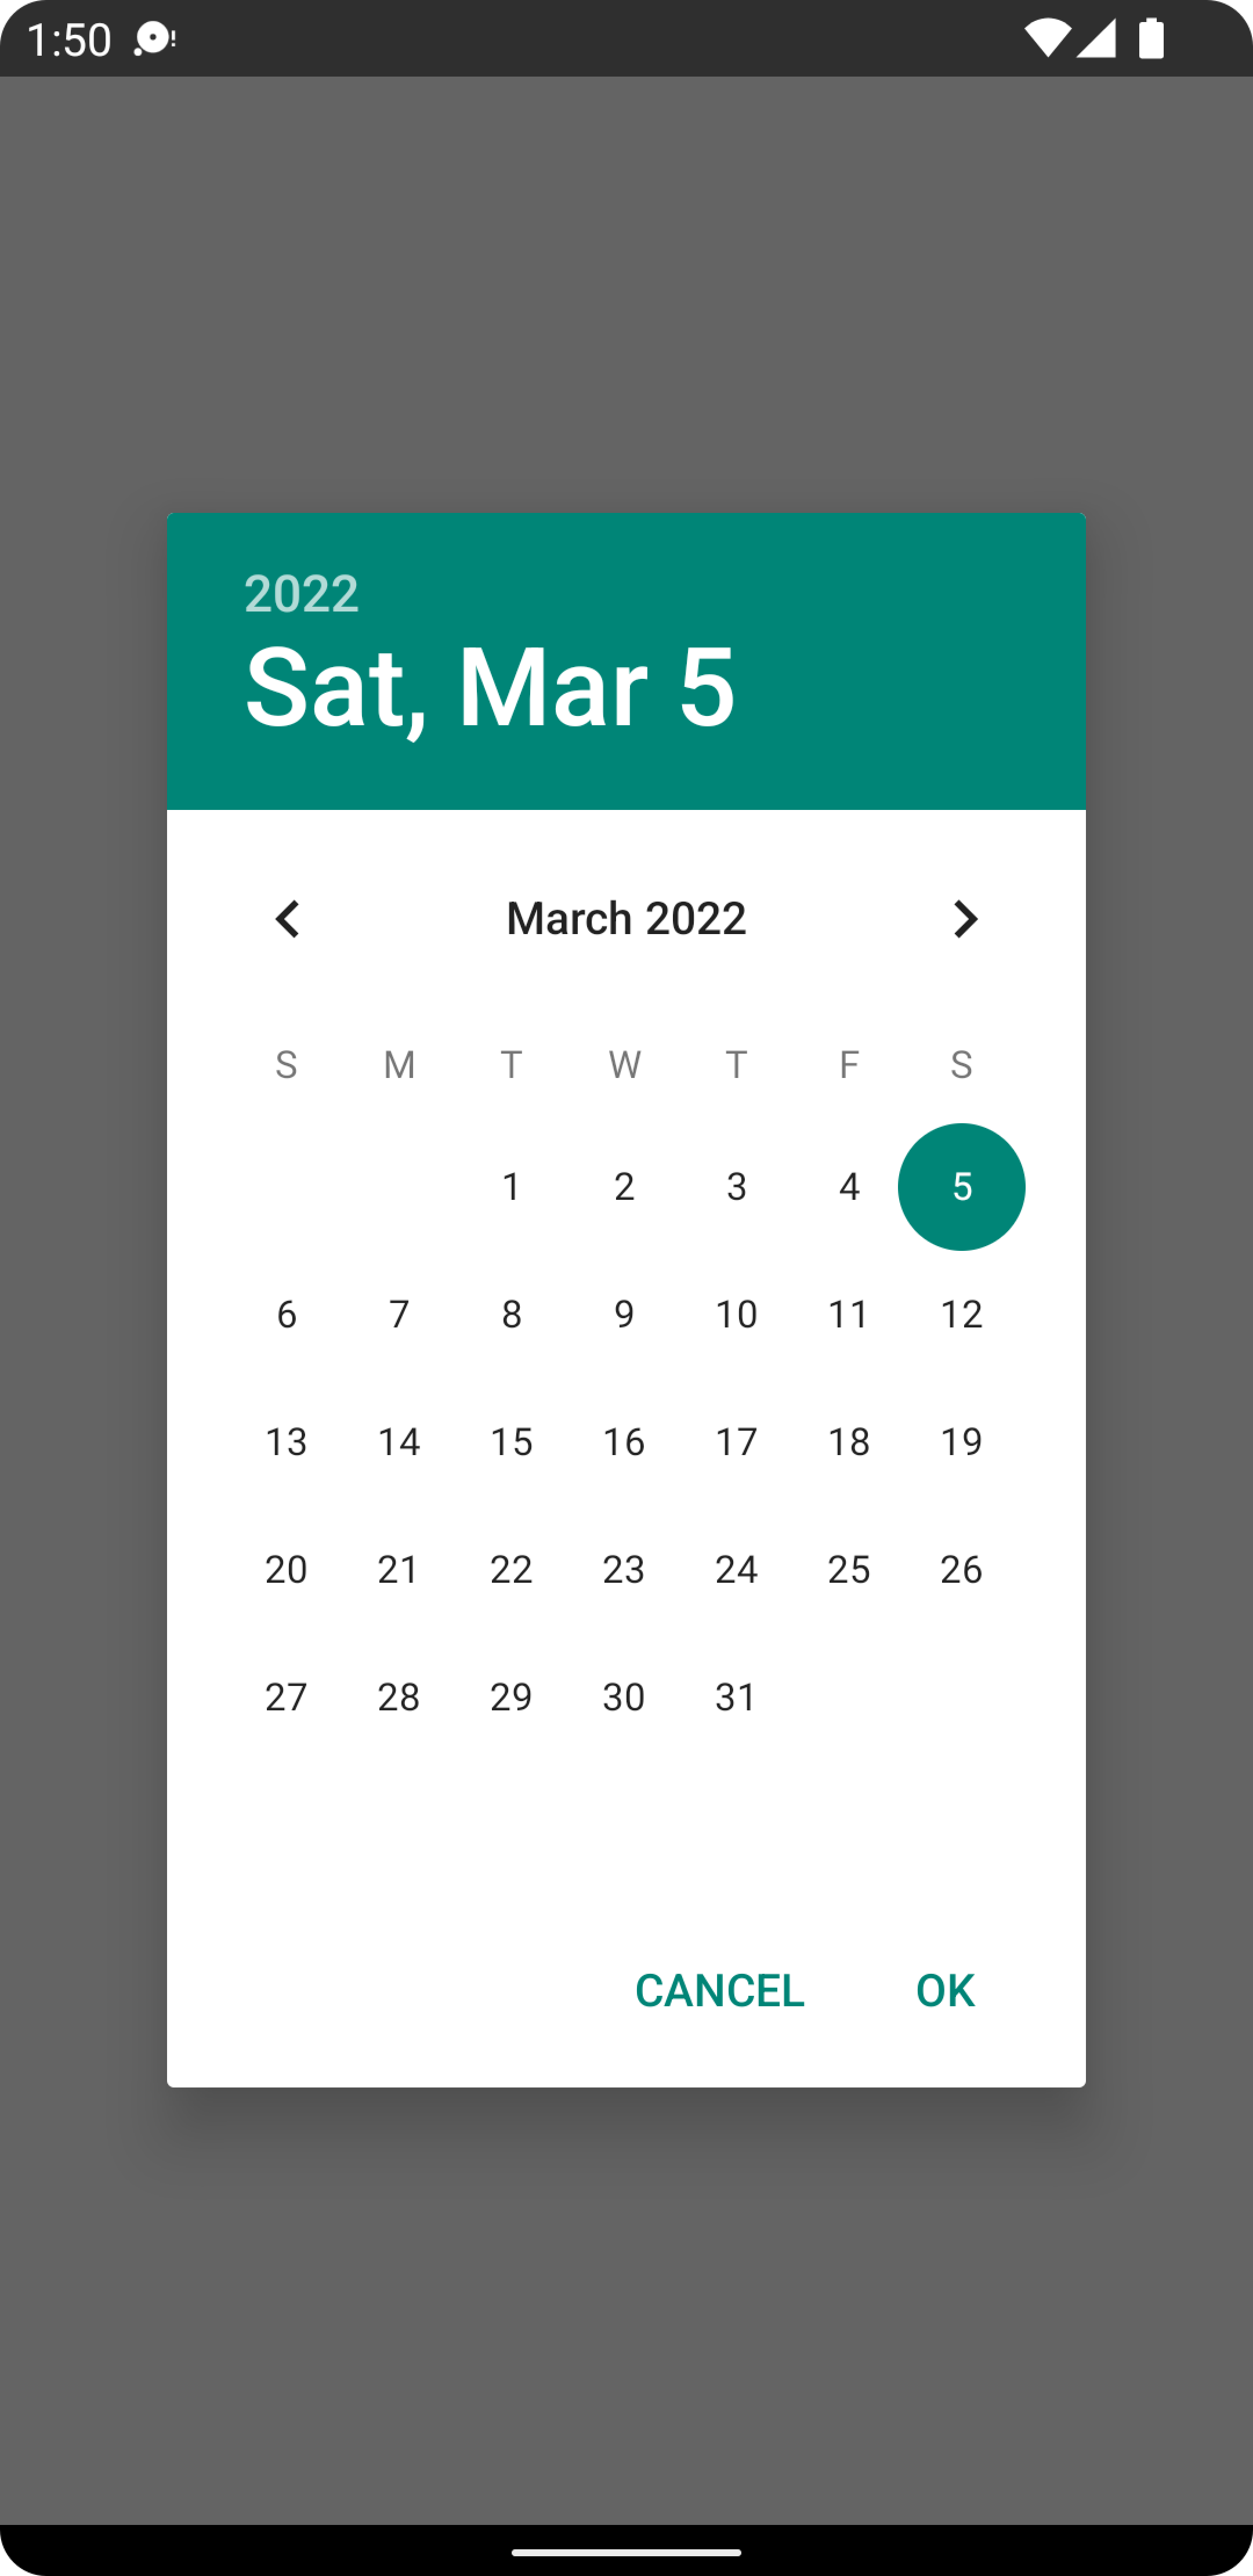
Date mode
If you just want to let the user select a date, you can use date mode. To use date mode, set the mode prop to 'date':
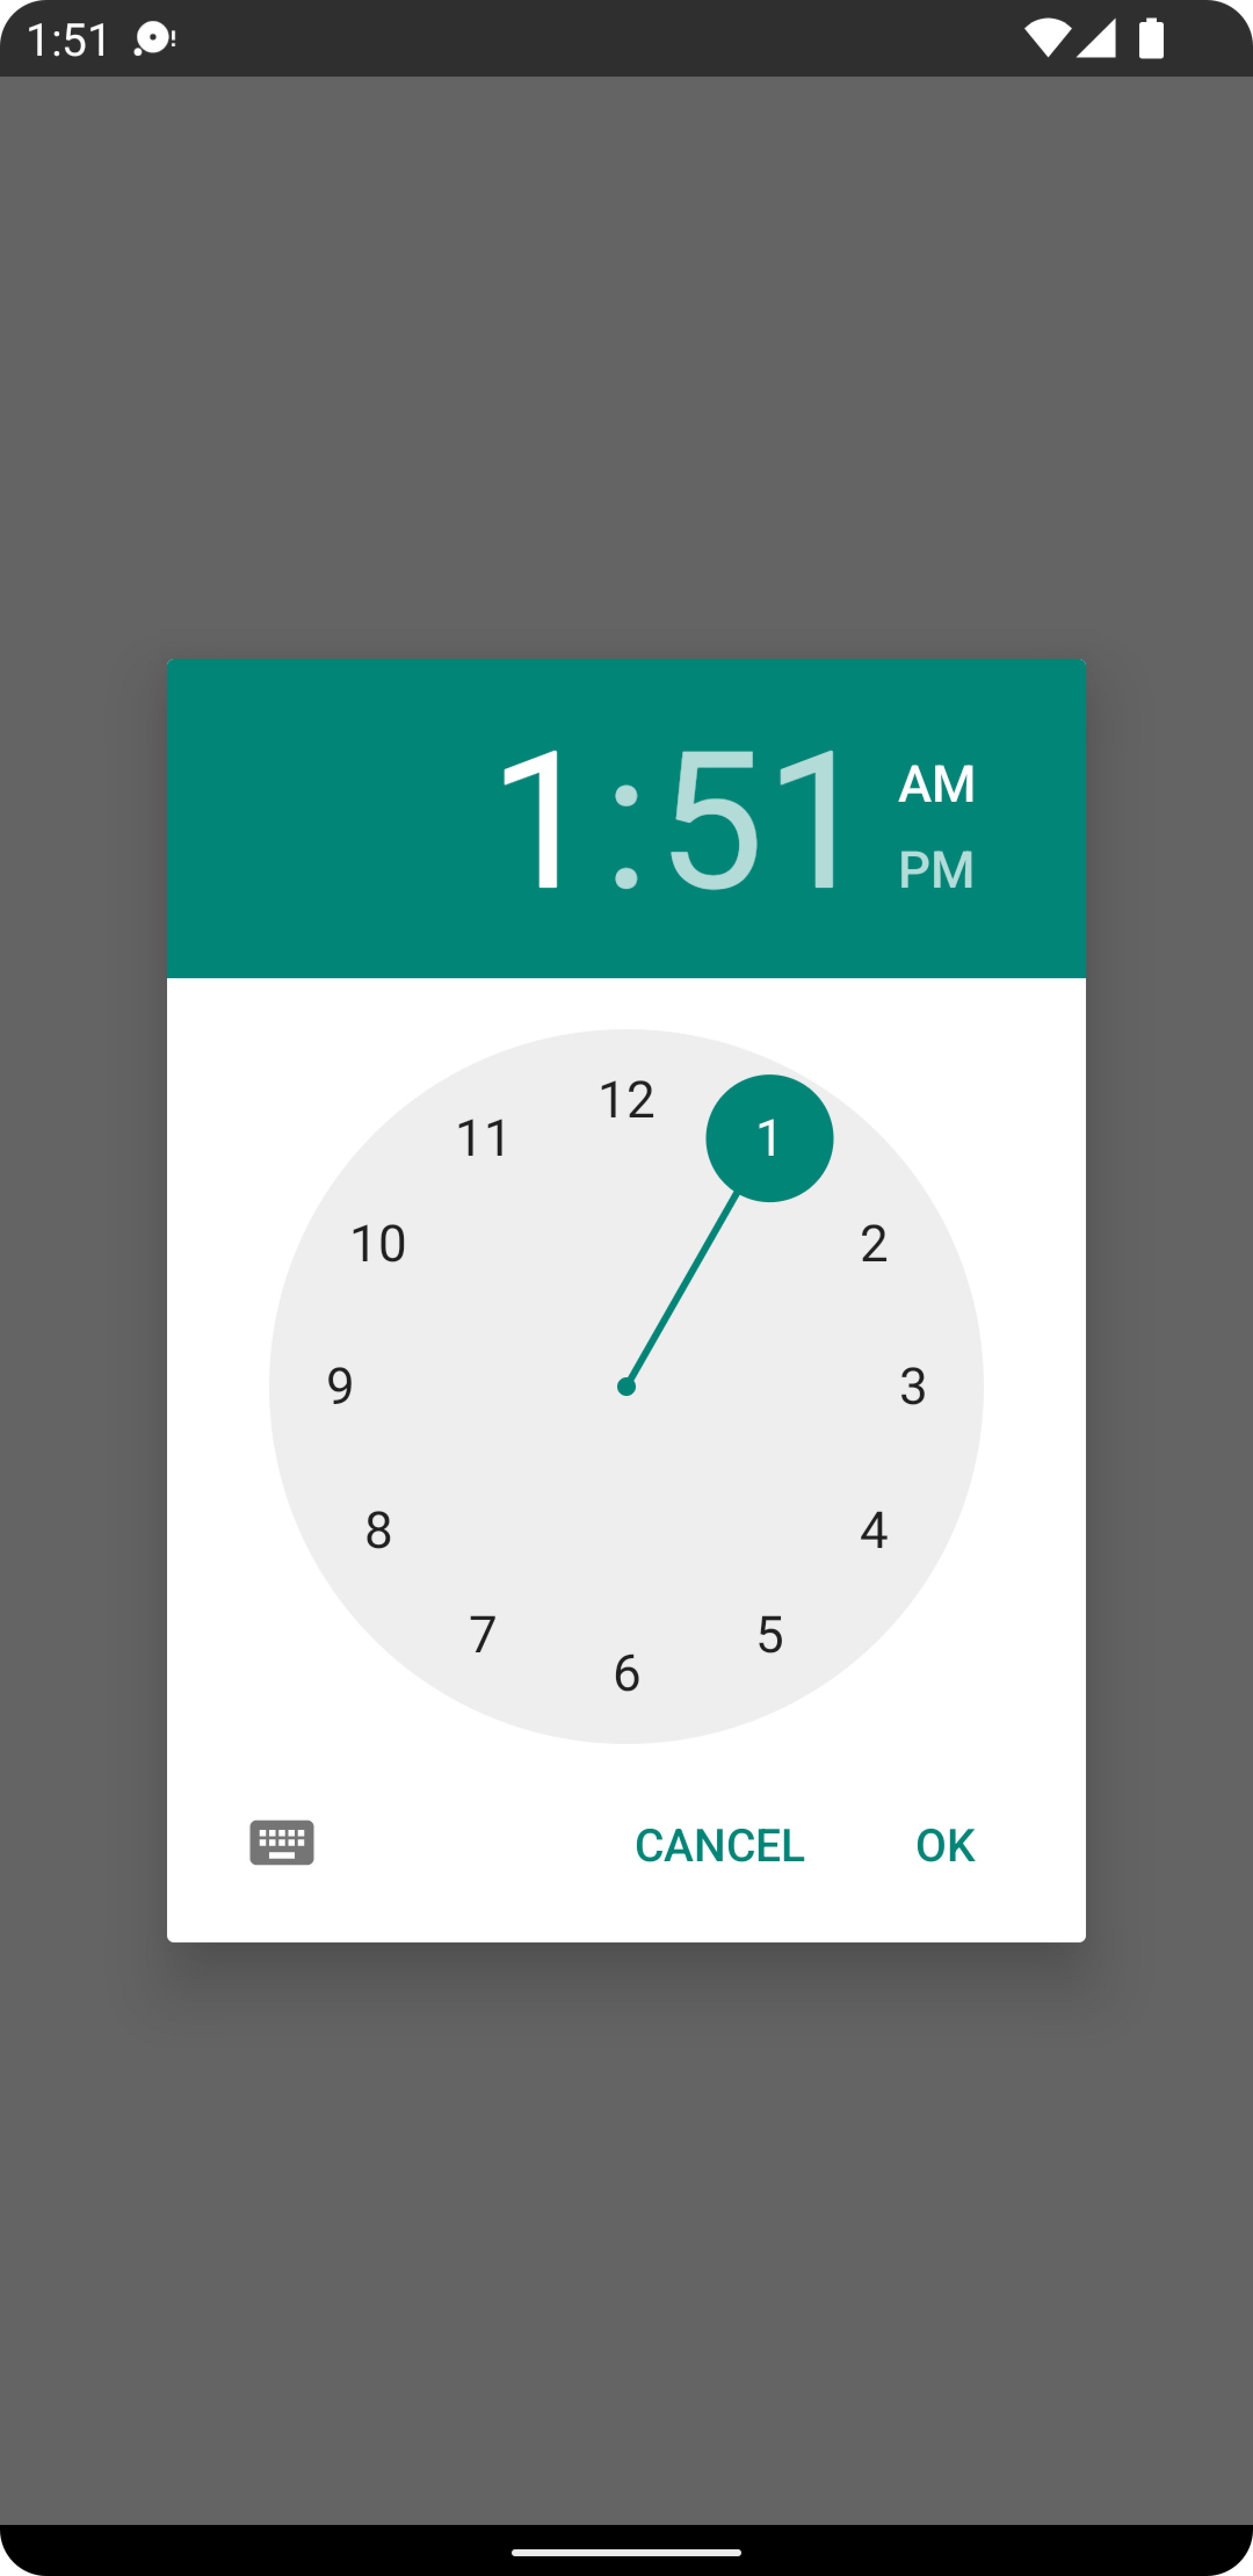
Time Mode
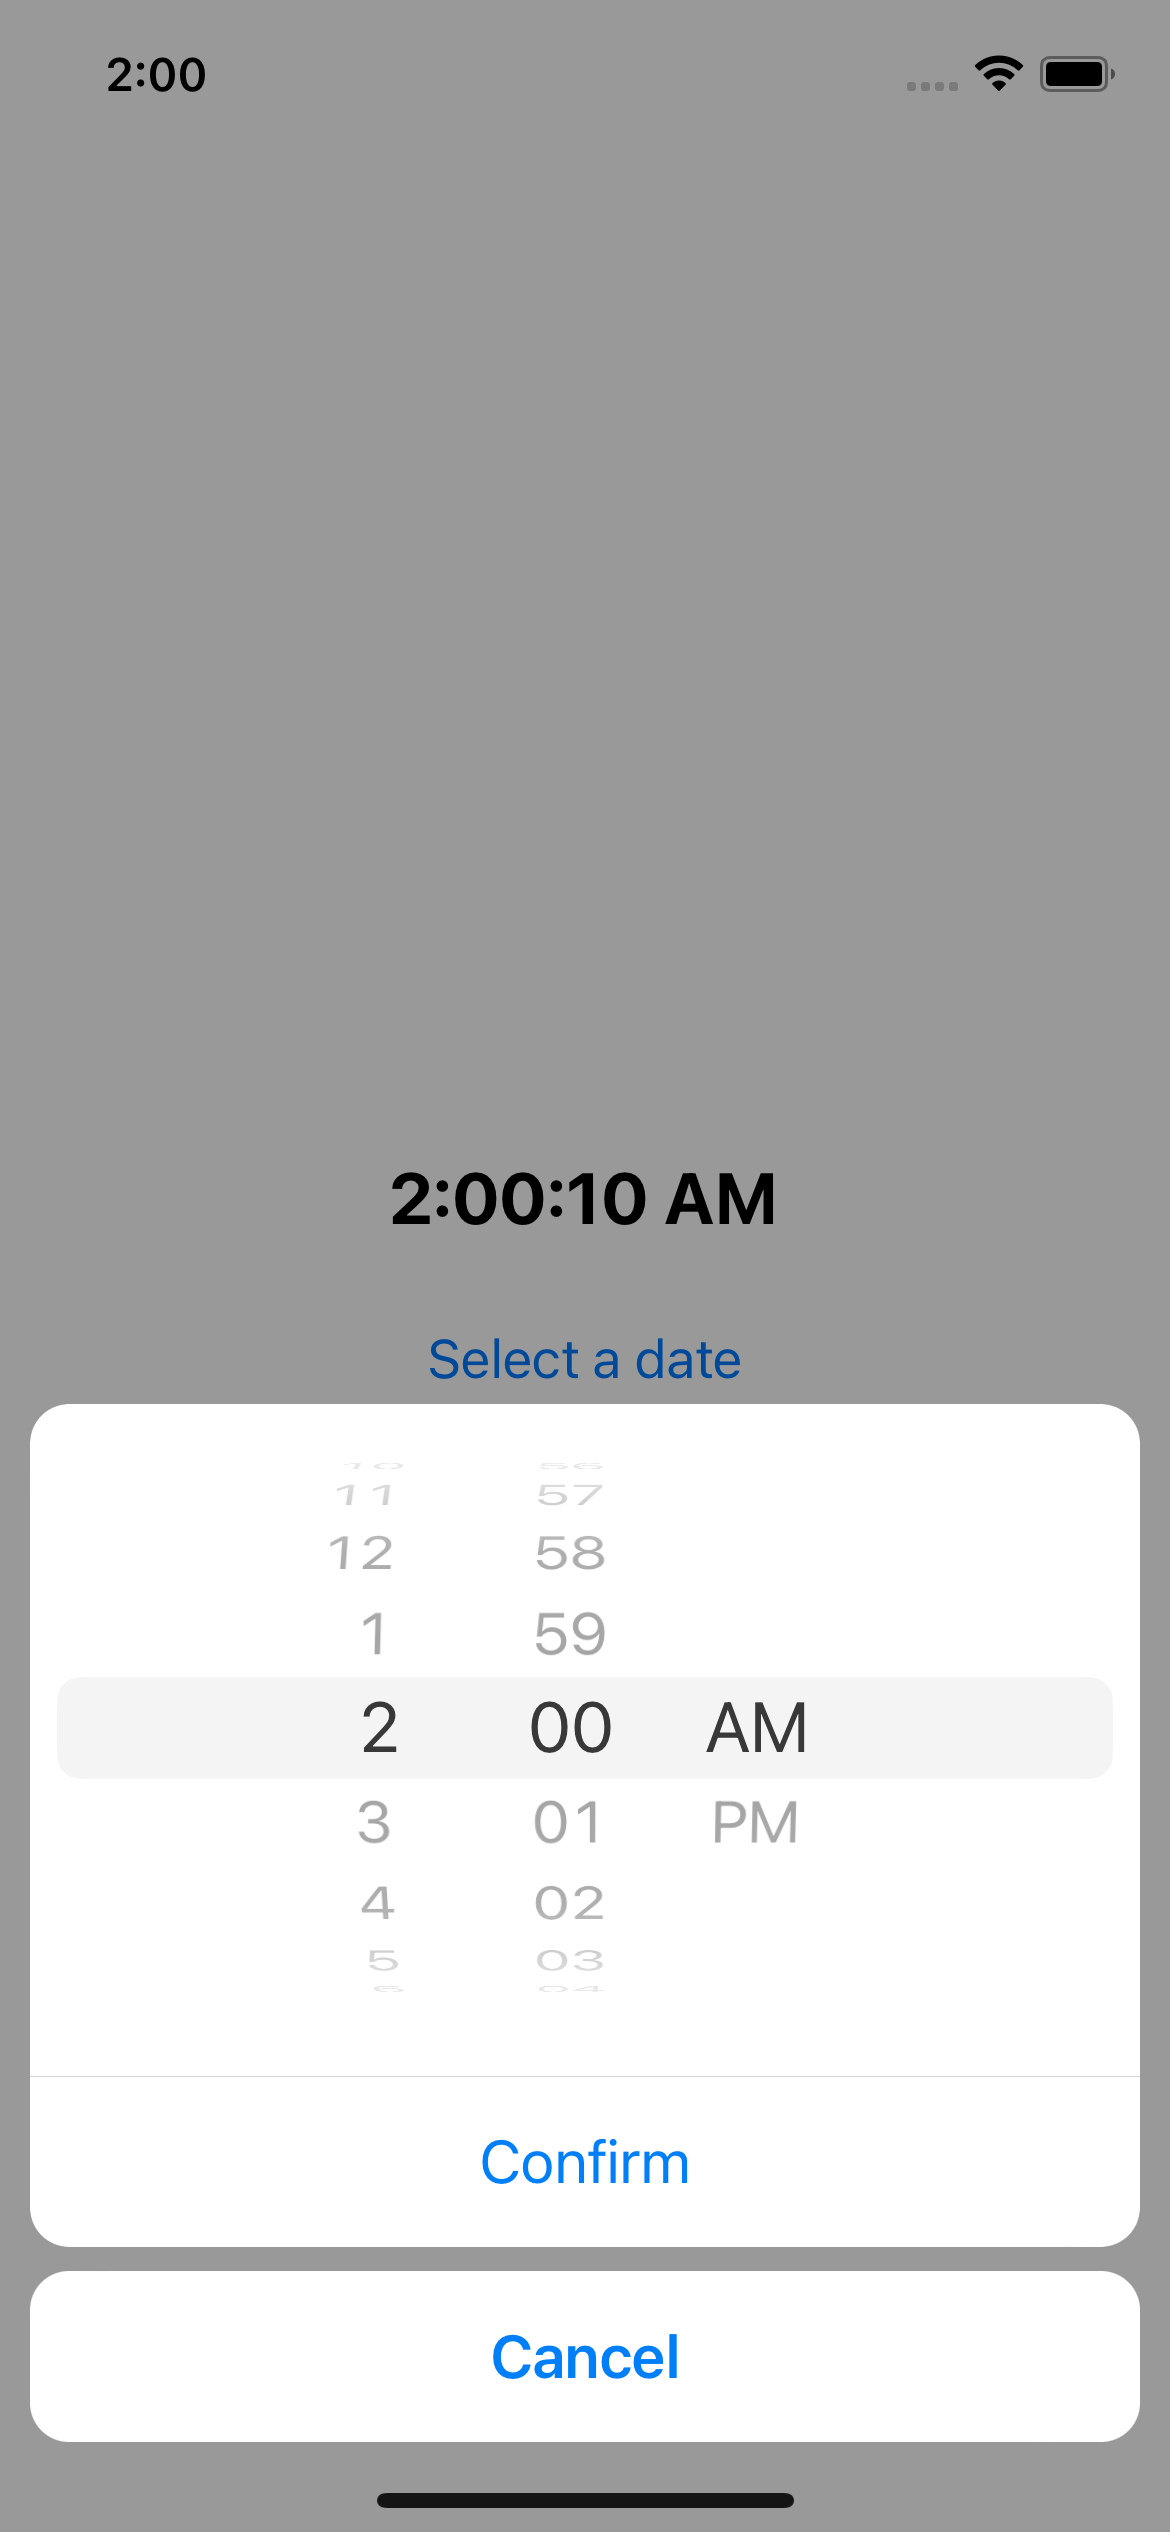
If you want the user to set just a time, rather than a date, set the mode prop to 'time':
Datetime mode
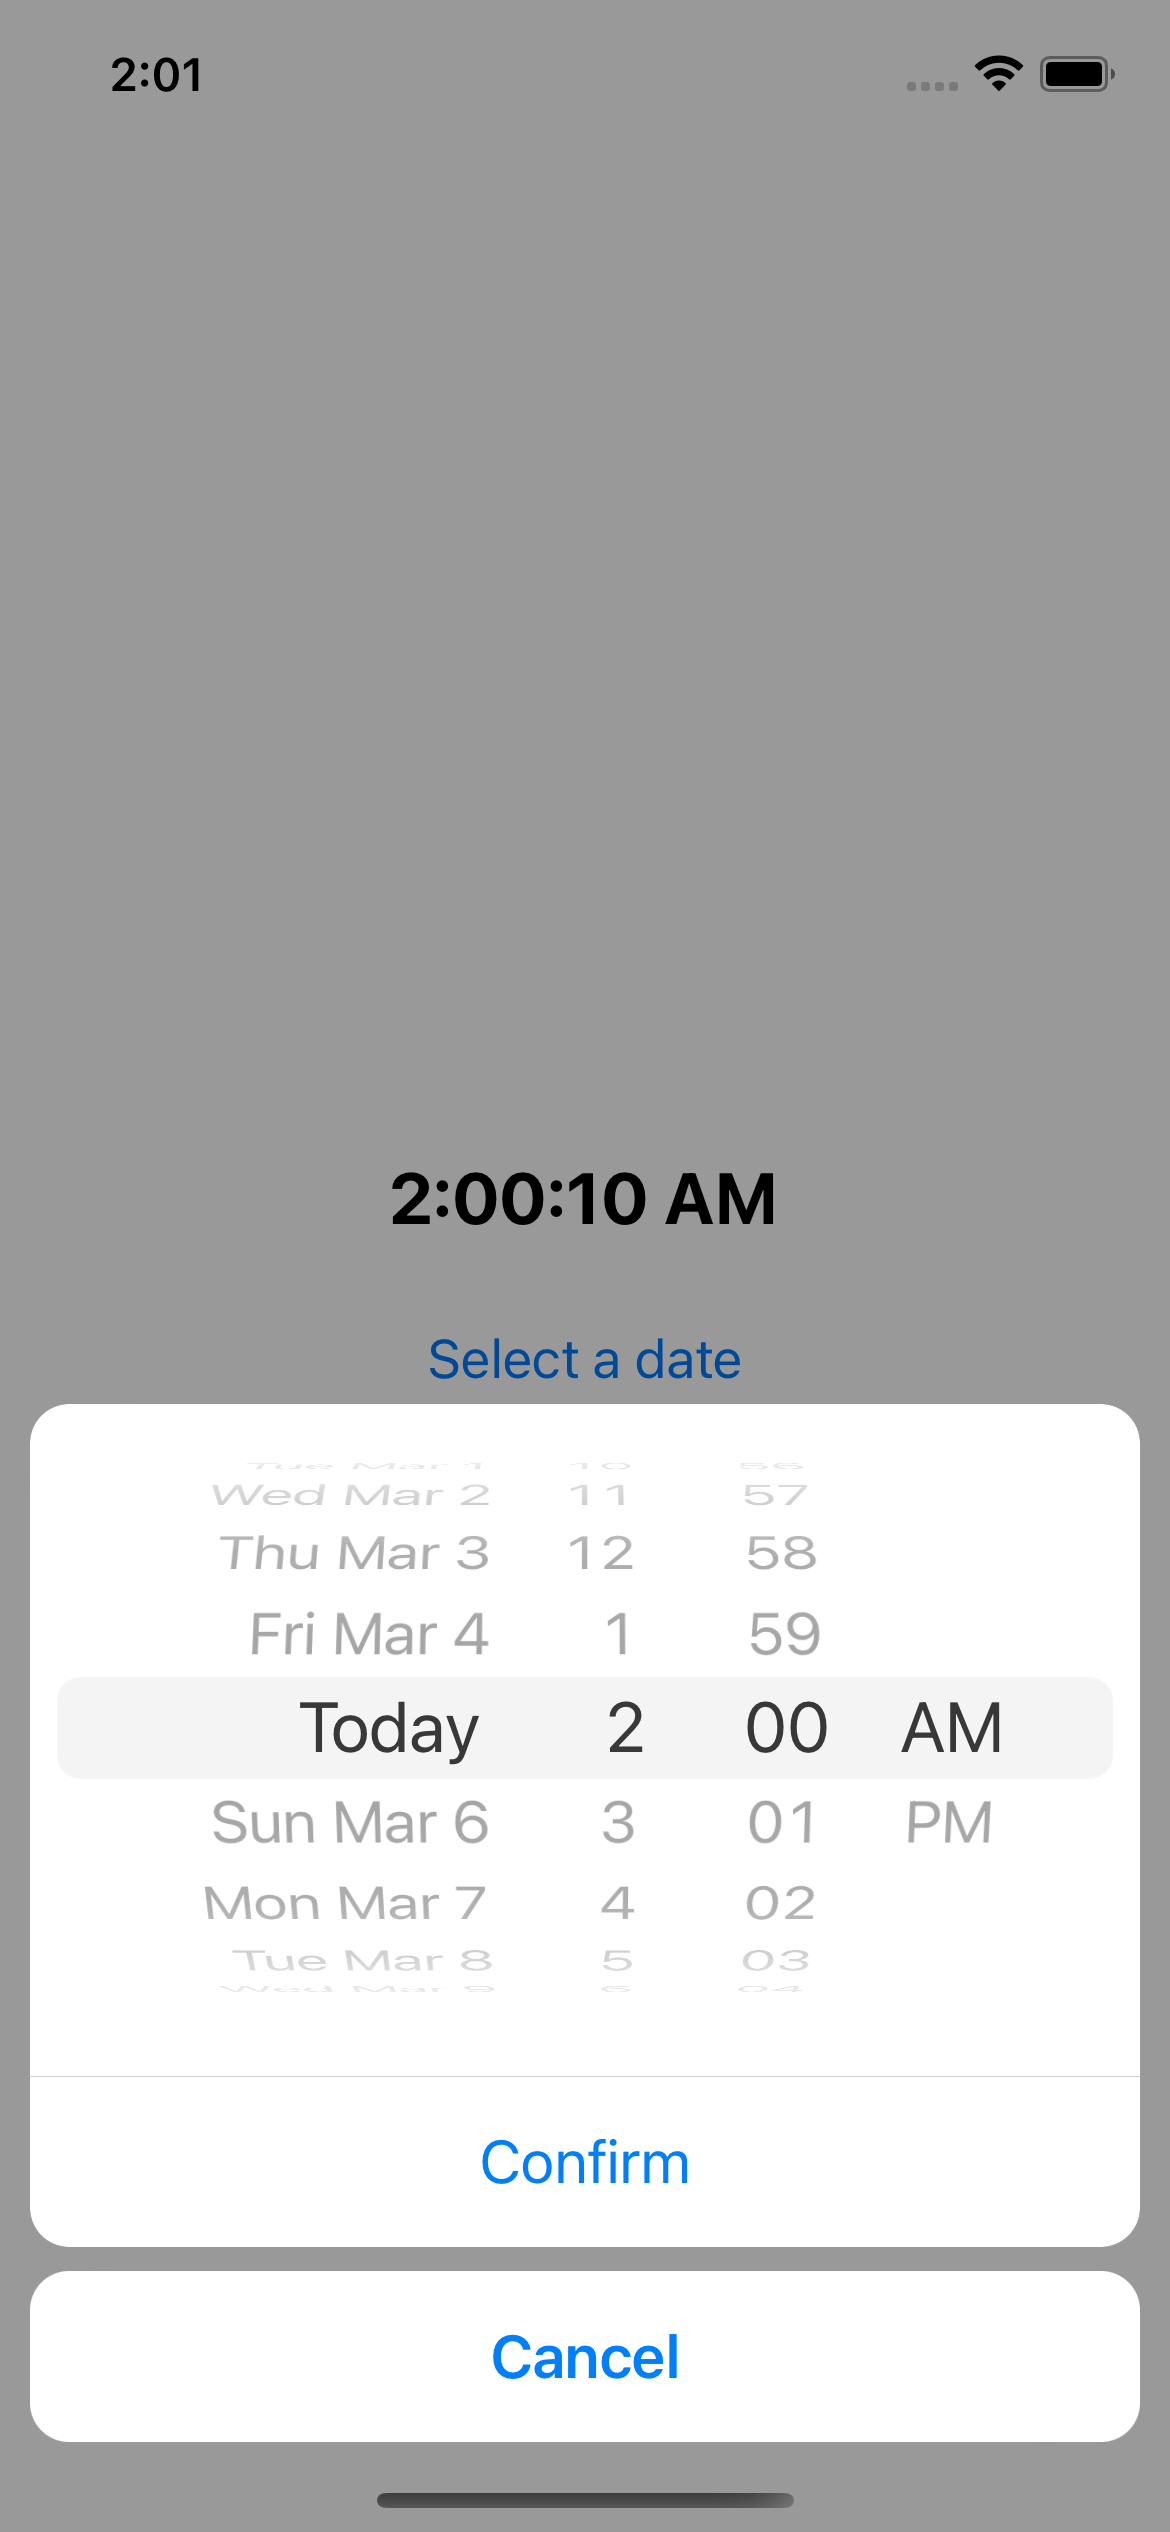
If you want the user to be able to select both a date and time, set the mode to 'datetime':

Setting an initial date
To set an initial date, simply set a default when you declare the state value that contains your date object. In this case we've set the initial date to be a specific date:
If you want to set the initial date to be todays date, pass in an empty date object:
Setting a minimum and maximum date
To set a minimum and maximum date, use the minimumDate and maximumDate props:


Set time format to 24 hours
To set the time format to 24 hours, you can use the is24hour prop - however, this is only supported on Android. There is a workaround to get it to work on iOS - simply set the locale prop to “en_gb”.


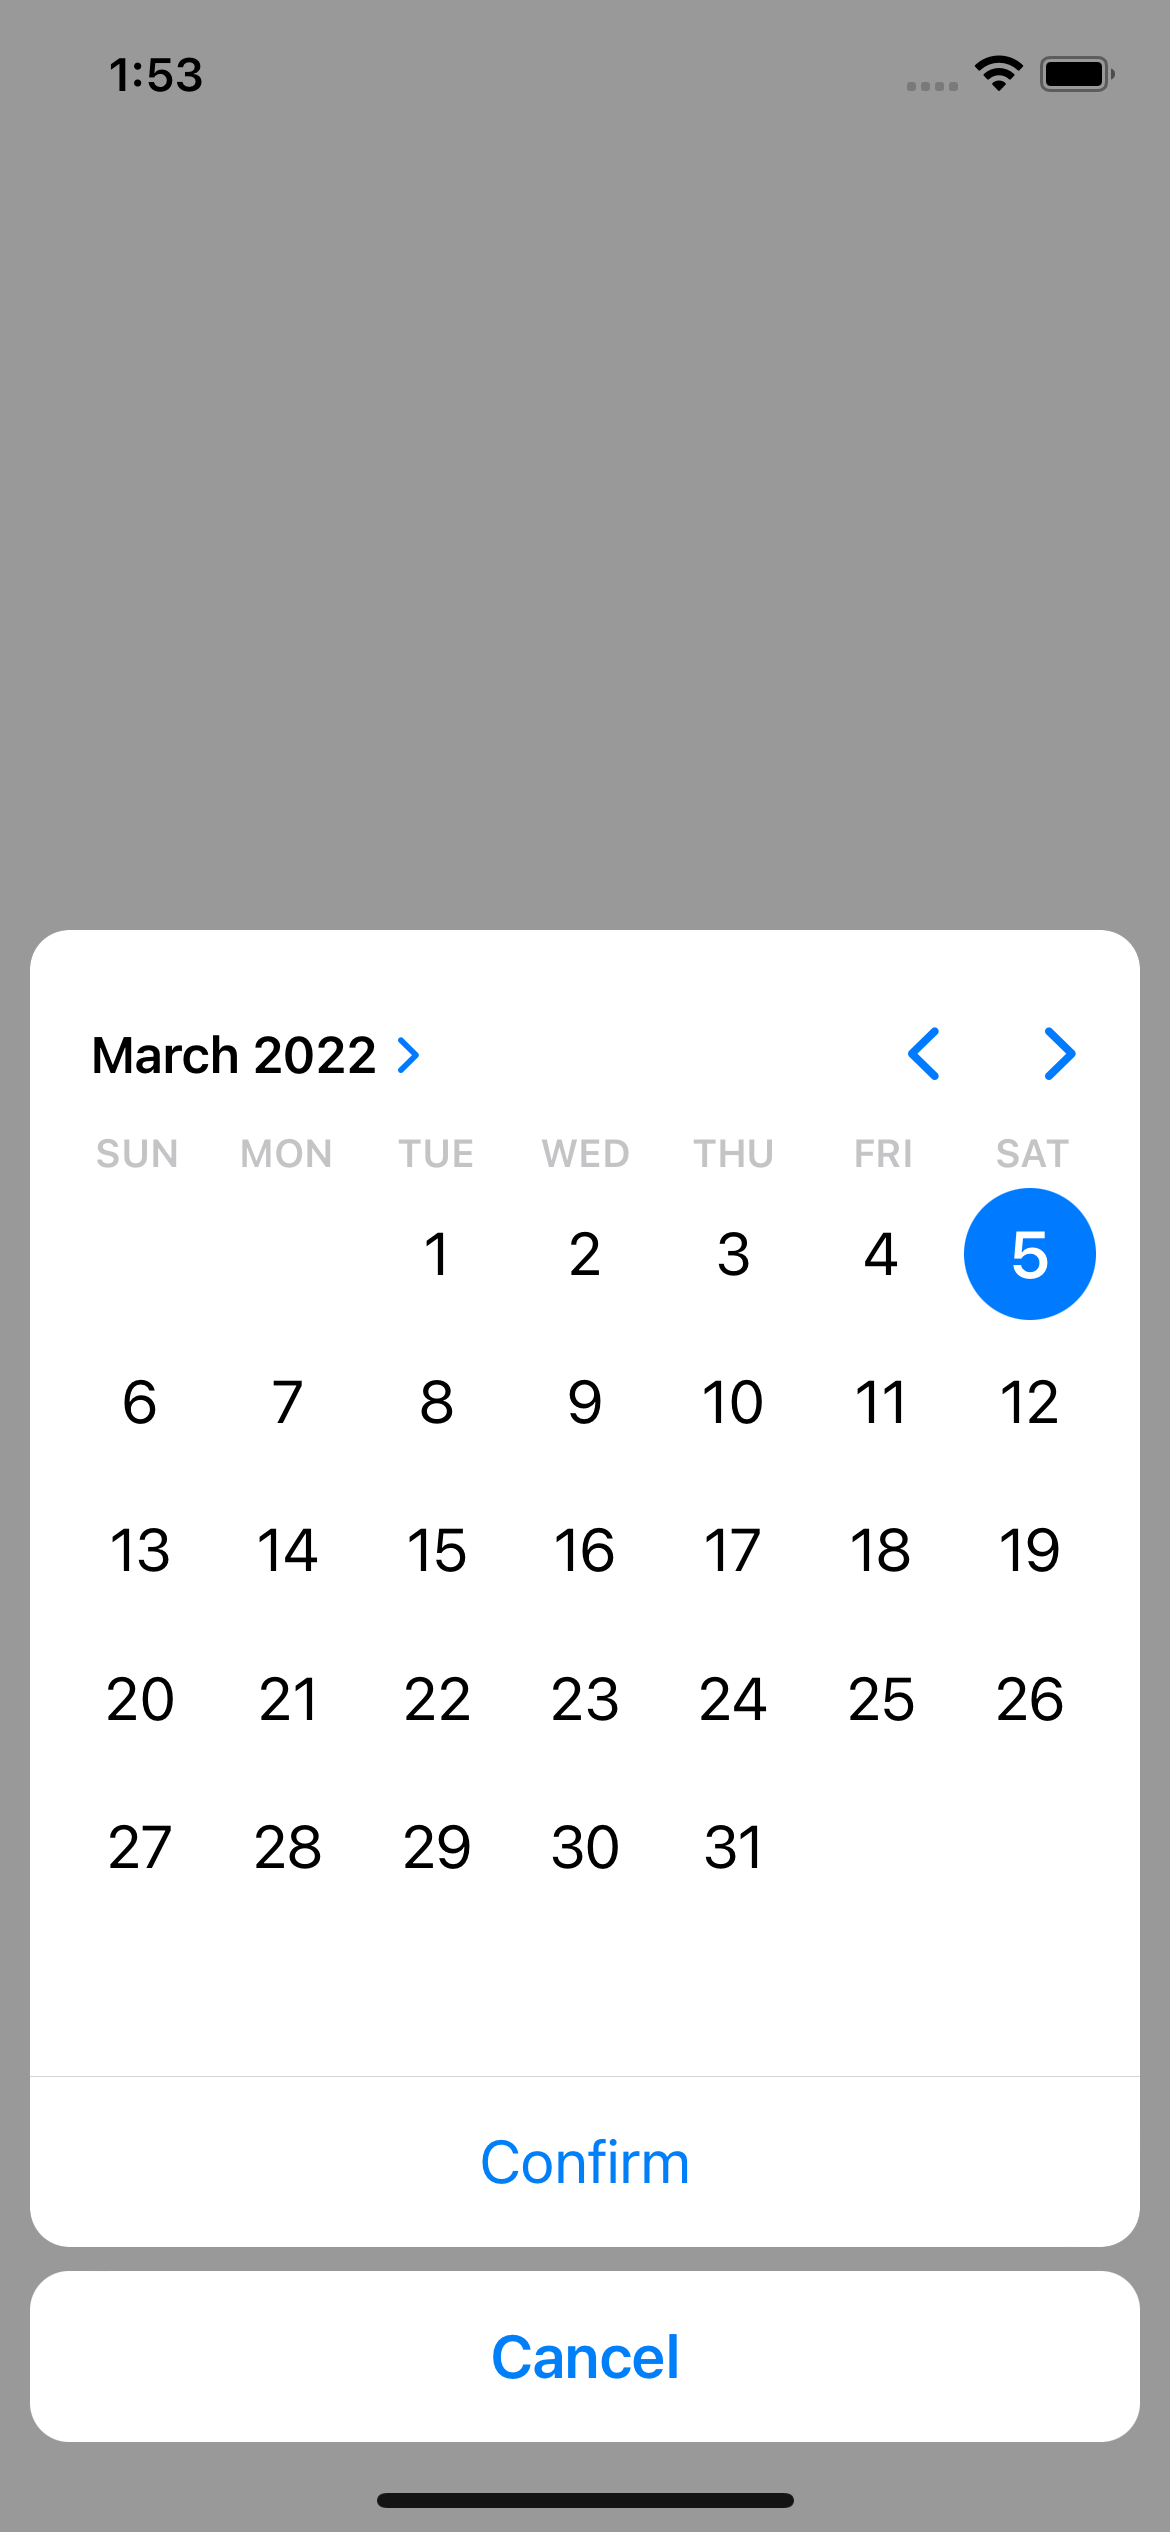
Using iOS 14 style datetime picker
To use the new iOS 14 style of datetime picker, set the display prop to inline:
