How to use React Native FS to access the filesystem
Request, Deliver, Revise, Done
Get unlimited UI Design & React Development for a fixed monthly price
50% off your first month
How to access the filesystem in React Native
Occasionally when working in React Native you might find that you need to access the native filesystem on iOS and Android. The best way to do this by using the react-native-fs package. In this article I’ll explain how react-native-fs works and how to use it.
What is React Native FS
React Native FS (or react-native-fs to use the proper name) is a package that allows you to easily work with the native filesystem in React Native.
Install react-native-fs with npm or yarn
To get started, install react-native-fs in your project by running the following command in your terminal, at the root of your React Native project:
Alternatively if your project is using Yarn, run the following command:
Lastly we need to use React Native autolink to link the package:
Done! You should now be able to use React Native FS.
How to write a file to the filesystem using react-native-fs
First, let's add a TextInput that writes it's value to state:
Our saveFile function doesn't currently do anything. Let's get it working. When we hit the save button, we want to save a text file containing the value of fileText. First, import RNFS at the top of your component file, like so:
Then we need to create the filesystem path that we want to write the file to. We do this using a constant called DocumentDirectoryPath:
Then we can write the file to the filesystem using the writeFile function, and show an Alert to the user to confirm that the file has been saved:
Here's our complete form:
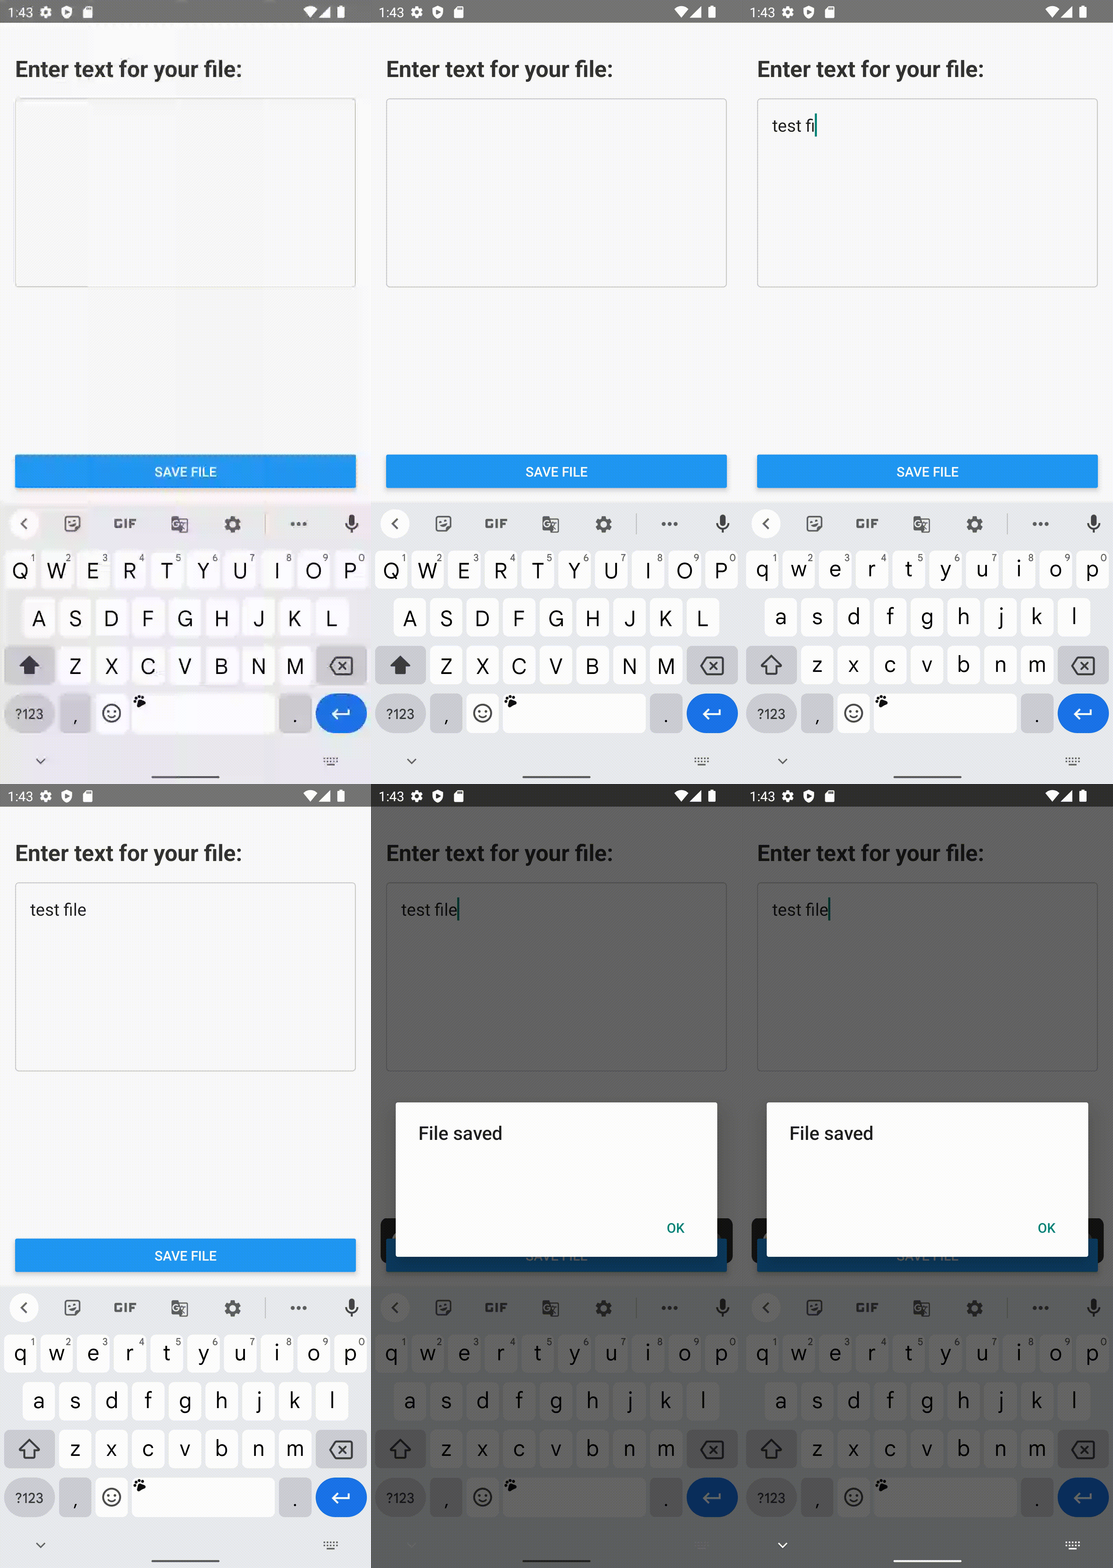
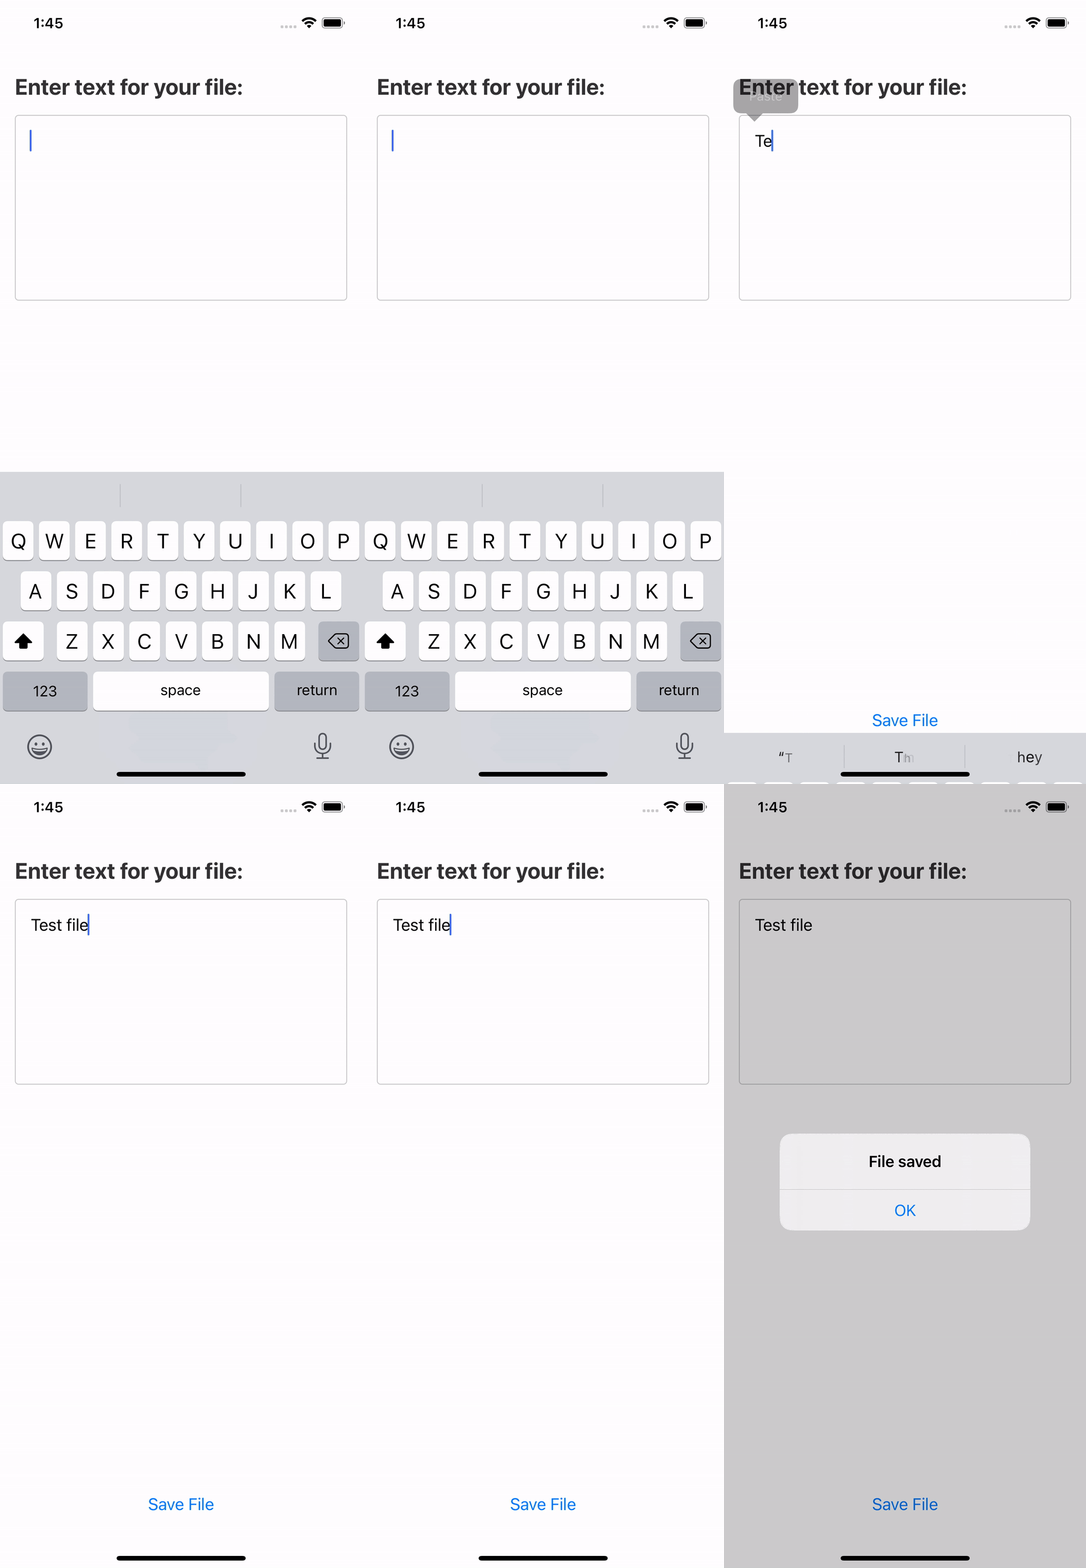
As you can see, we're now saving the file to the filesystem. Great stuff! Save a few documents using them form and lets use react-native-fs to query them and display them in a list.
How to list files using react-native-fs
As our App will now have two separate views, lets move our create file component into it's own view:
Let's create a ListView component that will eventually contain our list of files, and contains a button that will open our CreateView using a state value we're going to create with useState called createViewActive:
Let's also change our saveFile function so that it sets createViewActive to false once our file has been saved, so that we go back to the ListView:
In our App component, we'll create a createViewActive state value. If the value is true, our CreateView will be rendered - if it's false, our ListView will be rendered.
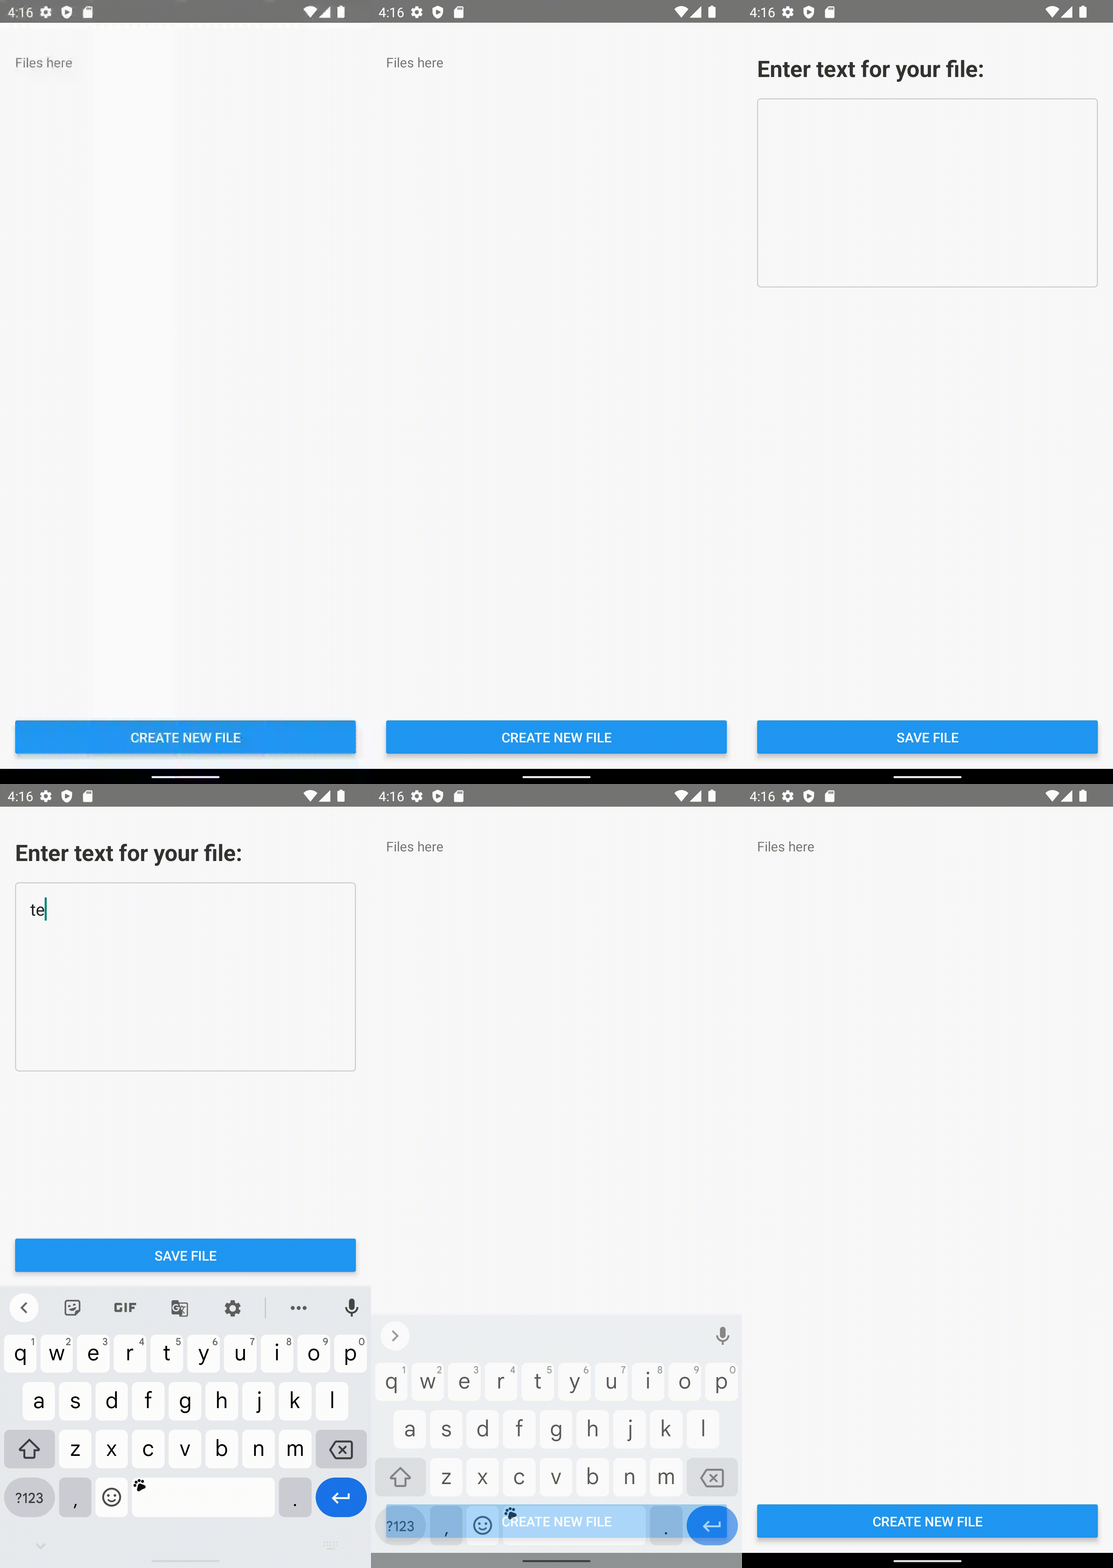
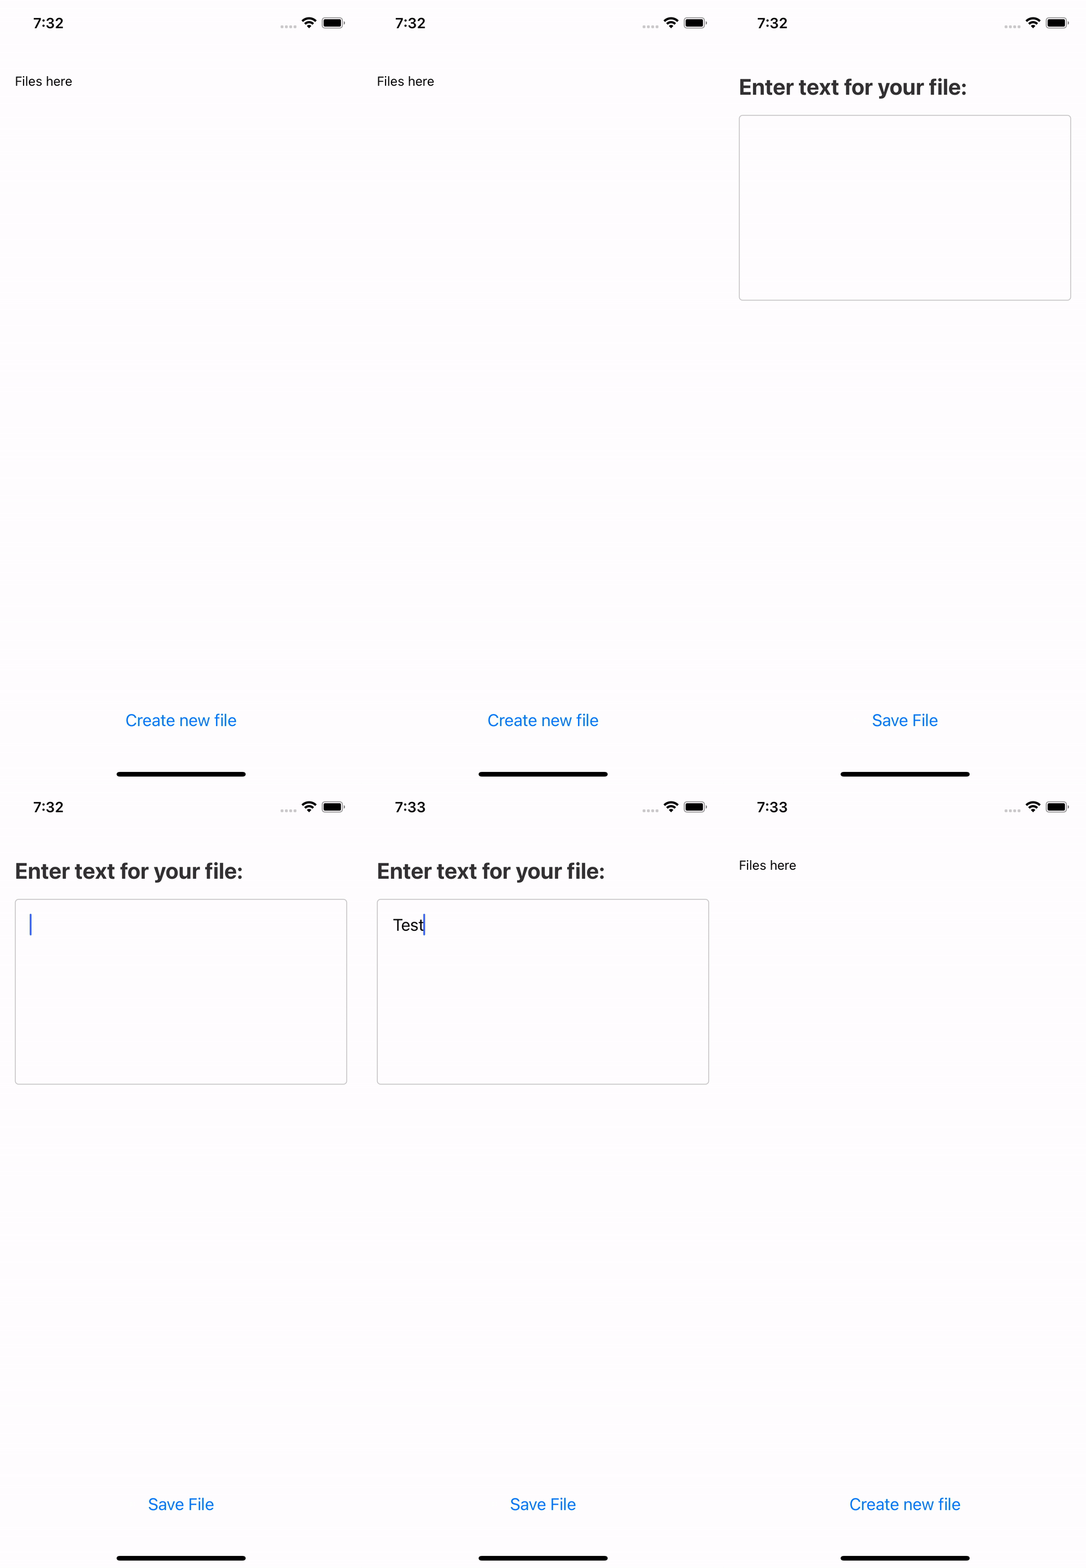
Now let's display a list of the files we've created. In order to do that we need to use the readDir function.
First we'll create two state values - a boolean we set to true once we've loaded our data, and an array to hold our list of files:
Now we'll add a useEffect hook to load our files when the component mounts. Using the readDir function, we'll read our DocumentDirectoryPath which will give us an array of our files:
Before we render our list of files, we need to add a LoadingView component to show when our ready state value is false:
To render our list of files, we'll use the React Native Flatlist component to output a TouchableOpacity containing the file name:
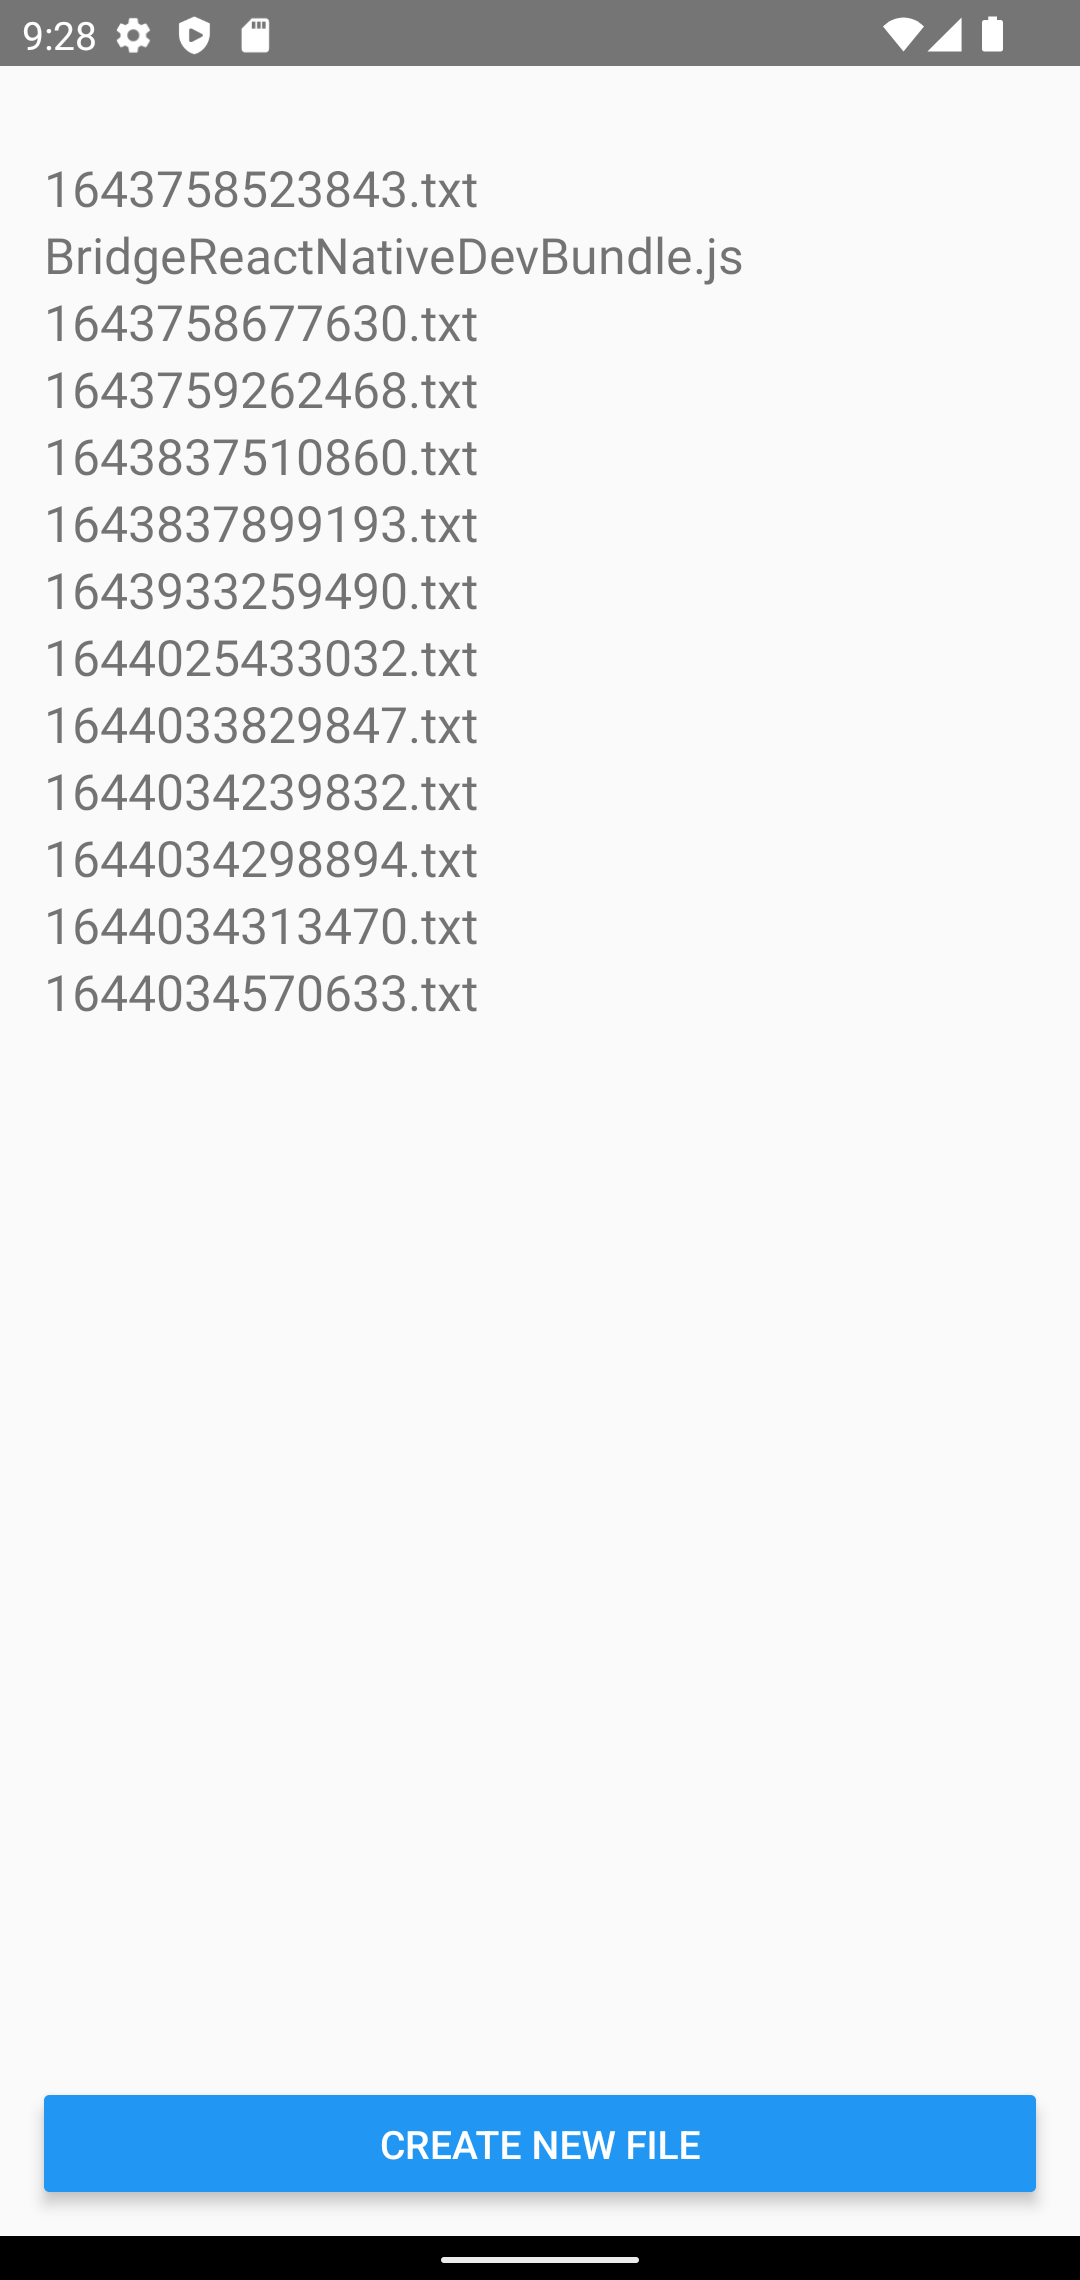
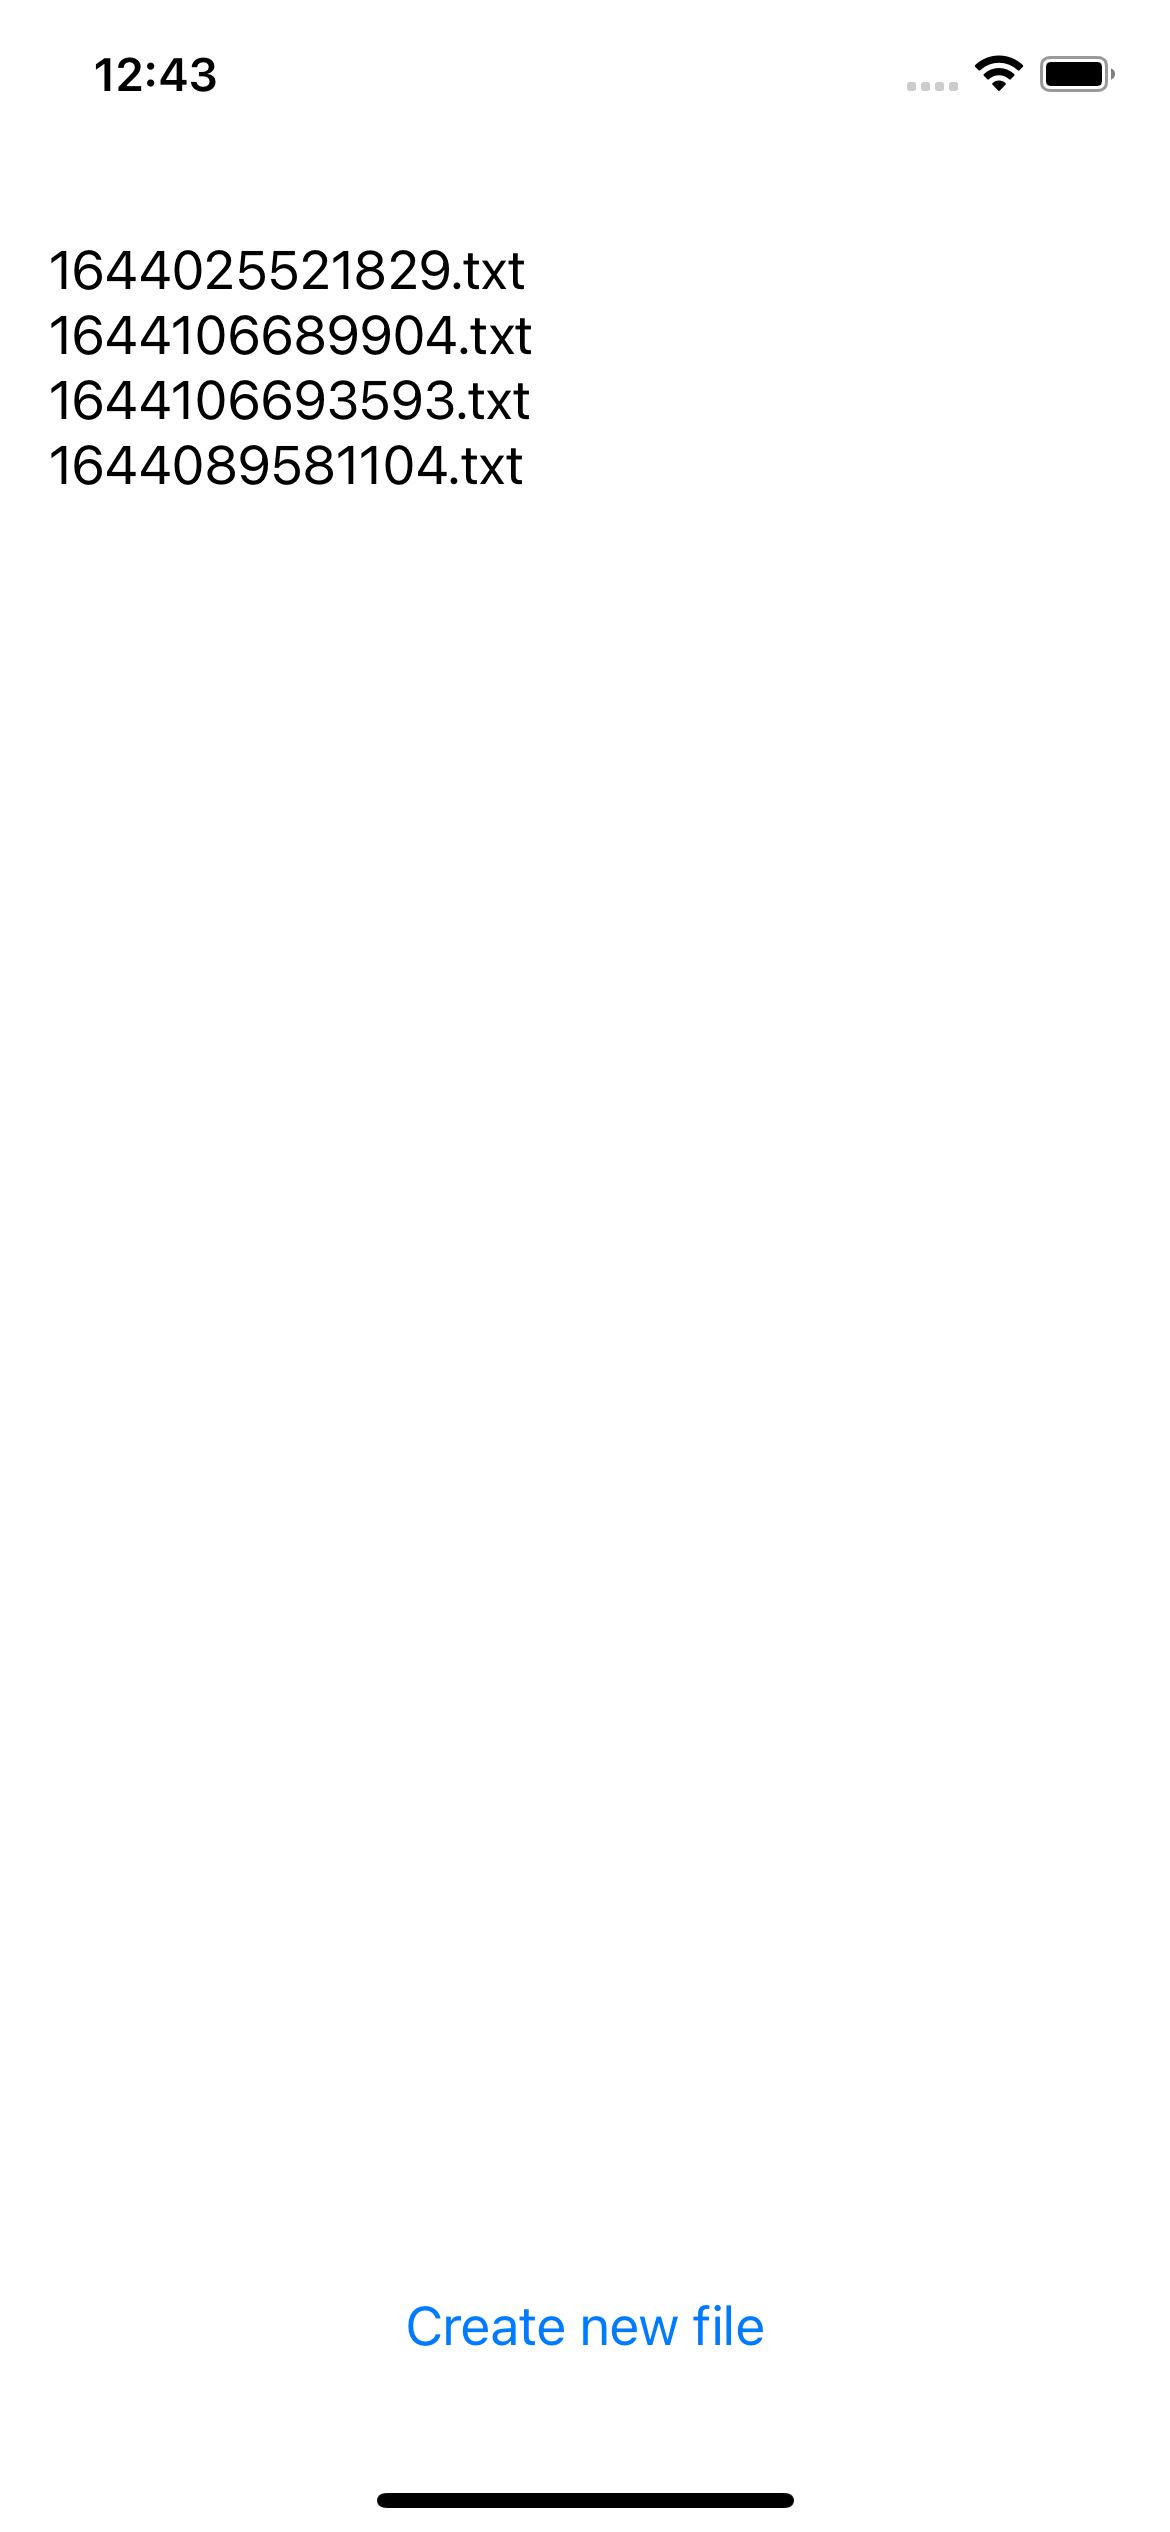
Now you should be able to see a list of files you've saved! Here's our complete App as of now:
How to read a single file from the filesystem using react-native-fs
We can now create a file and view a list of files that we've created. But what if we just want to read a single file from our filesystem?
Currently our list view is a bit condensed, so it's not very tap-friendly. Let's add some vertical padding to each list item to make them easier to select:
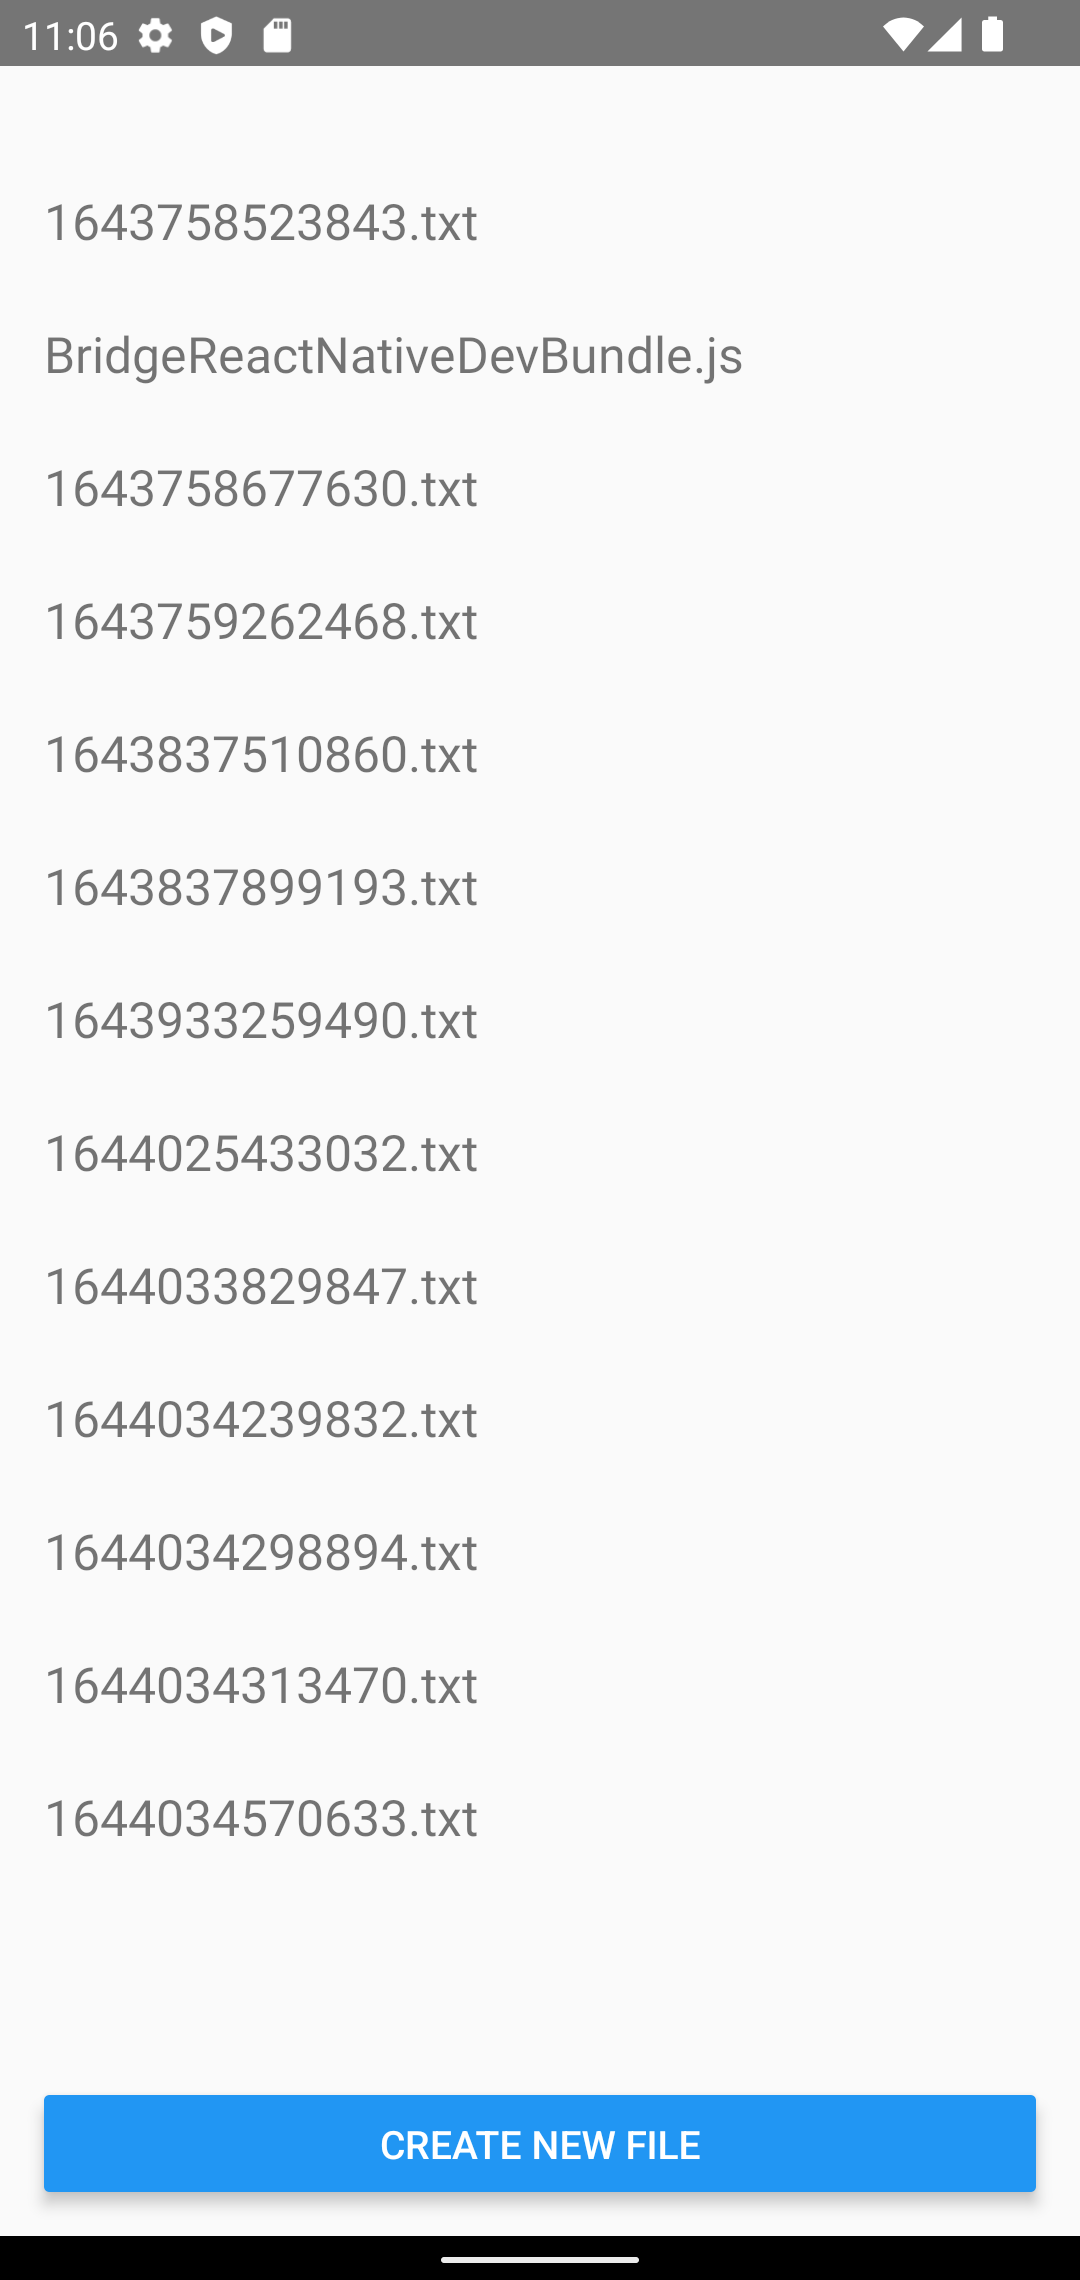
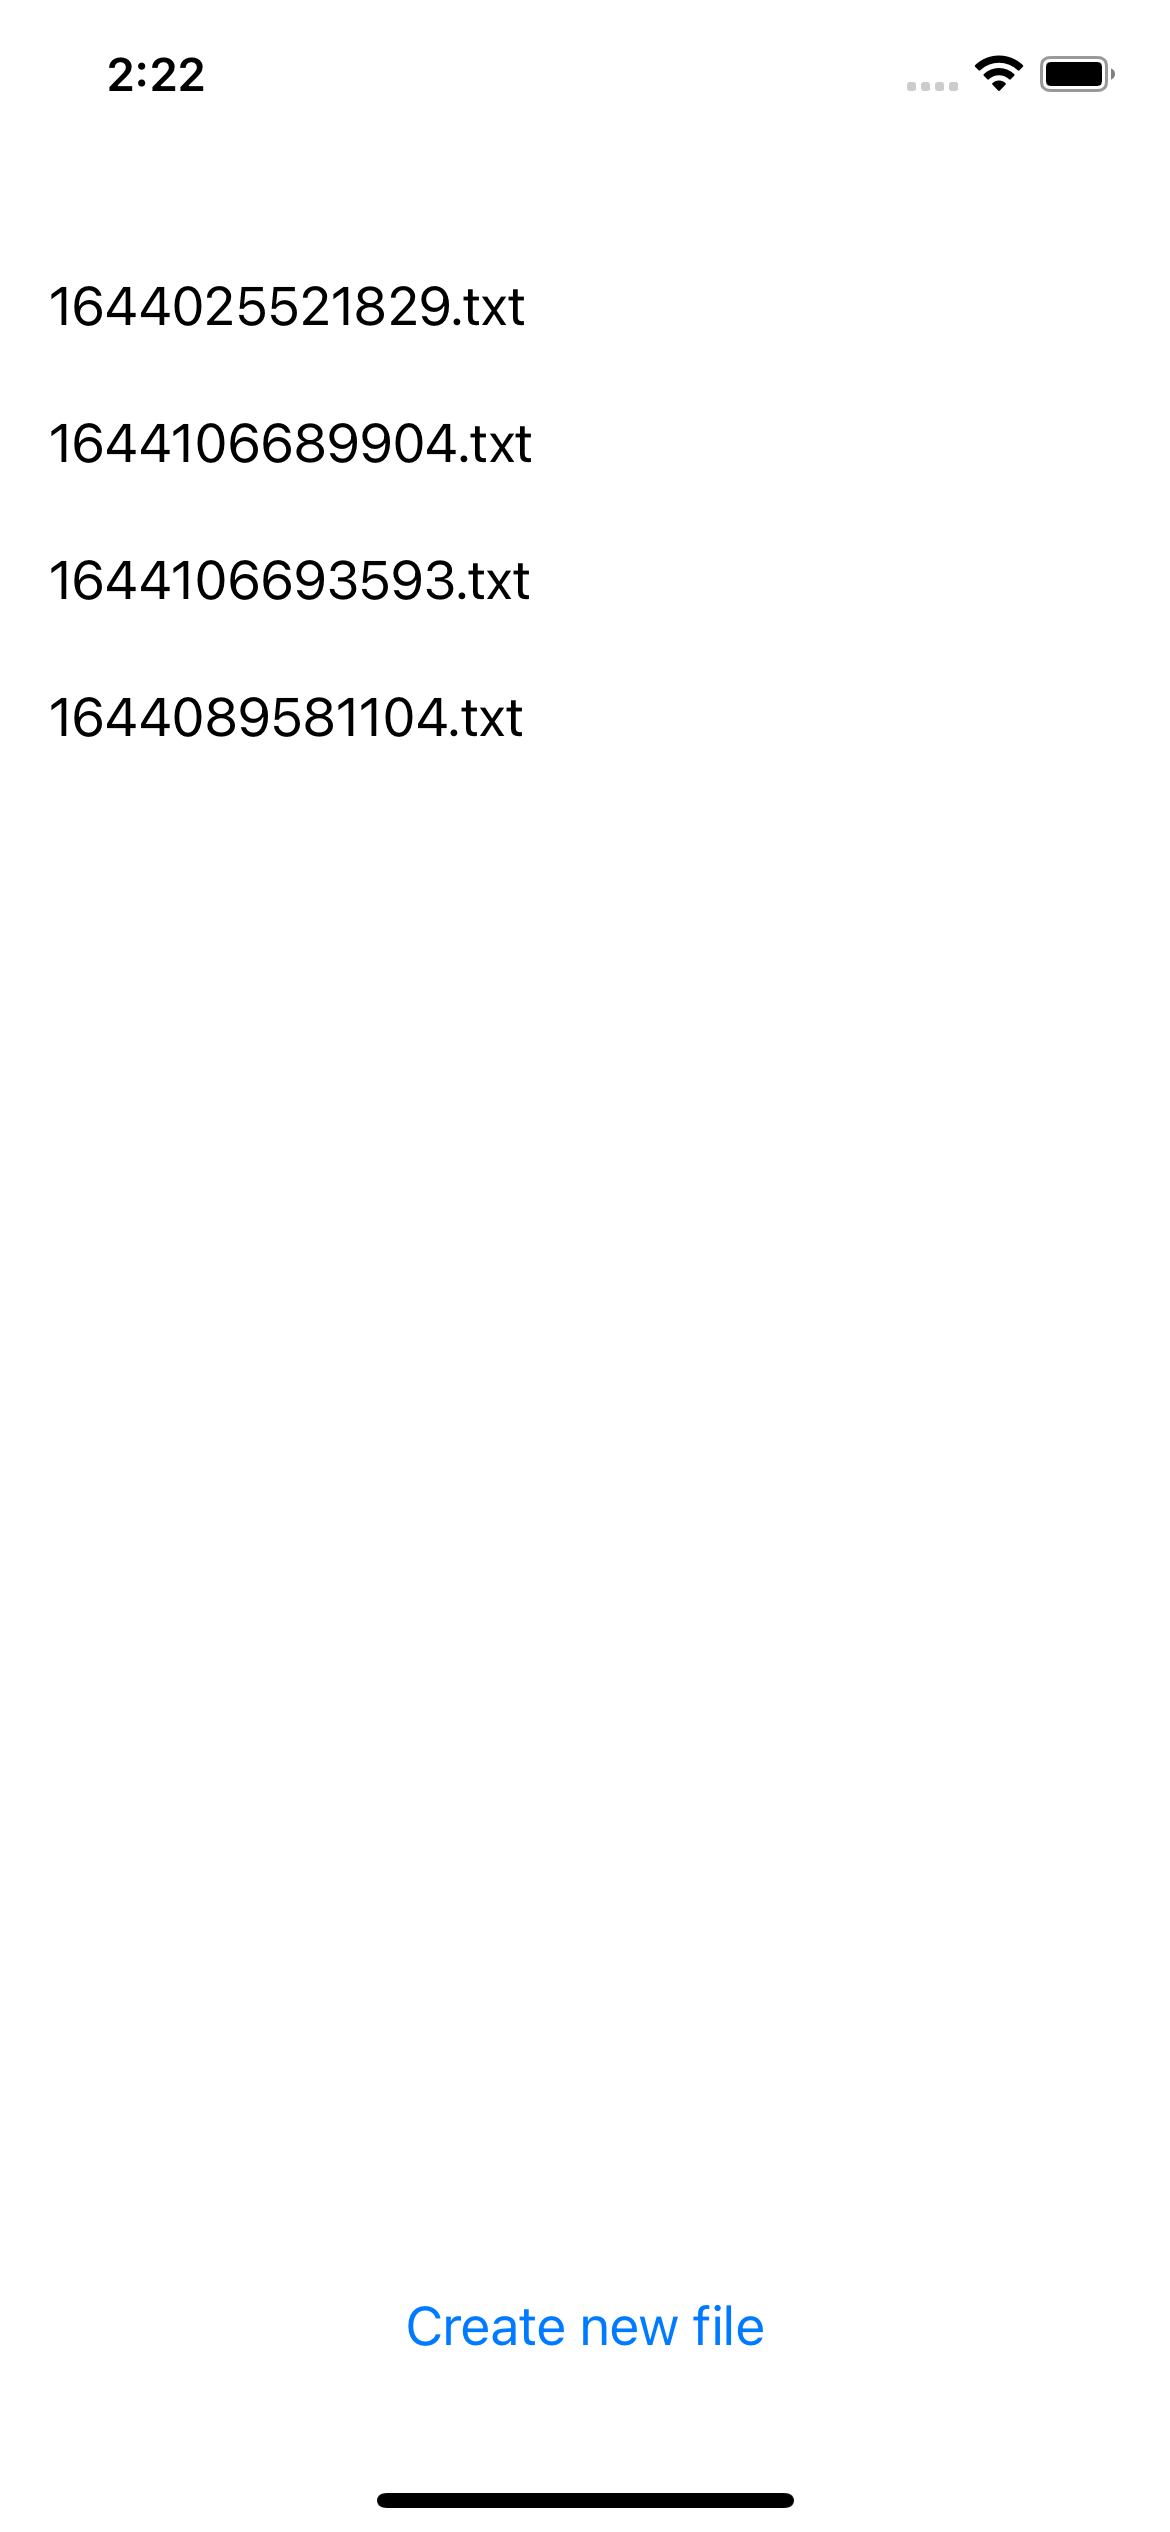
Let's create a selectedFile state value in our App component. We'll check if this value is truthy to detect whether we should display our single file view, and it will contain the file object that we pass to that single file view:
When the user taps on one of the files in the list, we’ll select the file and open the single view:
When the view is mounted, we’ll use the path value with the readFile method to return our file contents and display them in the UI:
Finally we'll add a close button to the header to allow the user to return back to the list view, by resetting the selectedFile value to null.
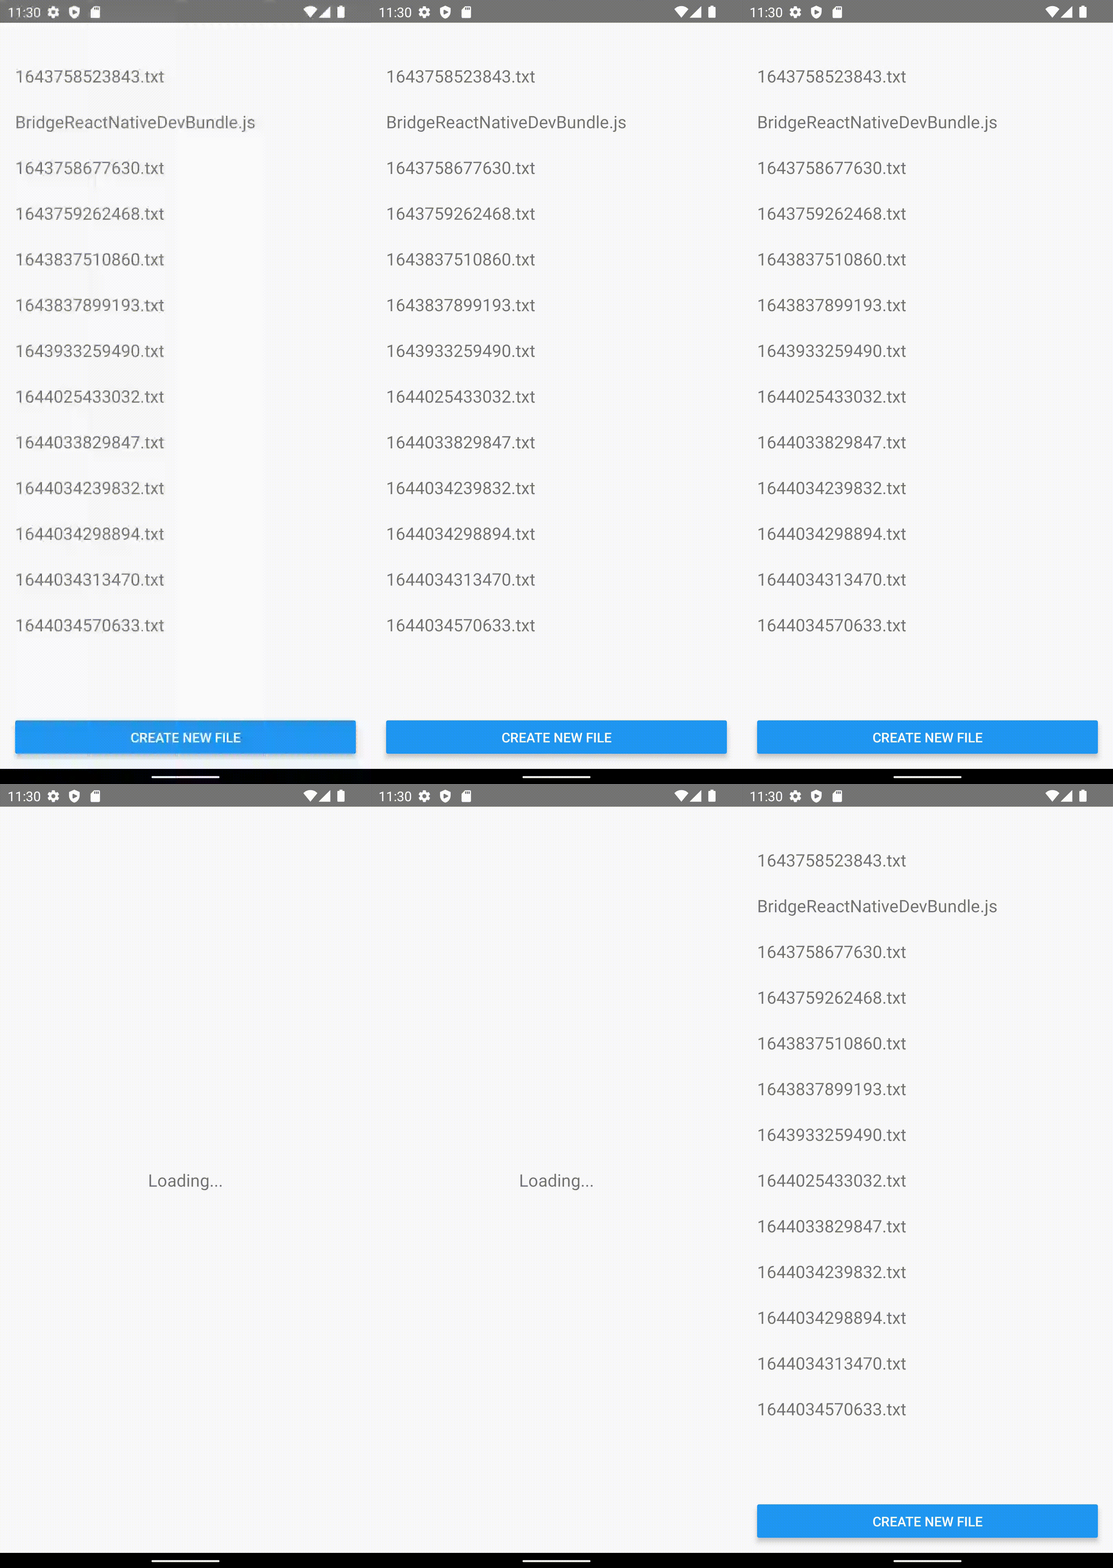
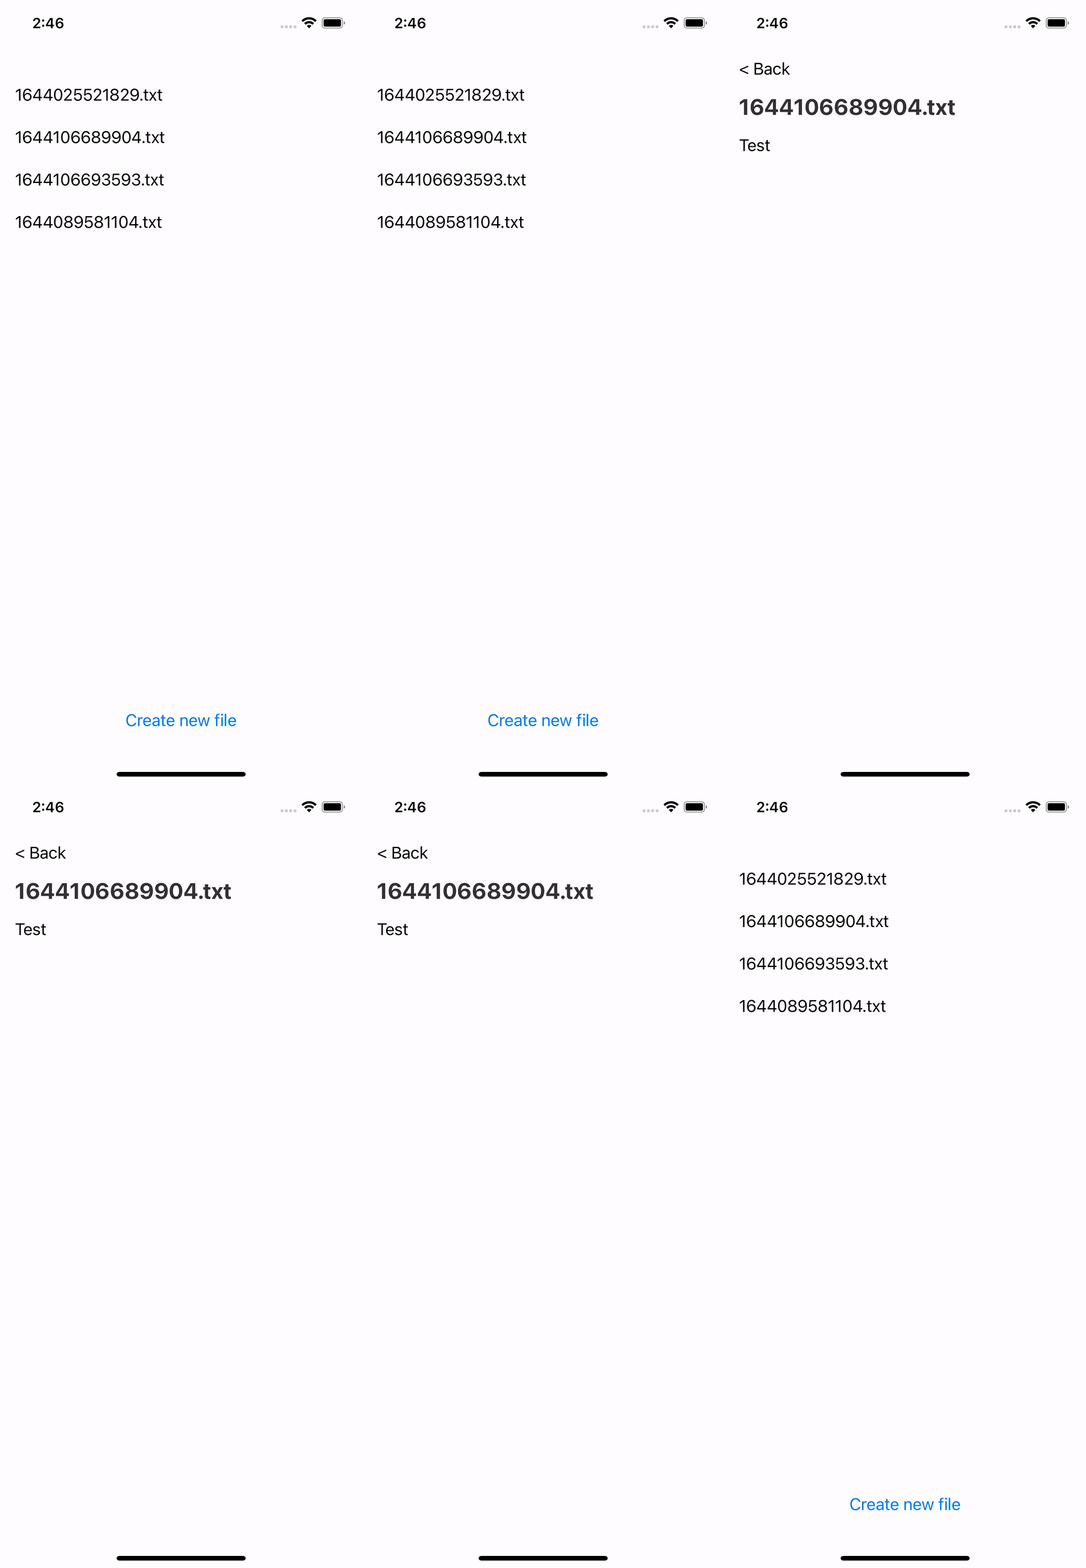
Here's our App with the single file view:
How to delete a file using react-native-fs
To delete a file, we need to use the unlink method. First, lets add a delete button to our single file view:
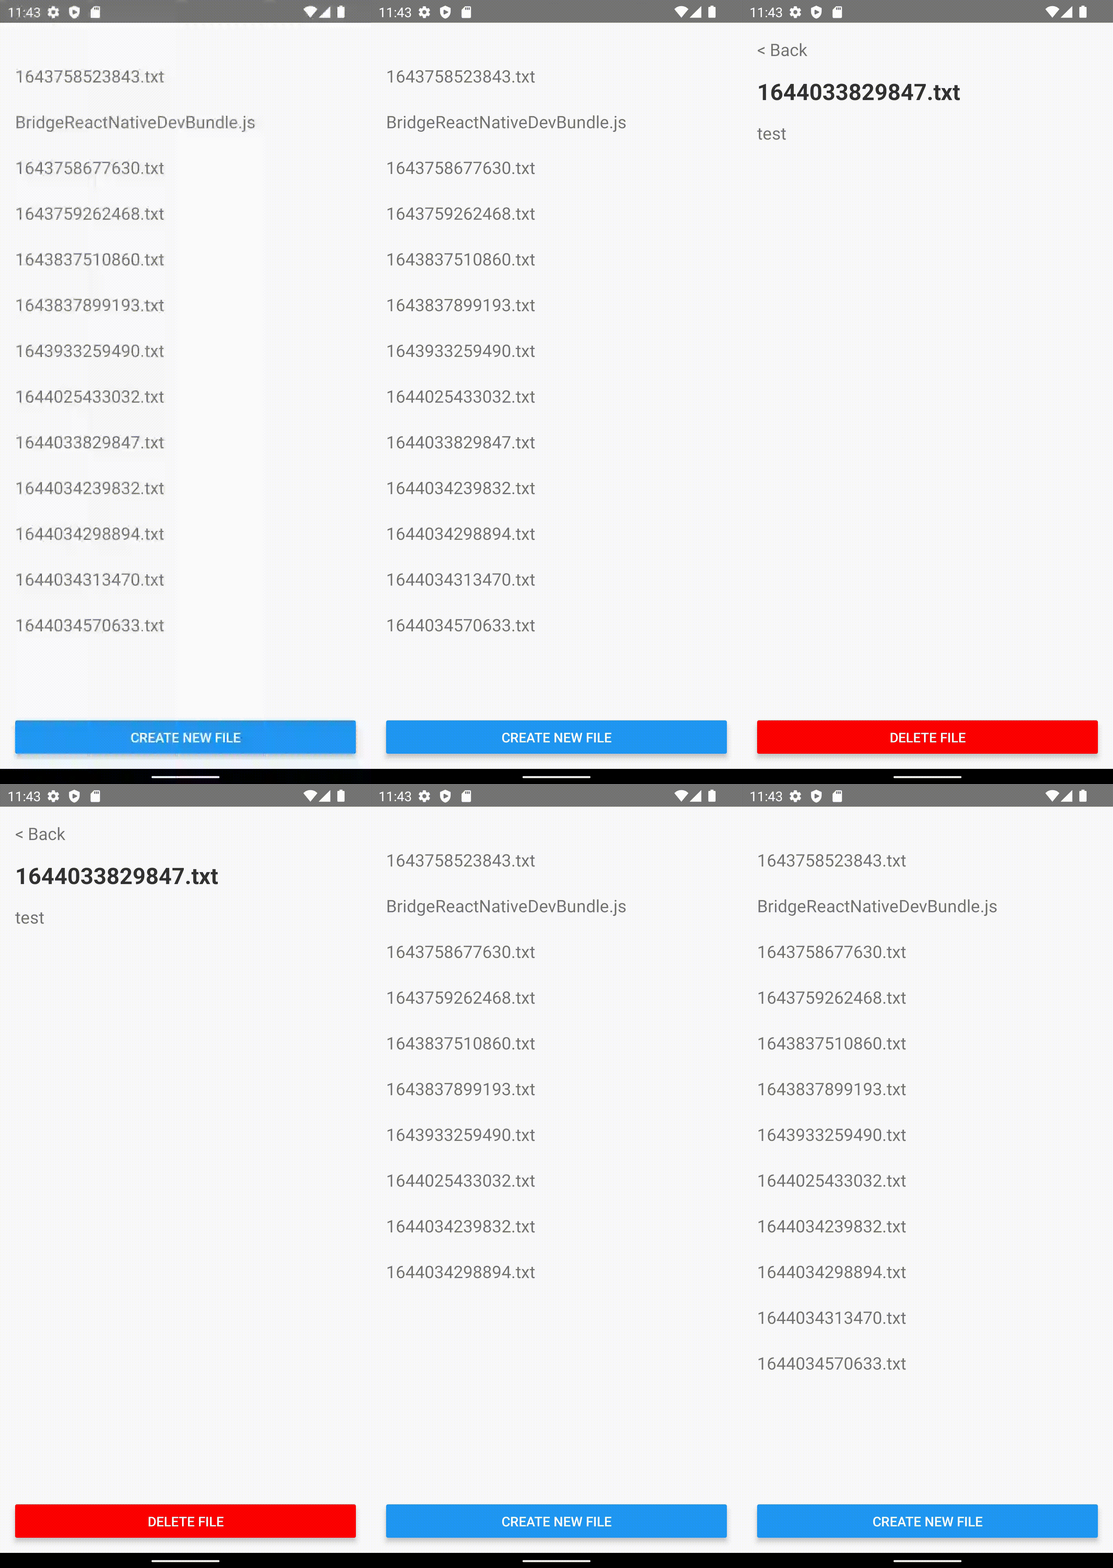
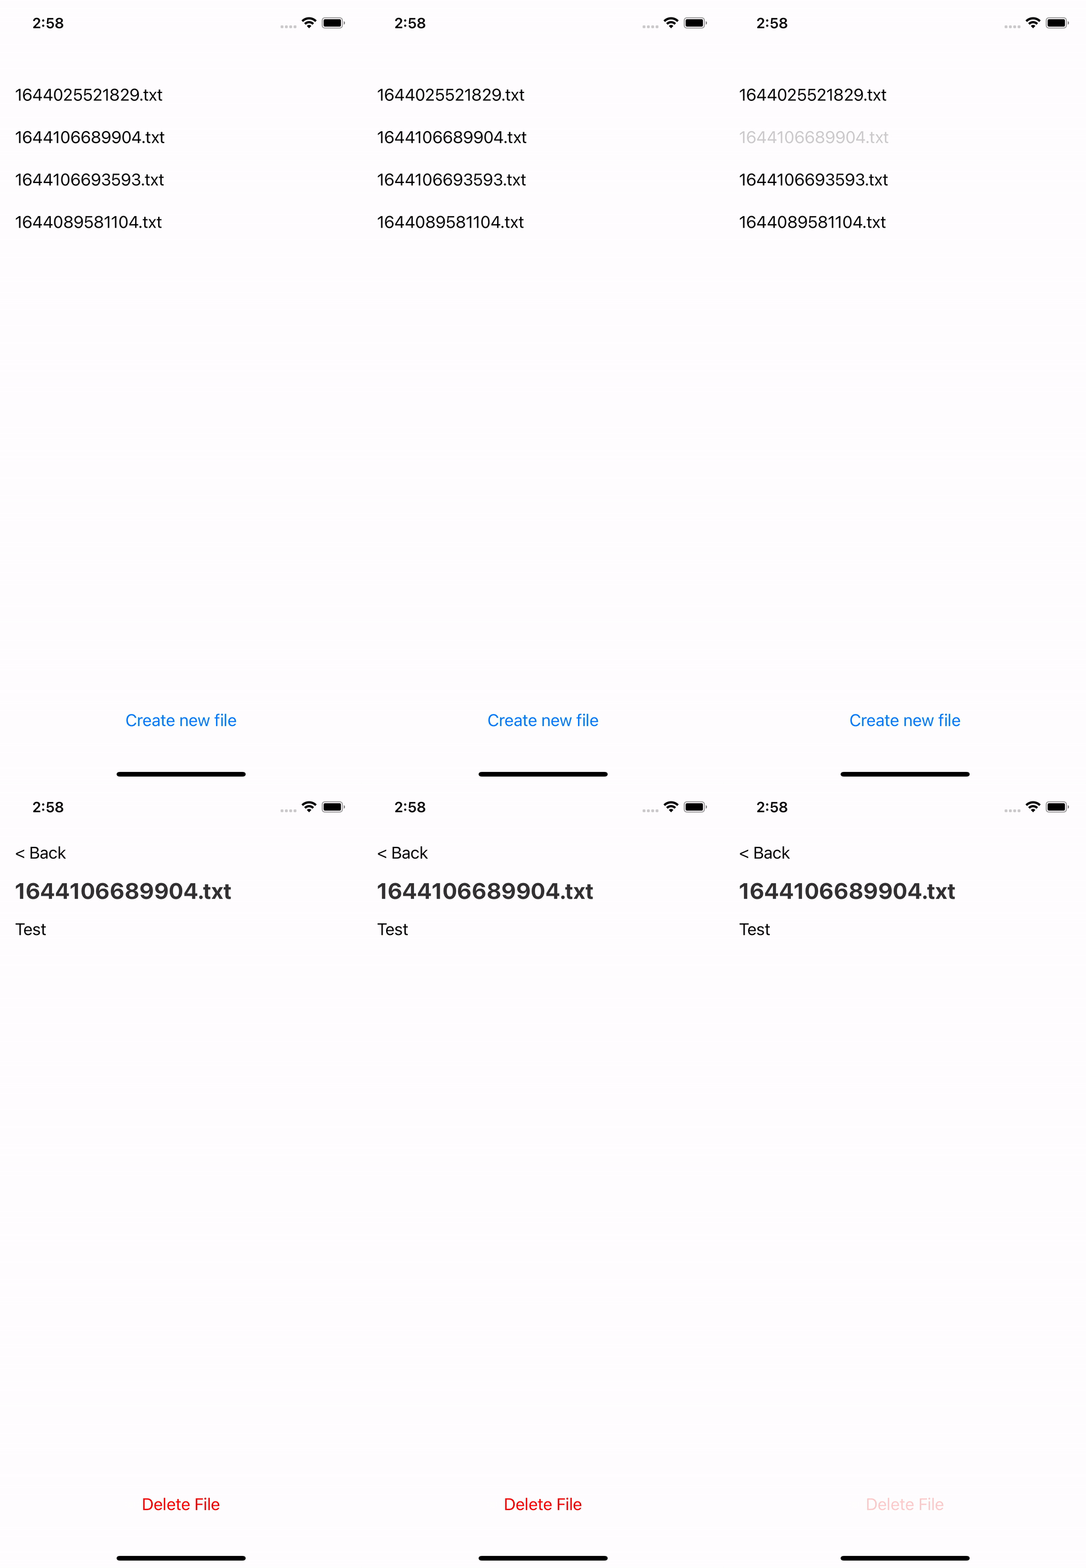
When that button is pressed, we’ll run the unlink method using our file path, and run our onClose method to clear the selectedFile value and return to the ListView:
And we're done! We can now create a file, view it in a list, and delete it.
