React Native Canvas - How to use HTML canvas in a React Native app
Request, Deliver, Revise, Done
Get unlimited UI Design & React Development for a fixed monthly price
50% off your first month
Introduction
If you need to create advanced graphics in your React Native application, it’s possible to use HTML’s canvas element within your app by using the react-native-canvas package. It uses react-native-webview under the hood to render HTML within a webview in your application - allowing you to use canvas just as you would on a website.
Installing react-native-canvas
To install react-native-canvas, run the following NPM commands in your project root (react-native-canvas requires react-native-webview to work, so we’ll need to install that first):
Alternatively if you’re using Yarn instead of NPM, you can run:
Then in the iOS folder in your project you need to run the following:
This will install the required native dependencies for iOS - on Android your these will be automatically linked when you run npm install or yarn add.
Setting up a Canvas component
In order to setup a Canvas component, we’ll need to import the Canvas component. We’ll also wrap it in a SafeAreaView so that it respects device notches.
We’re going to give it and width and height of 100% so that it takes up all the available space - we’re also going to give it a background colour of black so that we can check it’s being rendered:
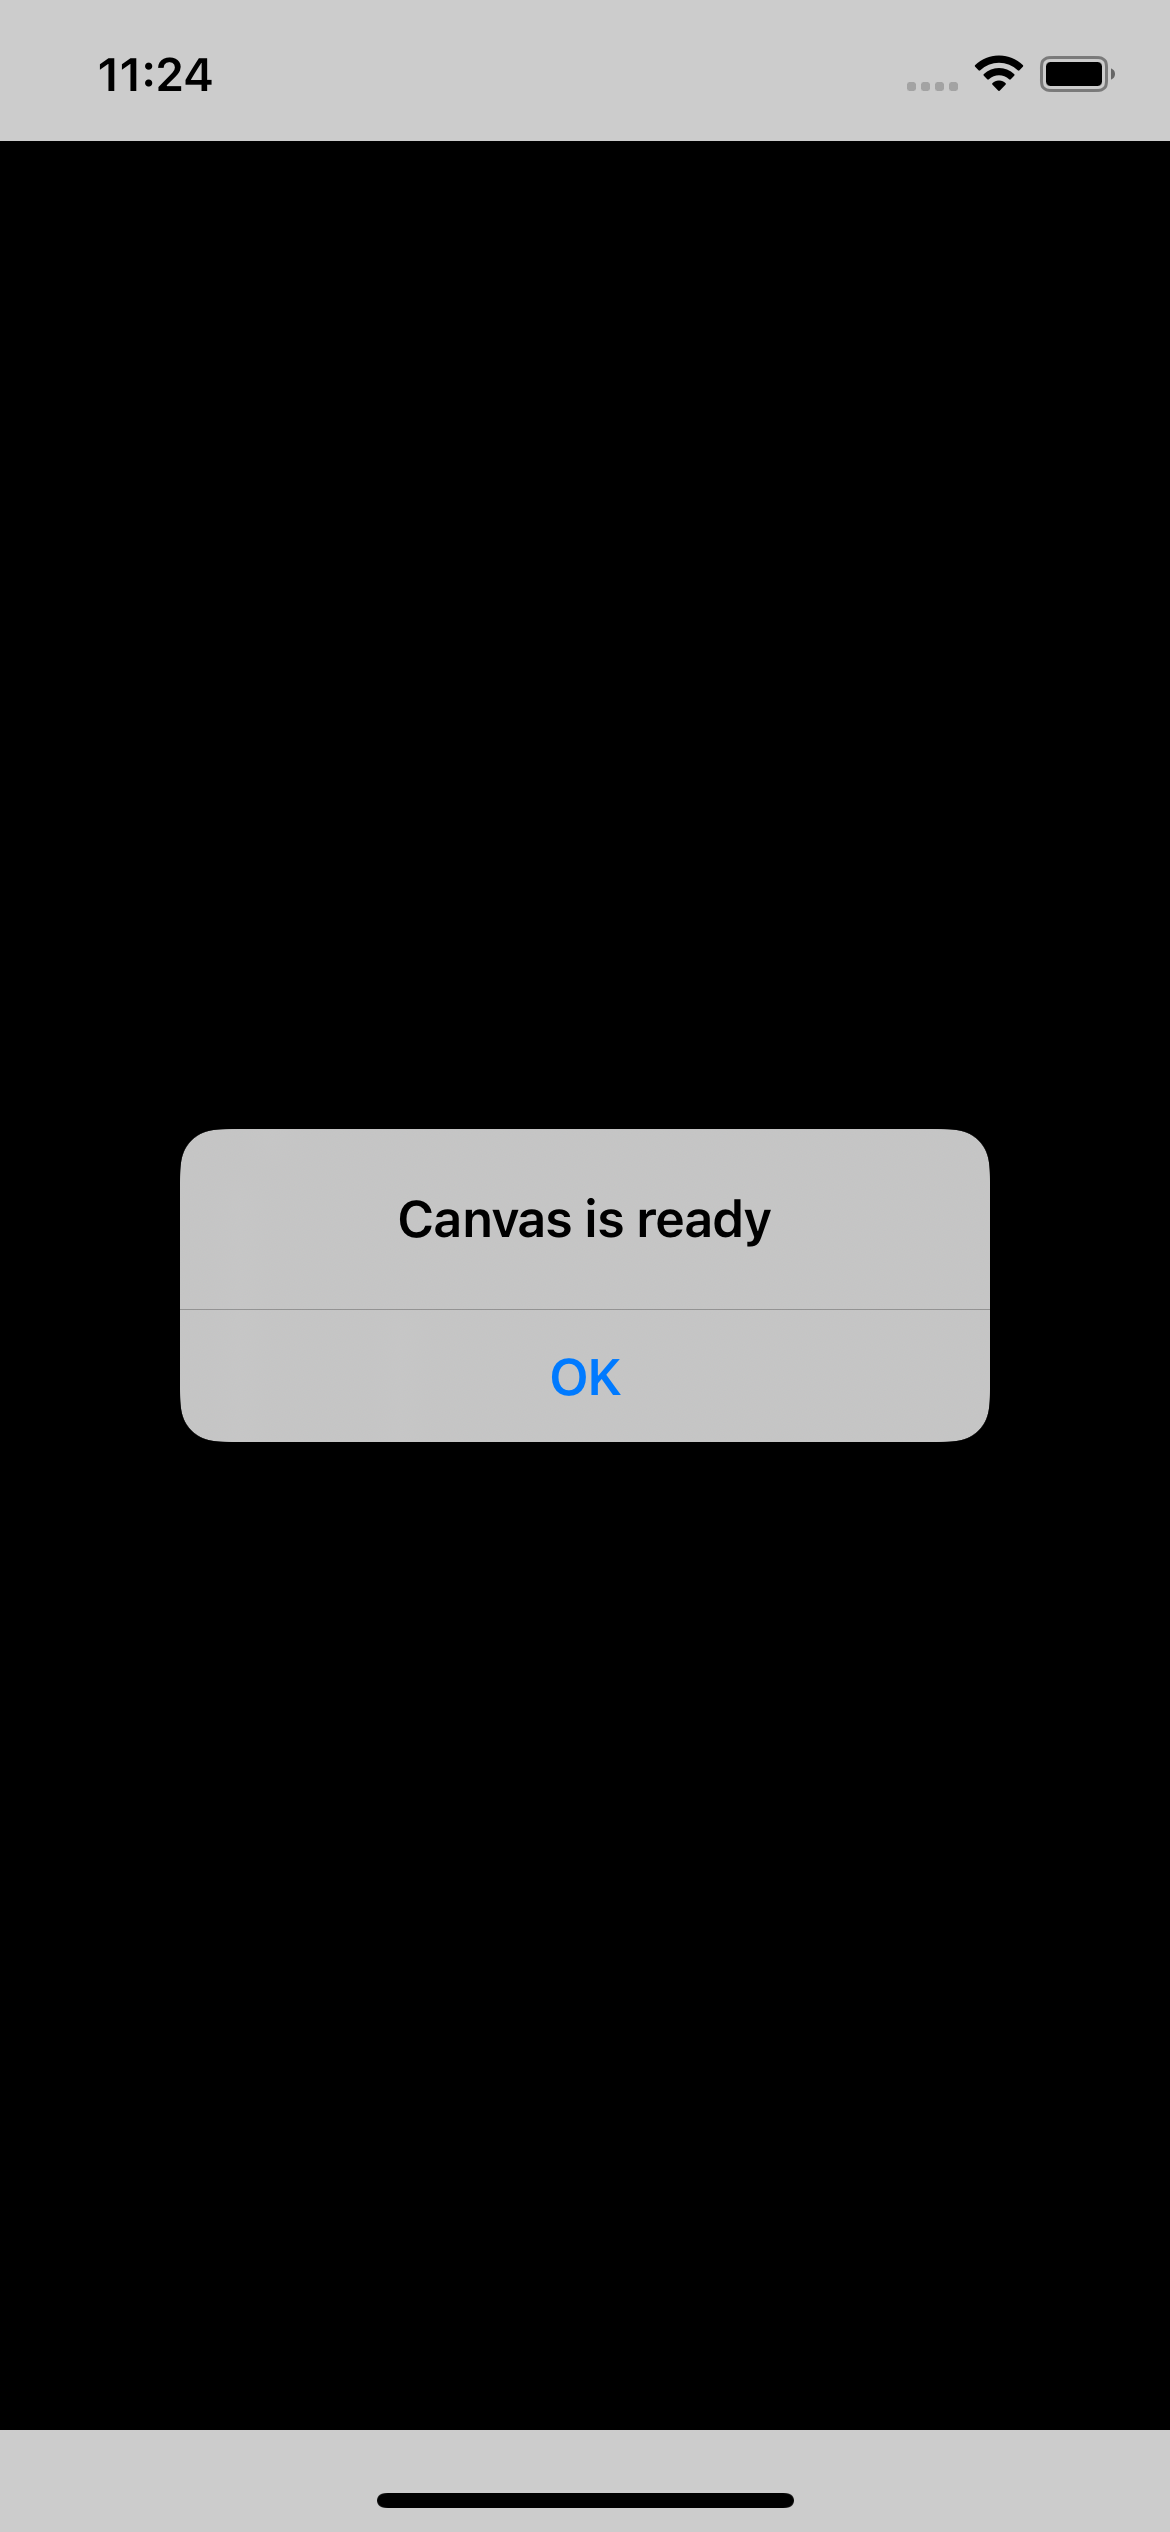
You should now see a black screen like this - this means that the canvas component is now being rendered in our React Native app using a webview:

In order to actually draw on our canvas, we need to use the useRef hook to create a reference - and assign it to our canvas with the ref prop - so that we can then interact with it via javascript. We can then use the useEffect hook to check that the canvas is ready, and then use it to draw our shape:

We’re now ready to start drawing some shapes!
Drawing a square with React Native Canvas
In order to draw a basic square with React Native Canvas, we need to first create a fill color using the fillStyle property, then create the shape using the fillRect function.
The fillRect function takes four values:
- The x axis location of the start of the square
- The y axis location of the start of the square
- The width of the square
- The height of the square
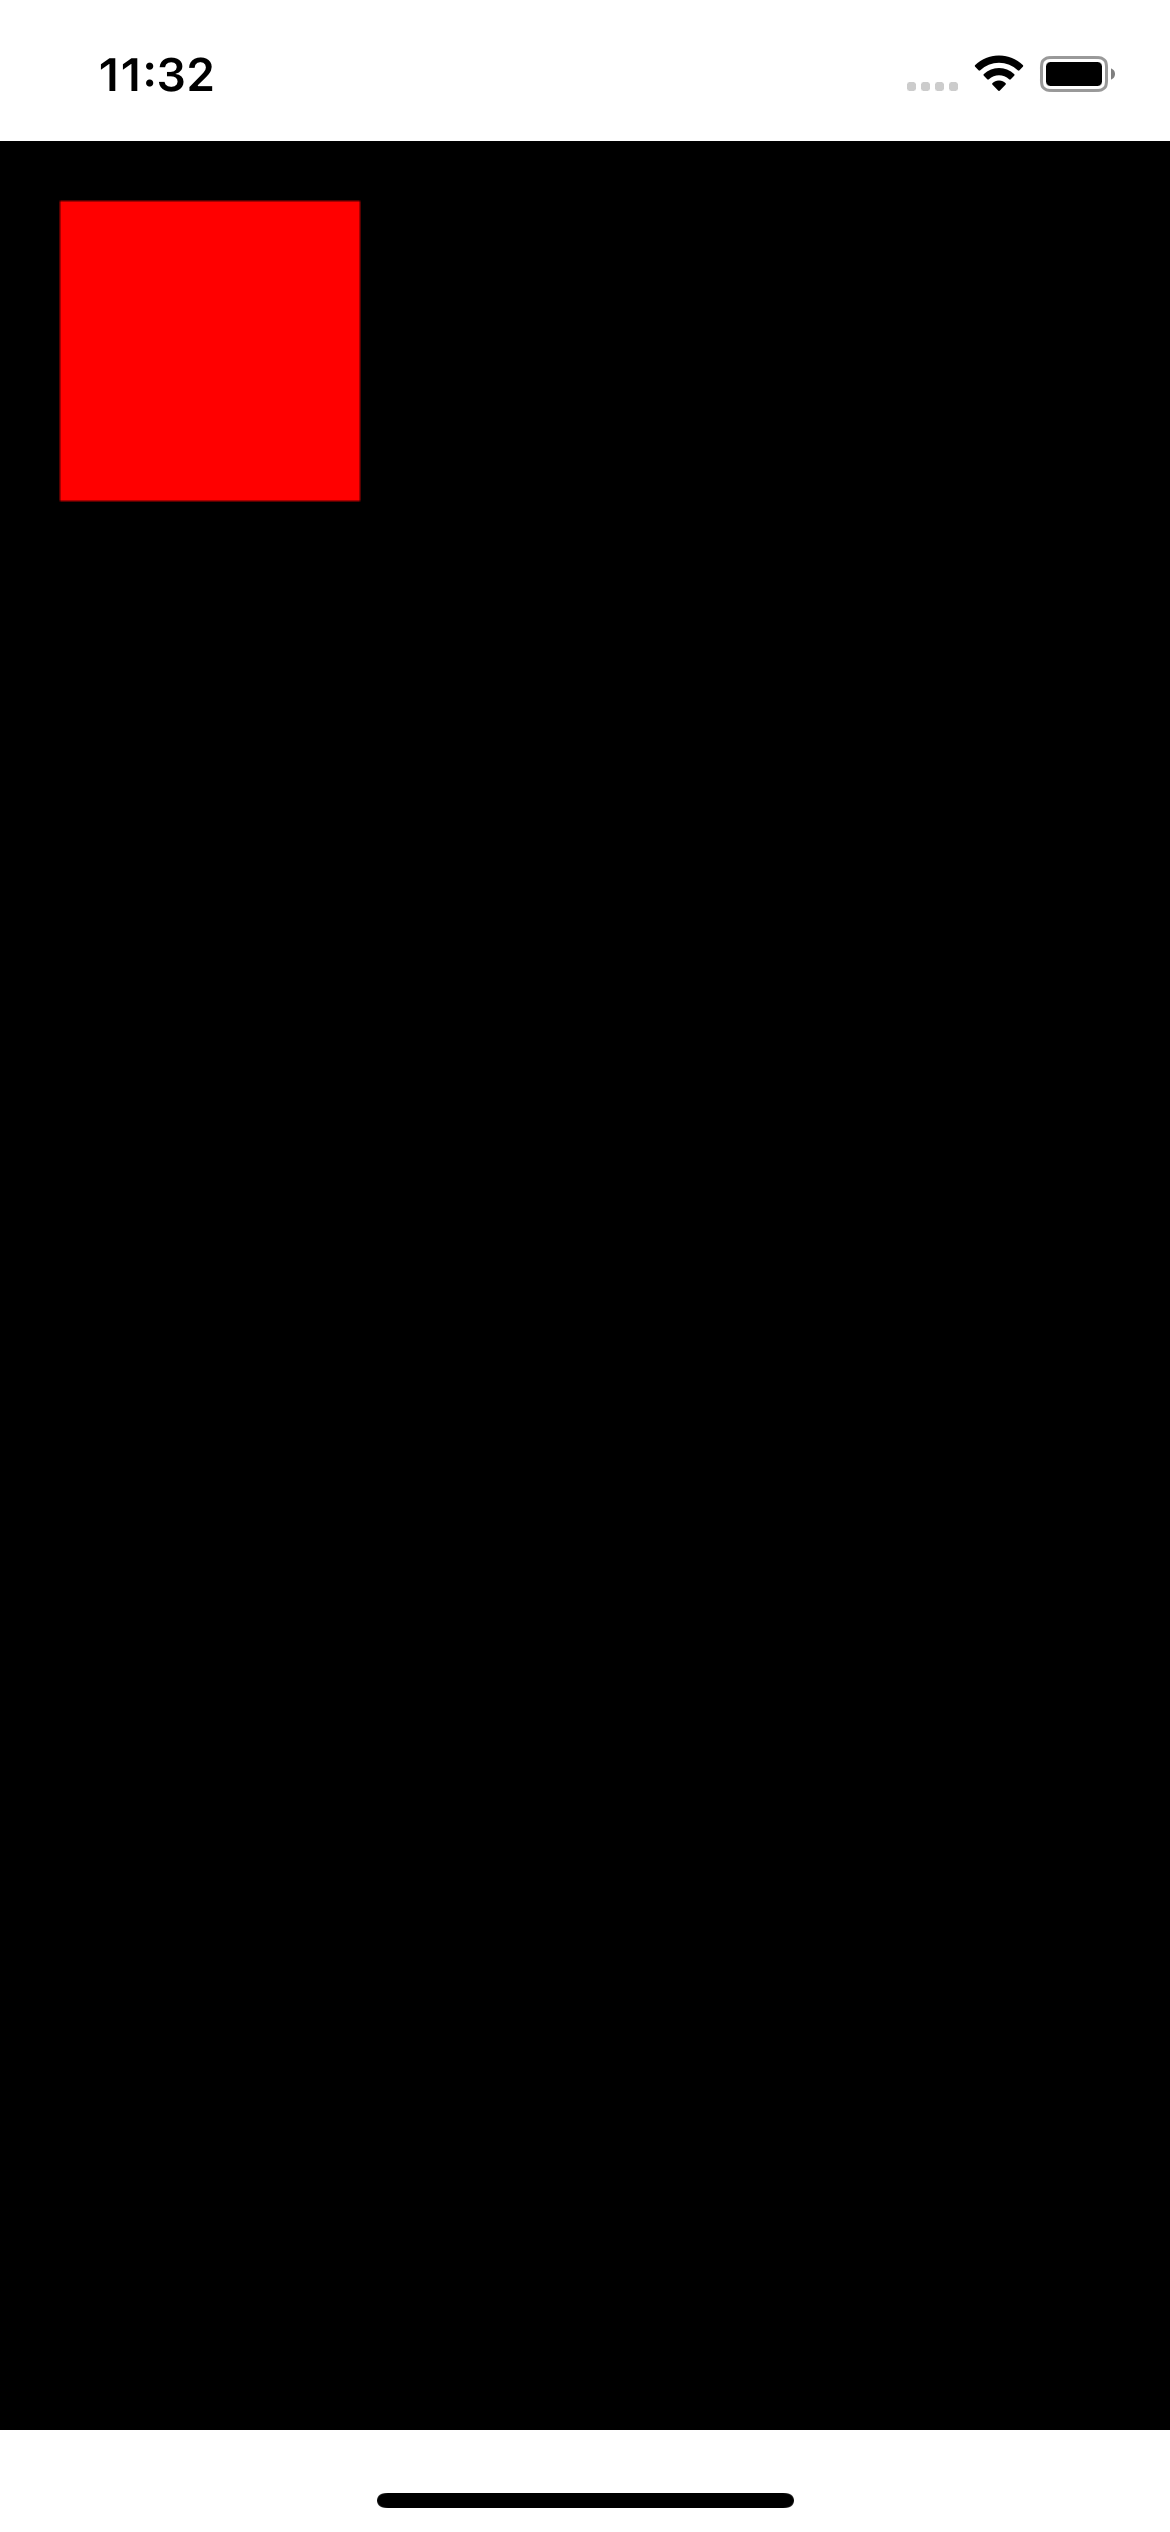
So for example, if want to draw a square that begins at 20px out both horizontally and vertically, with a width and height of 100px, we’d run the fillRect function with the following values:
Here’s a full example:
As you can see, we now have a basic red square!

Drawing a rectangle with React Native Canvas
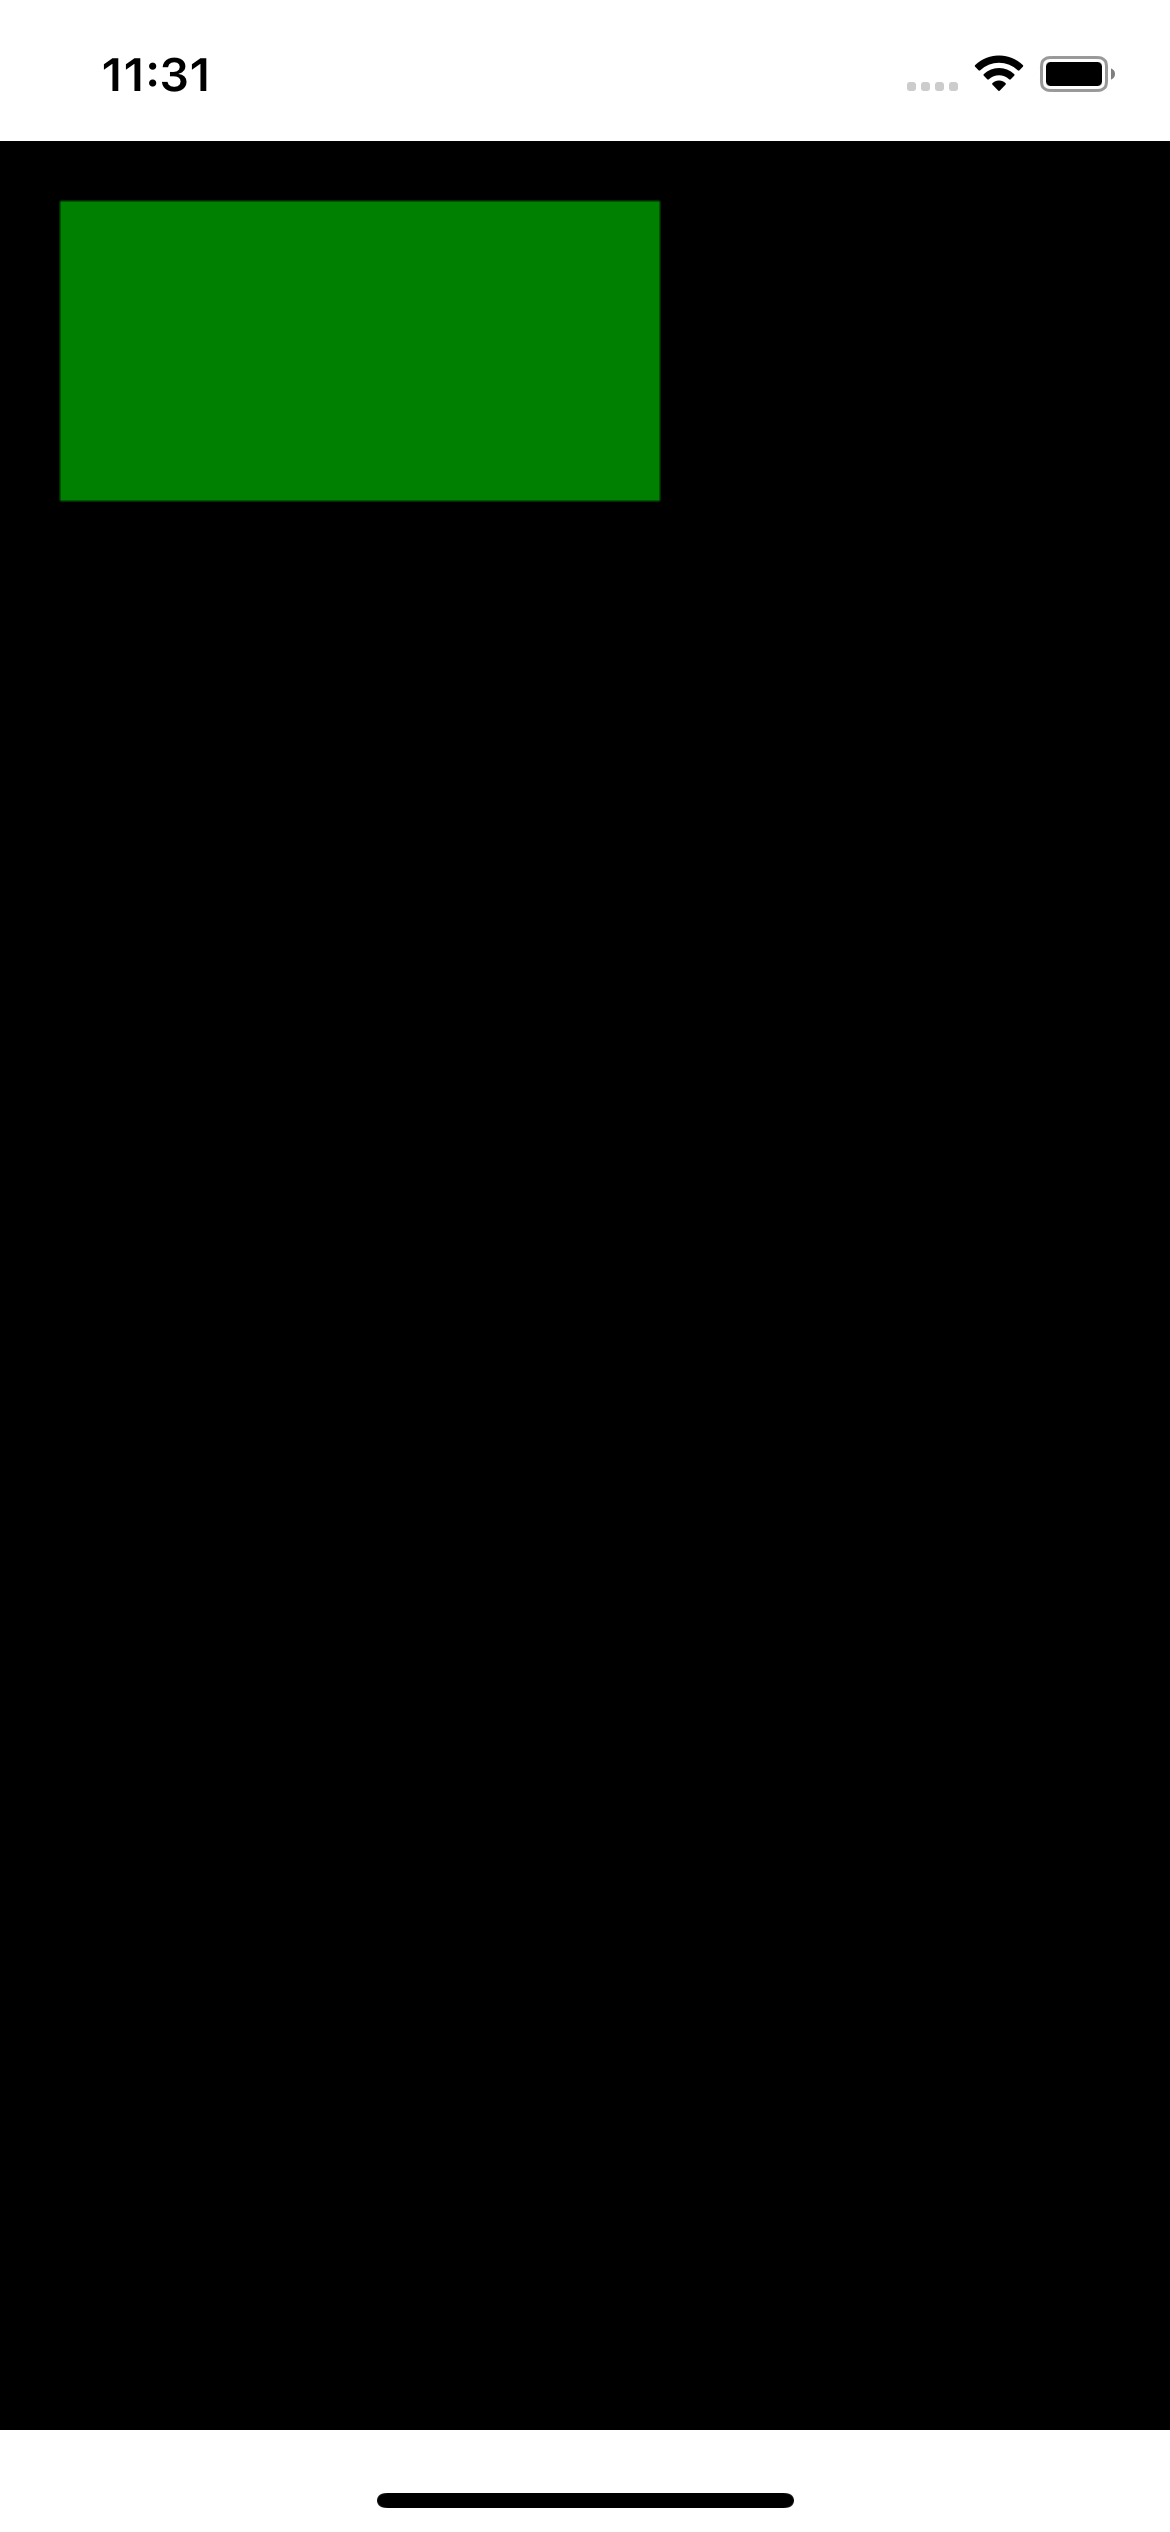
Drawing a rectangle with React Native Canvas works much the same way as drawing a square - the only difference is that the width and height values you pass to fillRect are unequal:
The above example will create a rectangle with a width of 200px and a height of 100px:

Drawing a circle with React Native Canvas
There are three basic steps to creating a circle with canvas:
- Open a path using the beginPath function
- Create a circle using the arc function
- Close the path using the closePath function
You can then style your circle as you like in terms of fill colours and borders.
The arc method is used in canvas to create a curve - which means we can use it to draw a circle. The arc method takes 6 parameters:
- The x axis location of the start of the circle
- The y axis location of the start of the circle
- The radius of the circle
- The starting angle of the circle in radians
- The ending angle of the circle in radians
- Direction - this is an optional boolean that specifies if the circle should be drawn counterclockwise
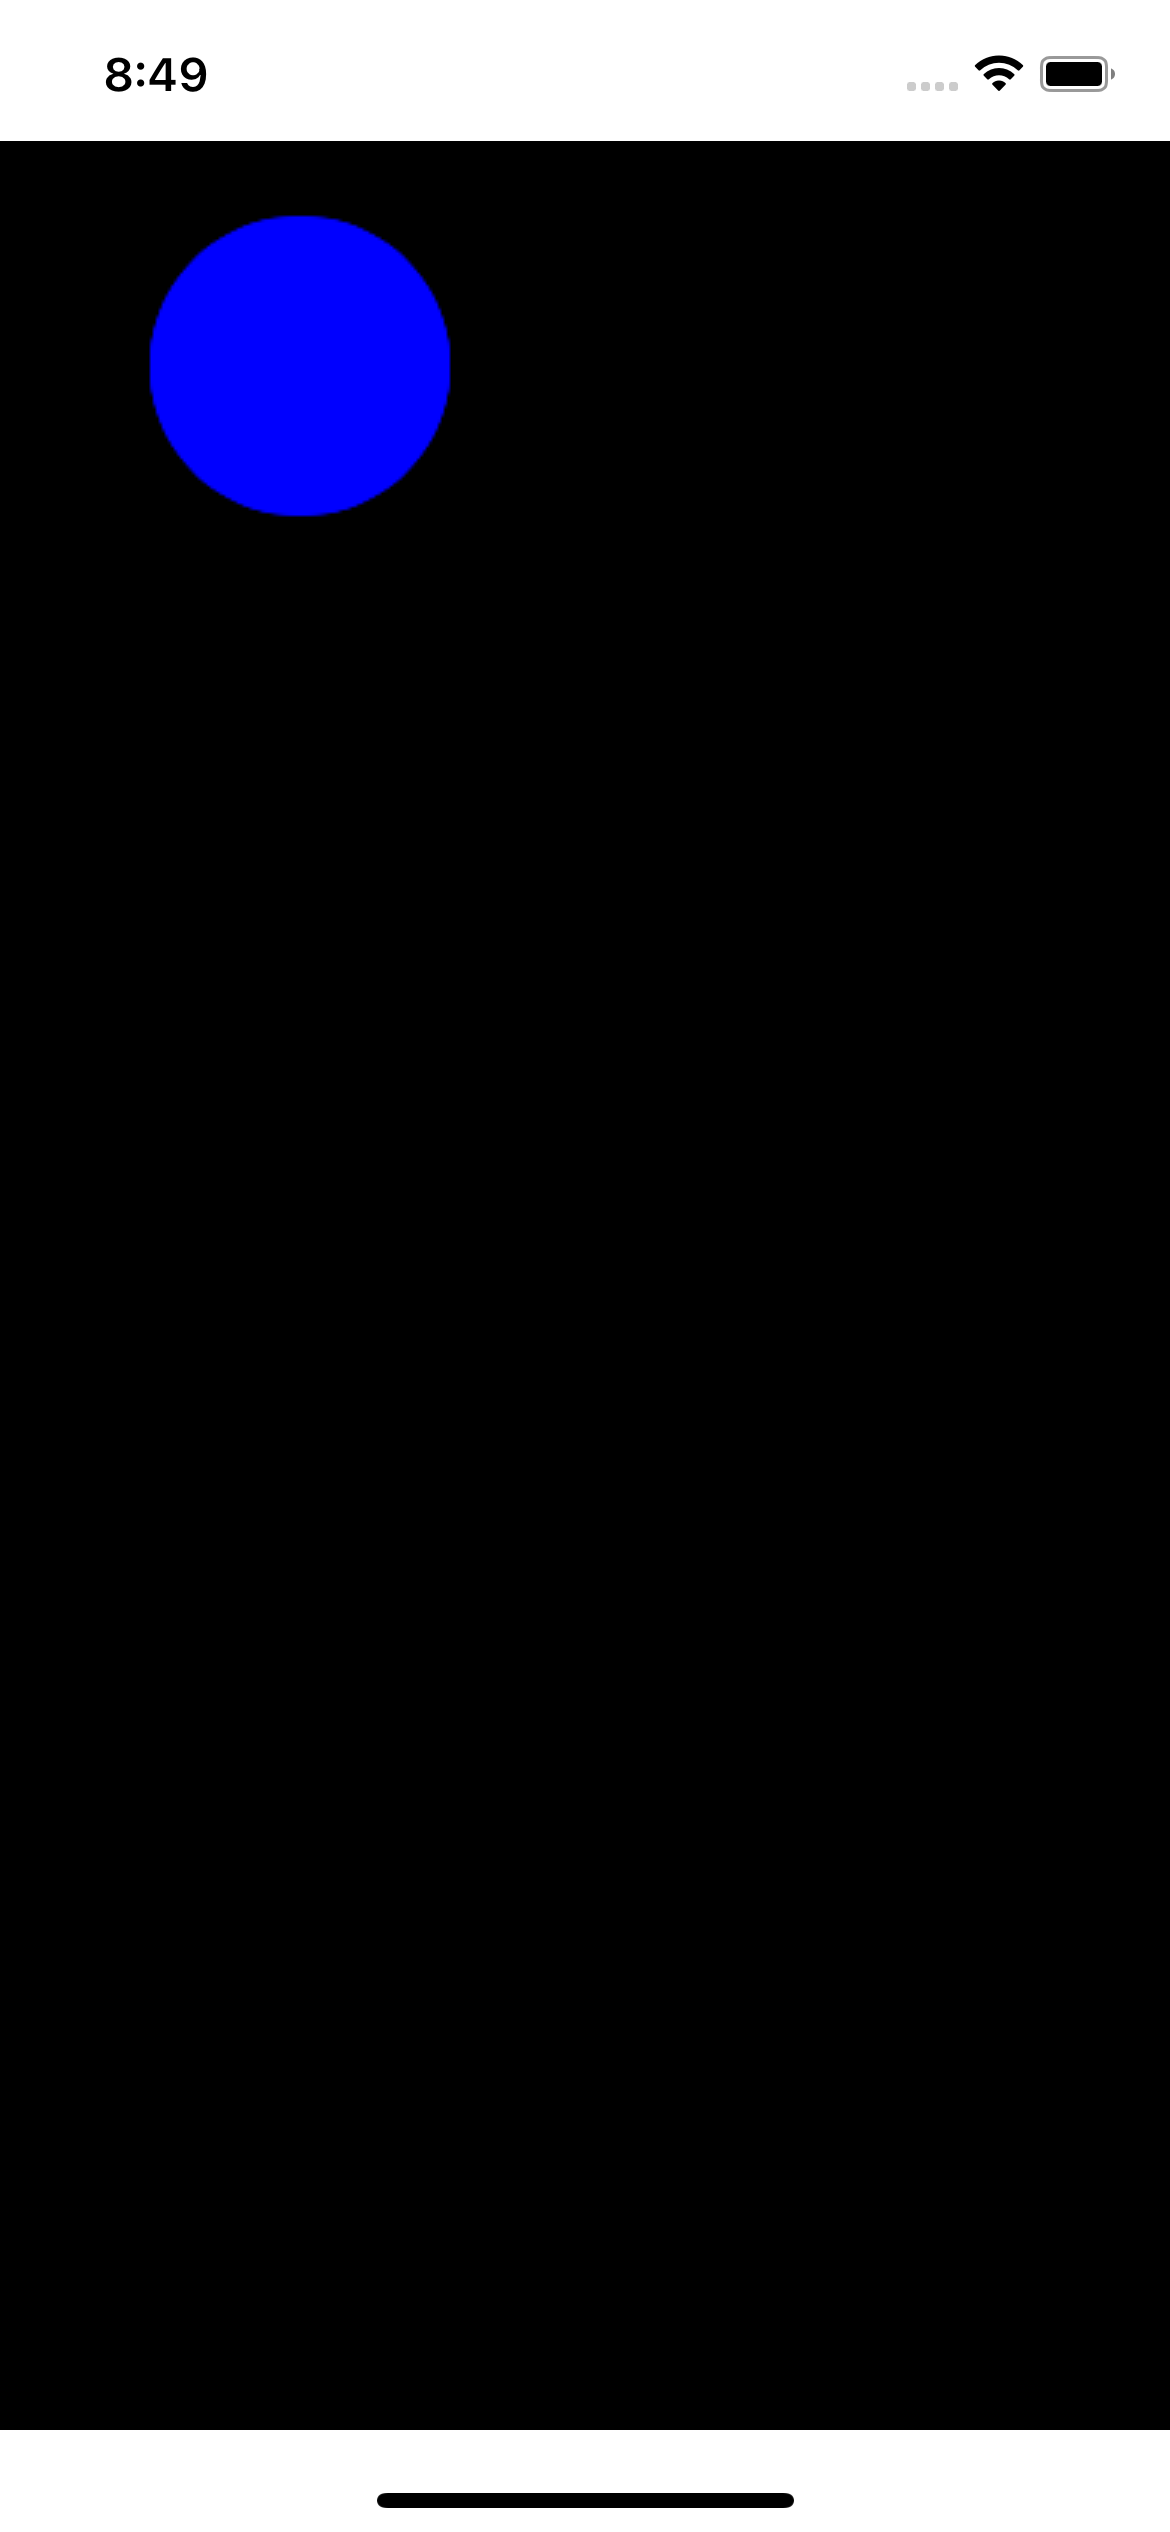
So for example if we want to create a blue circle - that was 20px out both vertically and horizontally - with a radius of 40 we would write the following:
Here’s a full example in a component:
This is what it looks like in our app:

Summary
This article barely scrapes the surface of what you can achieve with canvas - it's an advanced API for advanced use cases - but I hope it's enough to get you started.
I do plan to update this article with more advanced examples in the future - but for now essentially any tutorial you find on how to create something with HTML canvas should work with React Native Canvas - as it’s just rendering a HTML page within a web view.
I highly recommend this section of the Mozilla Developer Network for more examples of what you can create using canvas.
It’s probably pretty rare that you’ll come across a use case for canvas in your career - and even rarer for that matter within a React Native app. But if you find yourself needing to use it I hope this tutorial was helpful!