Atom Lab logo

How to use the Image Background component in React Native

Request, Deliver, Revise, Done

Get unlimited UI Design & React Development for a fixed monthly price

50% off your first month

Introduction

It’s very common when building websites to want to use an image as a background - often when creating a card component or a banner with some text inside the image. If you’re new to React Native you might be wondering how you can achieve a similar effect.

Luckily there is an out of the box component called ImageBackground that makes this very easy to implement - and in this tutorial I will show you how to use it.

Creating a simple banner with ImageBackground

In this example we’re going to create a basic banner component that will have an image as it’s background and contain some text. First we'll create a SafeAreaView that will house our banner:

import React from 'react'; import { ImageBackground, SafeAreaView, Text, View } from 'react-native'; export default function ImageBackgroundExample() { return <SafeAreaView></SafeAreaView>; }

Then we'll create an image variable that will contain the URL of our banner image (I've just picked this one from Unsplash for the purposes of this tutorial):

import React from 'react'; import { ImageBackground, SafeAreaView, Text, View } from 'react-native'; export default function ImageBackgroundExample() { const image = { uri: 'https://images.unsplash.com/photo-1585208798174-6cedd86e019a?ixlib=rb-1.2.1&ixid=MnwxMjA3fDB8MHxwaG90by1wYWdlfHx8fGVufDB8fHx8&auto=format&fit=crop&w=2073&q=80', }; return <SafeAreaView></SafeAreaView>; }

Now we'll add our ImageBackground component. ImageBackground accepts the same props as the Image component - so we just need to pass in the following:

  • the source of our image (which will be our image variable containing the image URL).
  • the resize mode (which can be one of contain, cover, stretch, repeat or center). See the Image docs for an overview of each option.
  • a style object - we'll use this to set our image height to 400.
import React from 'react'; import { ImageBackground, SafeAreaView, Text, View } from 'react-native'; export default function ImageBackgroundExample() { const image = { uri: 'https://images.unsplash.com/photo-1585208798174-6cedd86e019a?ixlib=rb-1.2.1&ixid=MnwxMjA3fDB8MHxwaG90by1wYWdlfHx8fGVufDB8fHx8&auto=format&fit=crop&w=2073&q=80', }; return ( <SafeAreaView> <ImageBackground source={image} resizeMode="cover" style={{ height: 400 }}></ImageBackground> </SafeAreaView> ); }

That gives our basic banner with just the image - now we can add our text:
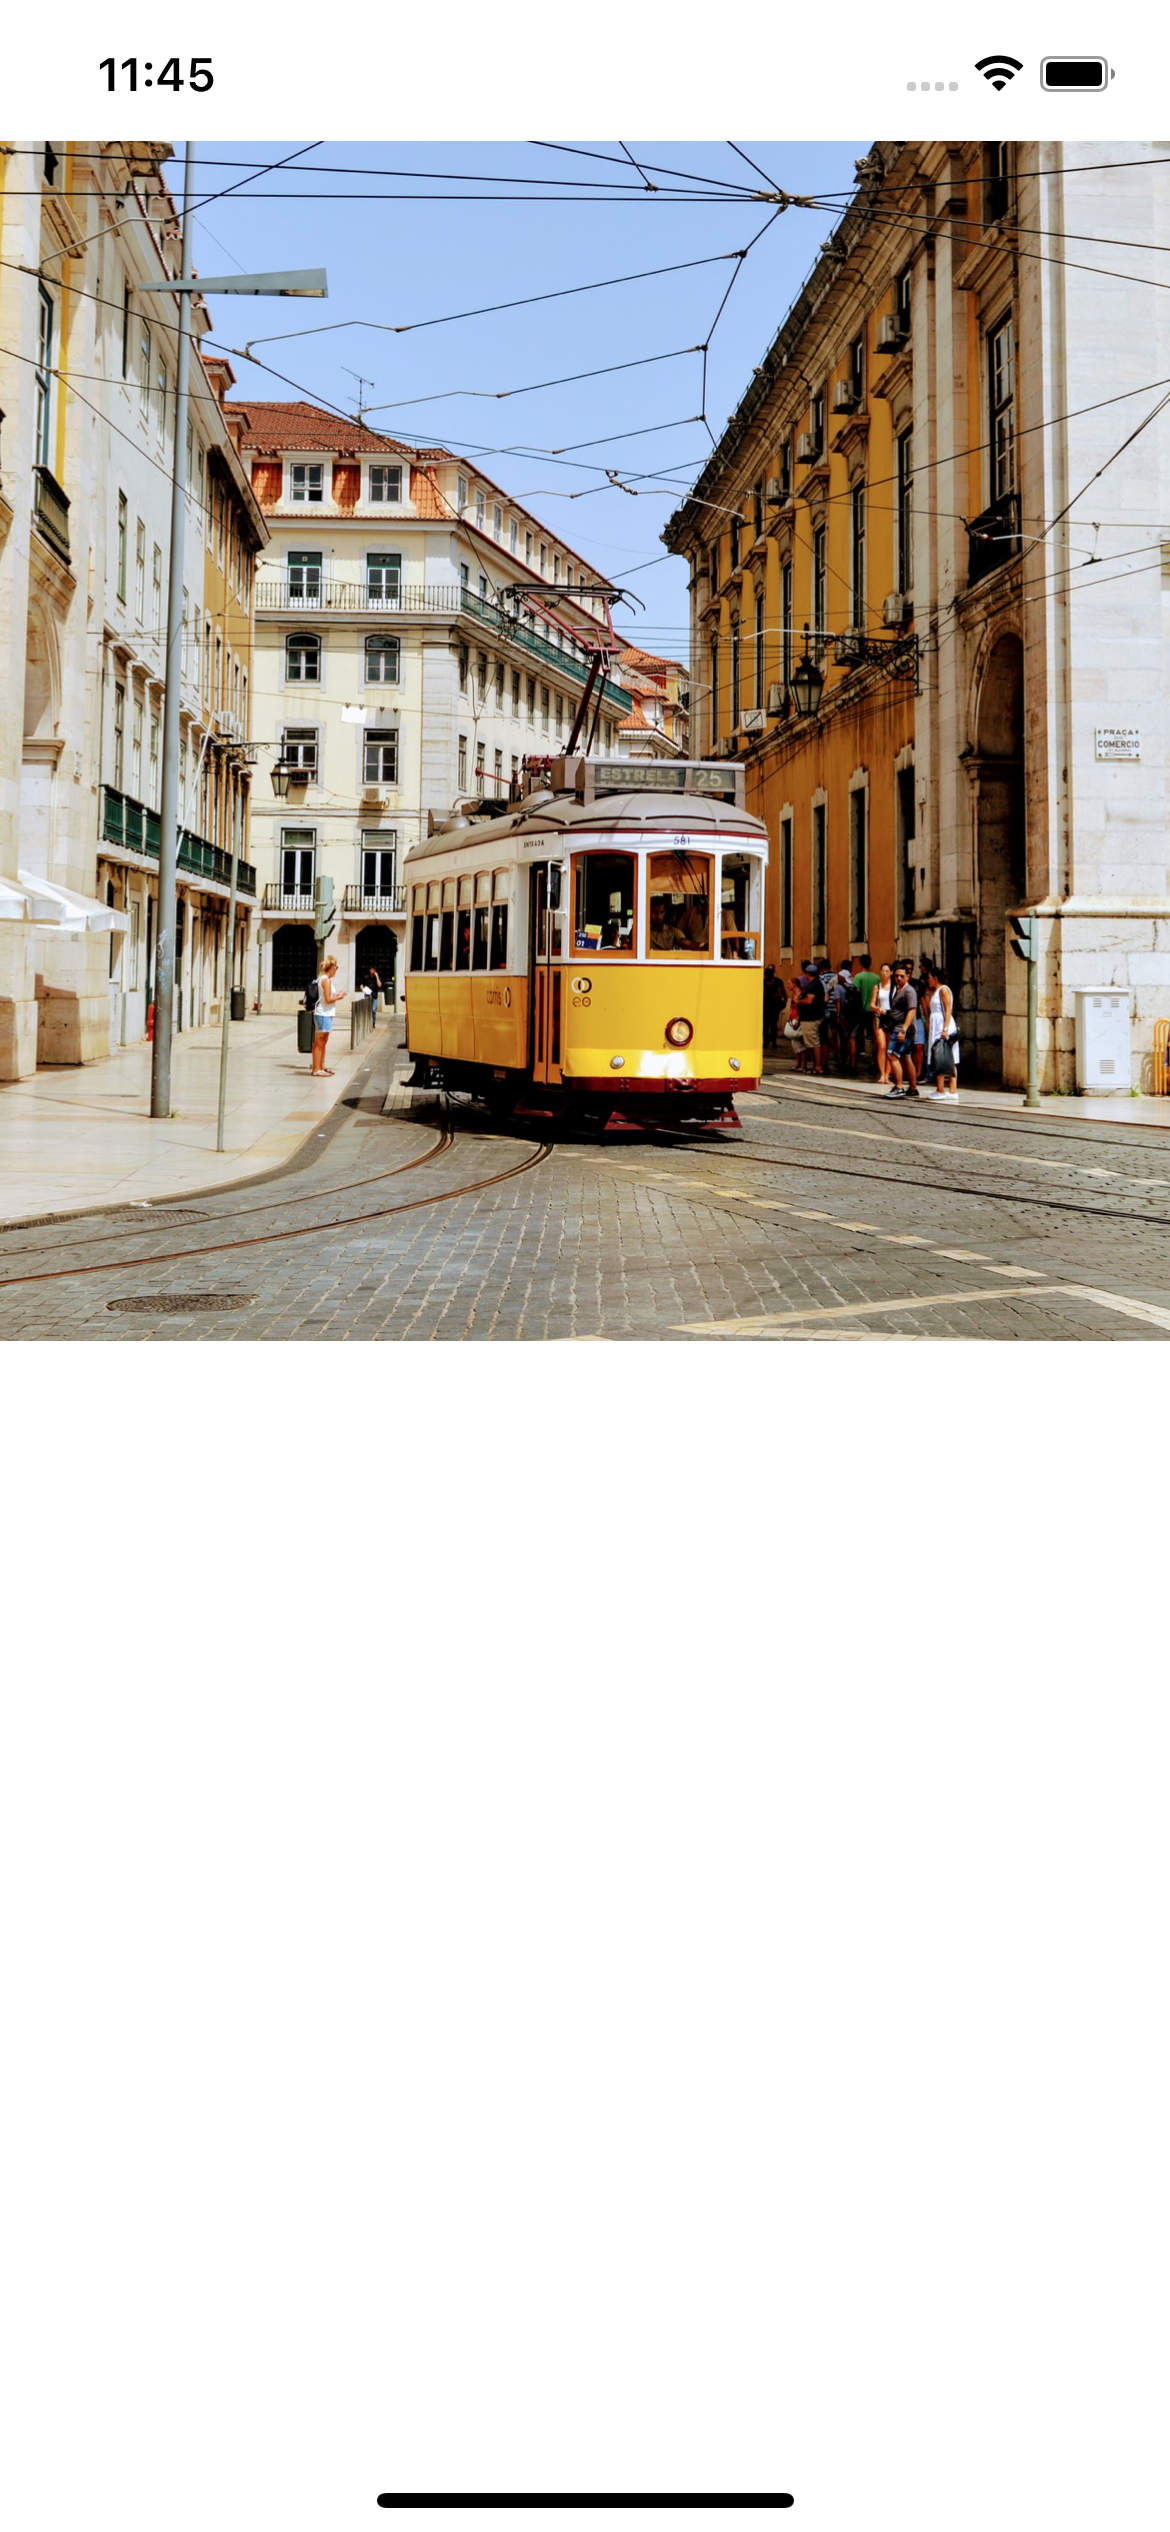
Setting a background image with ImageBackground

First we'll create a View as a child of our ImageBackground, giving it a flex value of 1 so that it takes up all the available space of the parent. Then we'll set it to display flex and to align it's content in the center:

import React from 'react'; import { ImageBackground, SafeAreaView, Text, View } from 'react-native'; export default function ImageBackgroundExample() { const image = { uri: 'https://images.unsplash.com/photo-1585208798174-6cedd86e019a?ixlib=rb-1.2.1&ixid=MnwxMjA3fDB8MHxwaG90by1wYWdlfHx8fGVufDB8fHx8&auto=format&fit=crop&w=2073&q=80', }; return ( <SafeAreaView> <ImageBackground source={image} resizeMode="cover" style={{ height: 400 }}> <View style={{ flex: 1, display: 'flex', justifyContent: 'center', alignItems: 'center' }} ></View> </ImageBackground> </SafeAreaView> ); }

Then as a child of our View we'll add our Text element - making it 32px, bold and white:

import React from 'react'; import { ImageBackground, SafeAreaView, Text, View } from 'react-native'; export default function ImageBackgroundExample() { const image = { uri: 'https://images.unsplash.com/photo-1585208798174-6cedd86e019a?ixlib=rb-1.2.1&ixid=MnwxMjA3fDB8MHxwaG90by1wYWdlfHx8fGVufDB8fHx8&auto=format&fit=crop&w=2073&q=80', }; return ( <SafeAreaView> <ImageBackground source={image} resizeMode="cover" style={{ height: 400 }}> <View style={{ flex: 1, display: 'flex', justifyContent: 'center', alignItems: 'center' }}> <Text style={{ fontSize: 32, fontWeight: 'bold', color: 'white' }}>Lisbon</Text> </View> </ImageBackground> </SafeAreaView> ); }

As you can see we now have centered text within our banner image:
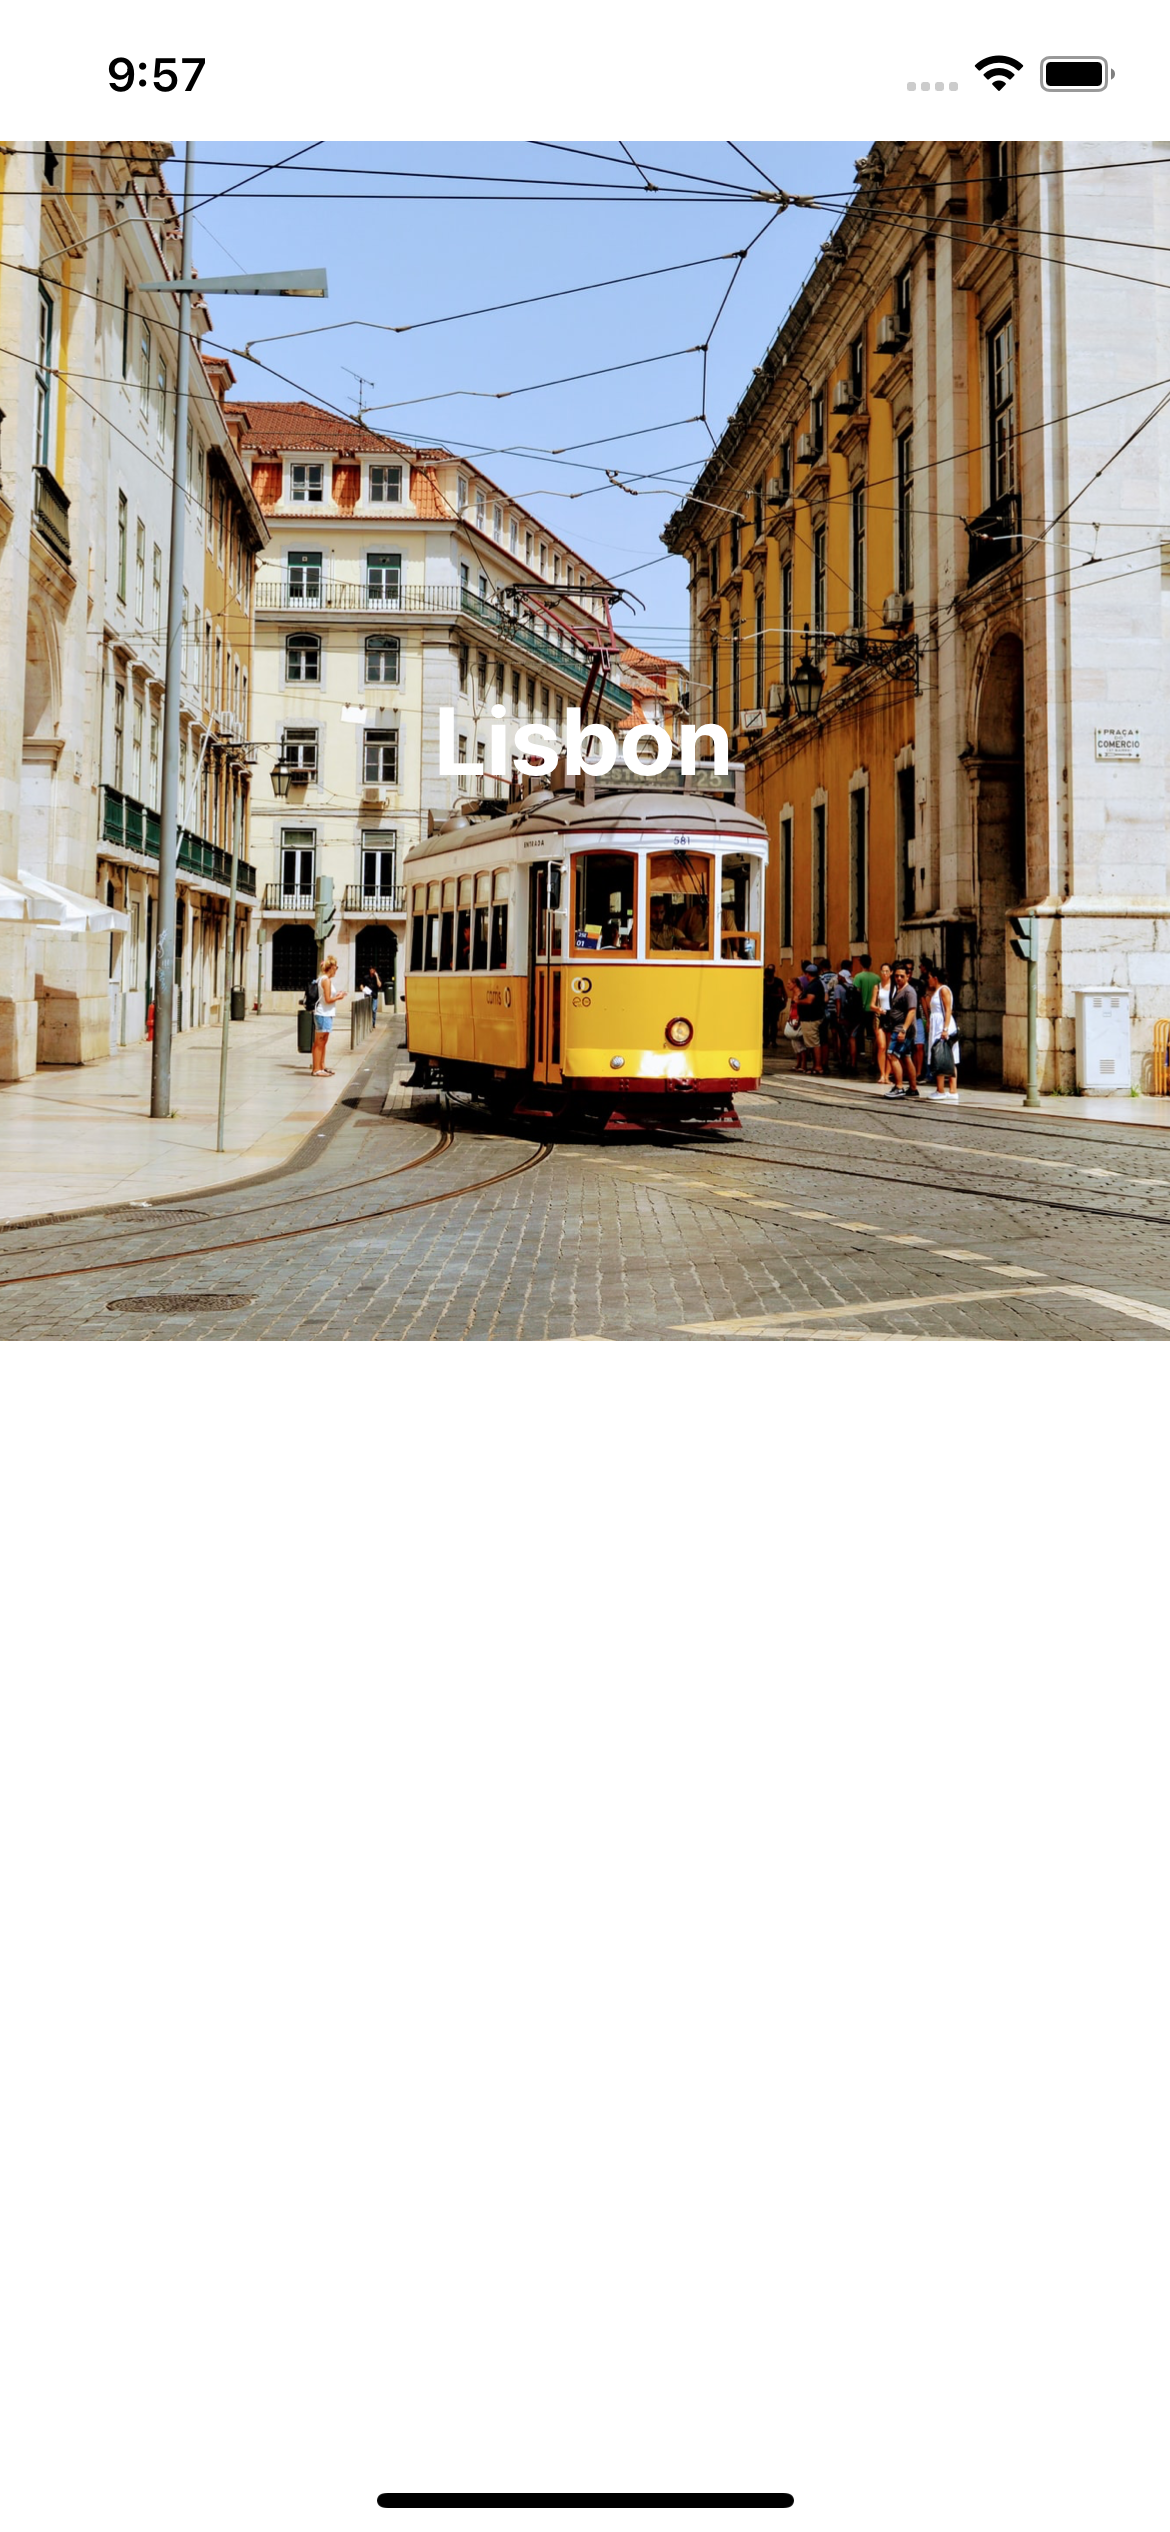
Adding text to the banner

But there's a problem - because our text is white, and the image is fairly light in colour, our text is quite difficult to read. To solve this, we can give our container View a transparant background using RGBA. The first three values are the RGB values of the colour we want to use. The fourth value is the transparancy level we want to use.

So for this example, we'll use black (0,0,0) and give it an transparancy level of 0.4:

import React from 'react'; import { ImageBackground, SafeAreaView, Text, View } from 'react-native'; export default function ImageBackgroundExample() { const image = { uri: 'https://images.unsplash.com/photo-1585208798174-6cedd86e019a?ixlib=rb-1.2.1&ixid=MnwxMjA3fDB8MHxwaG90by1wYWdlfHx8fGVufDB8fHx8&auto=format&fit=crop&w=2073&q=80', }; return ( <SafeAreaView> <ImageBackground source={image} resizeMode="cover" style={{ height: 400 }}> <View style={{ flex: 1, display: 'flex', justifyContent: 'center', alignItems: 'center', backgroundColor: 'rgba(0,0,0,0.4)', }} > <Text style={{ fontSize: 32, fontWeight: 'bold', color: 'white' }}>Lisbon</Text> </View> </ImageBackground> </SafeAreaView> ); }

As you can see that creates an overlay that tones down the brightness of our image and makes the text much easier to read:

Adding a background overlay

Summary

As you can see it’s super easy to create a background image in React Native using the ImageBackground component. I hope that was helpful and please do join my mailing list using the form below if you’d like to receive new React Native tutorials in your email!

Copyright 2024 - Atom Lab | Privacy Policy | Terms and Conditions